Tags:
Welcome to my very own Intro to Drawing course! I cooked up this outline for my girlfriend, who was interested in getting better at art. I hope that you can get something out of it as well! :)
Disclaimers: My opinions on what to focus on here are influenced by the fact that I love drawings and paintings far more than any other type of art. I dislike sculpture and I hate photography. Also I'm a fine art snob so I will definitely be referencing canonical art rather than contemporary/popular art. This is who I am and you can't change it. Also! My qualifications are that my mom has an associate degree in art and we like going to museums together and she used to teach art classes in the aughts, I took Art 1 in high school, and I've been on tumblr for a decade.
With all of that out of the way, we begin the course with...
Items needed:
Note: Most of these you'll need for the rest of the class. The starred ones (*) are the ones you'll only need for today.
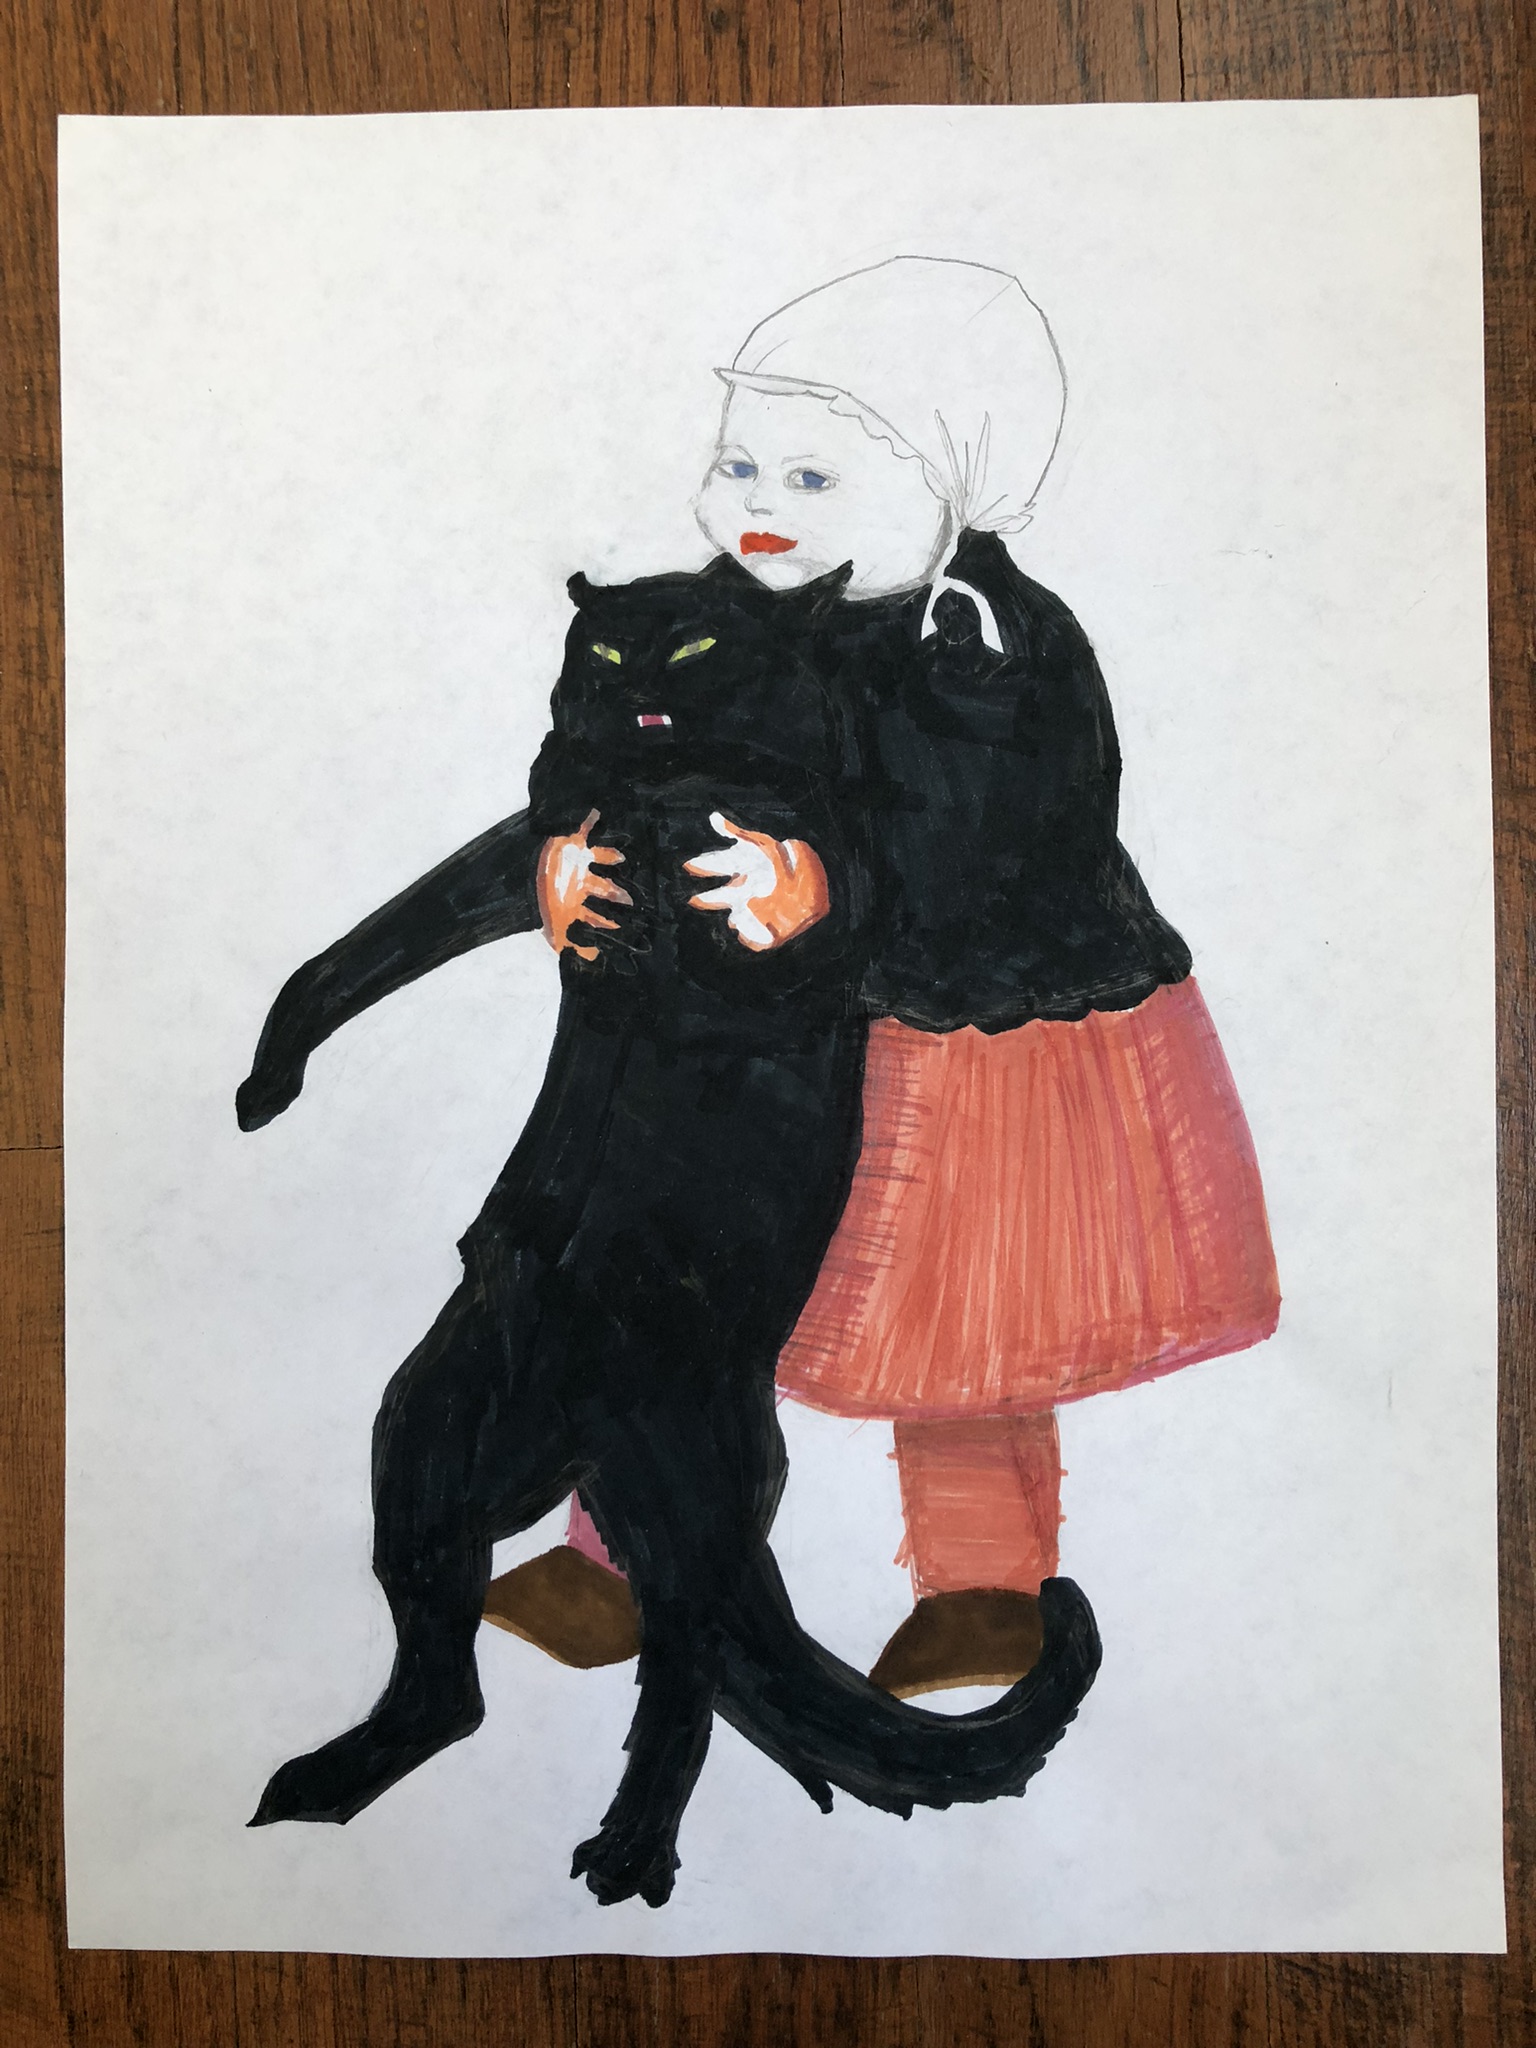
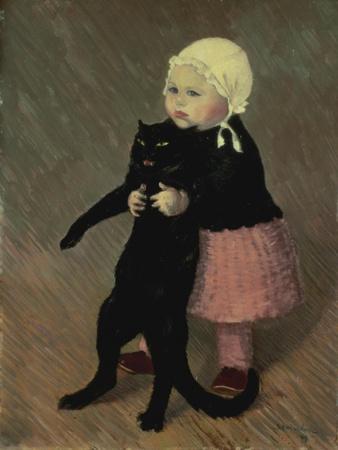
Lesson one is simply about jumping right in and drawing. Because art is supposed to be fun! Might as well get that motivation flowing by just drawing something already created. The artist of the piece has done the heavy lifting of crafting the composition, the colors, the lines, etc; all you get to do now is appreciate the work, and follow along to the best of your abilities.
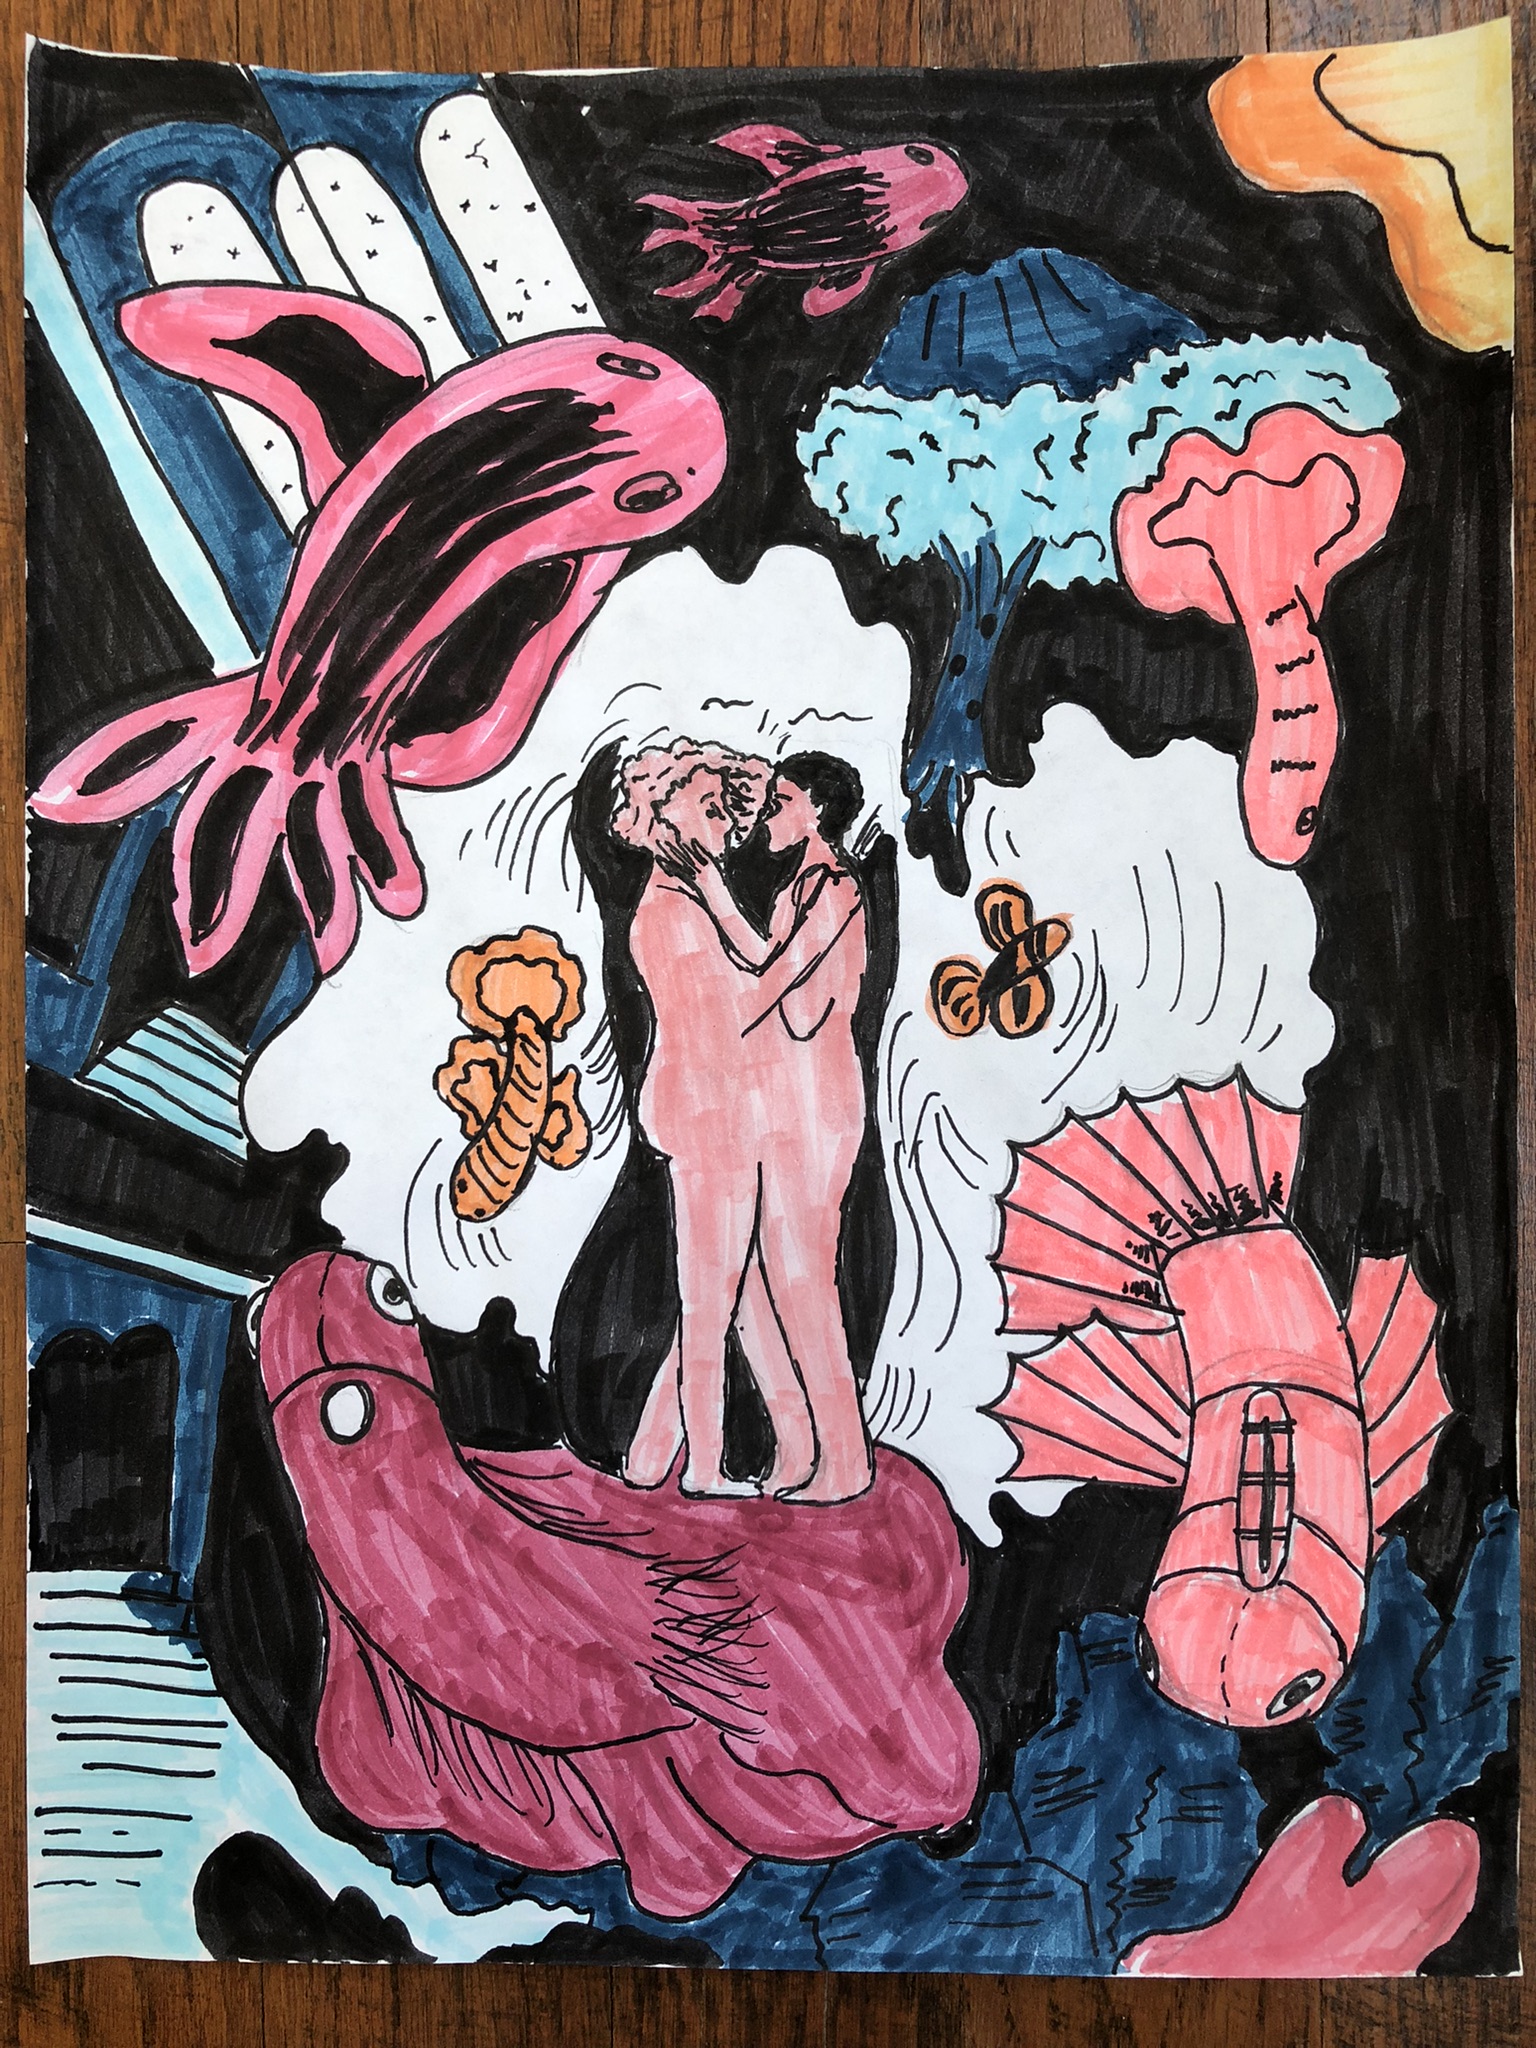
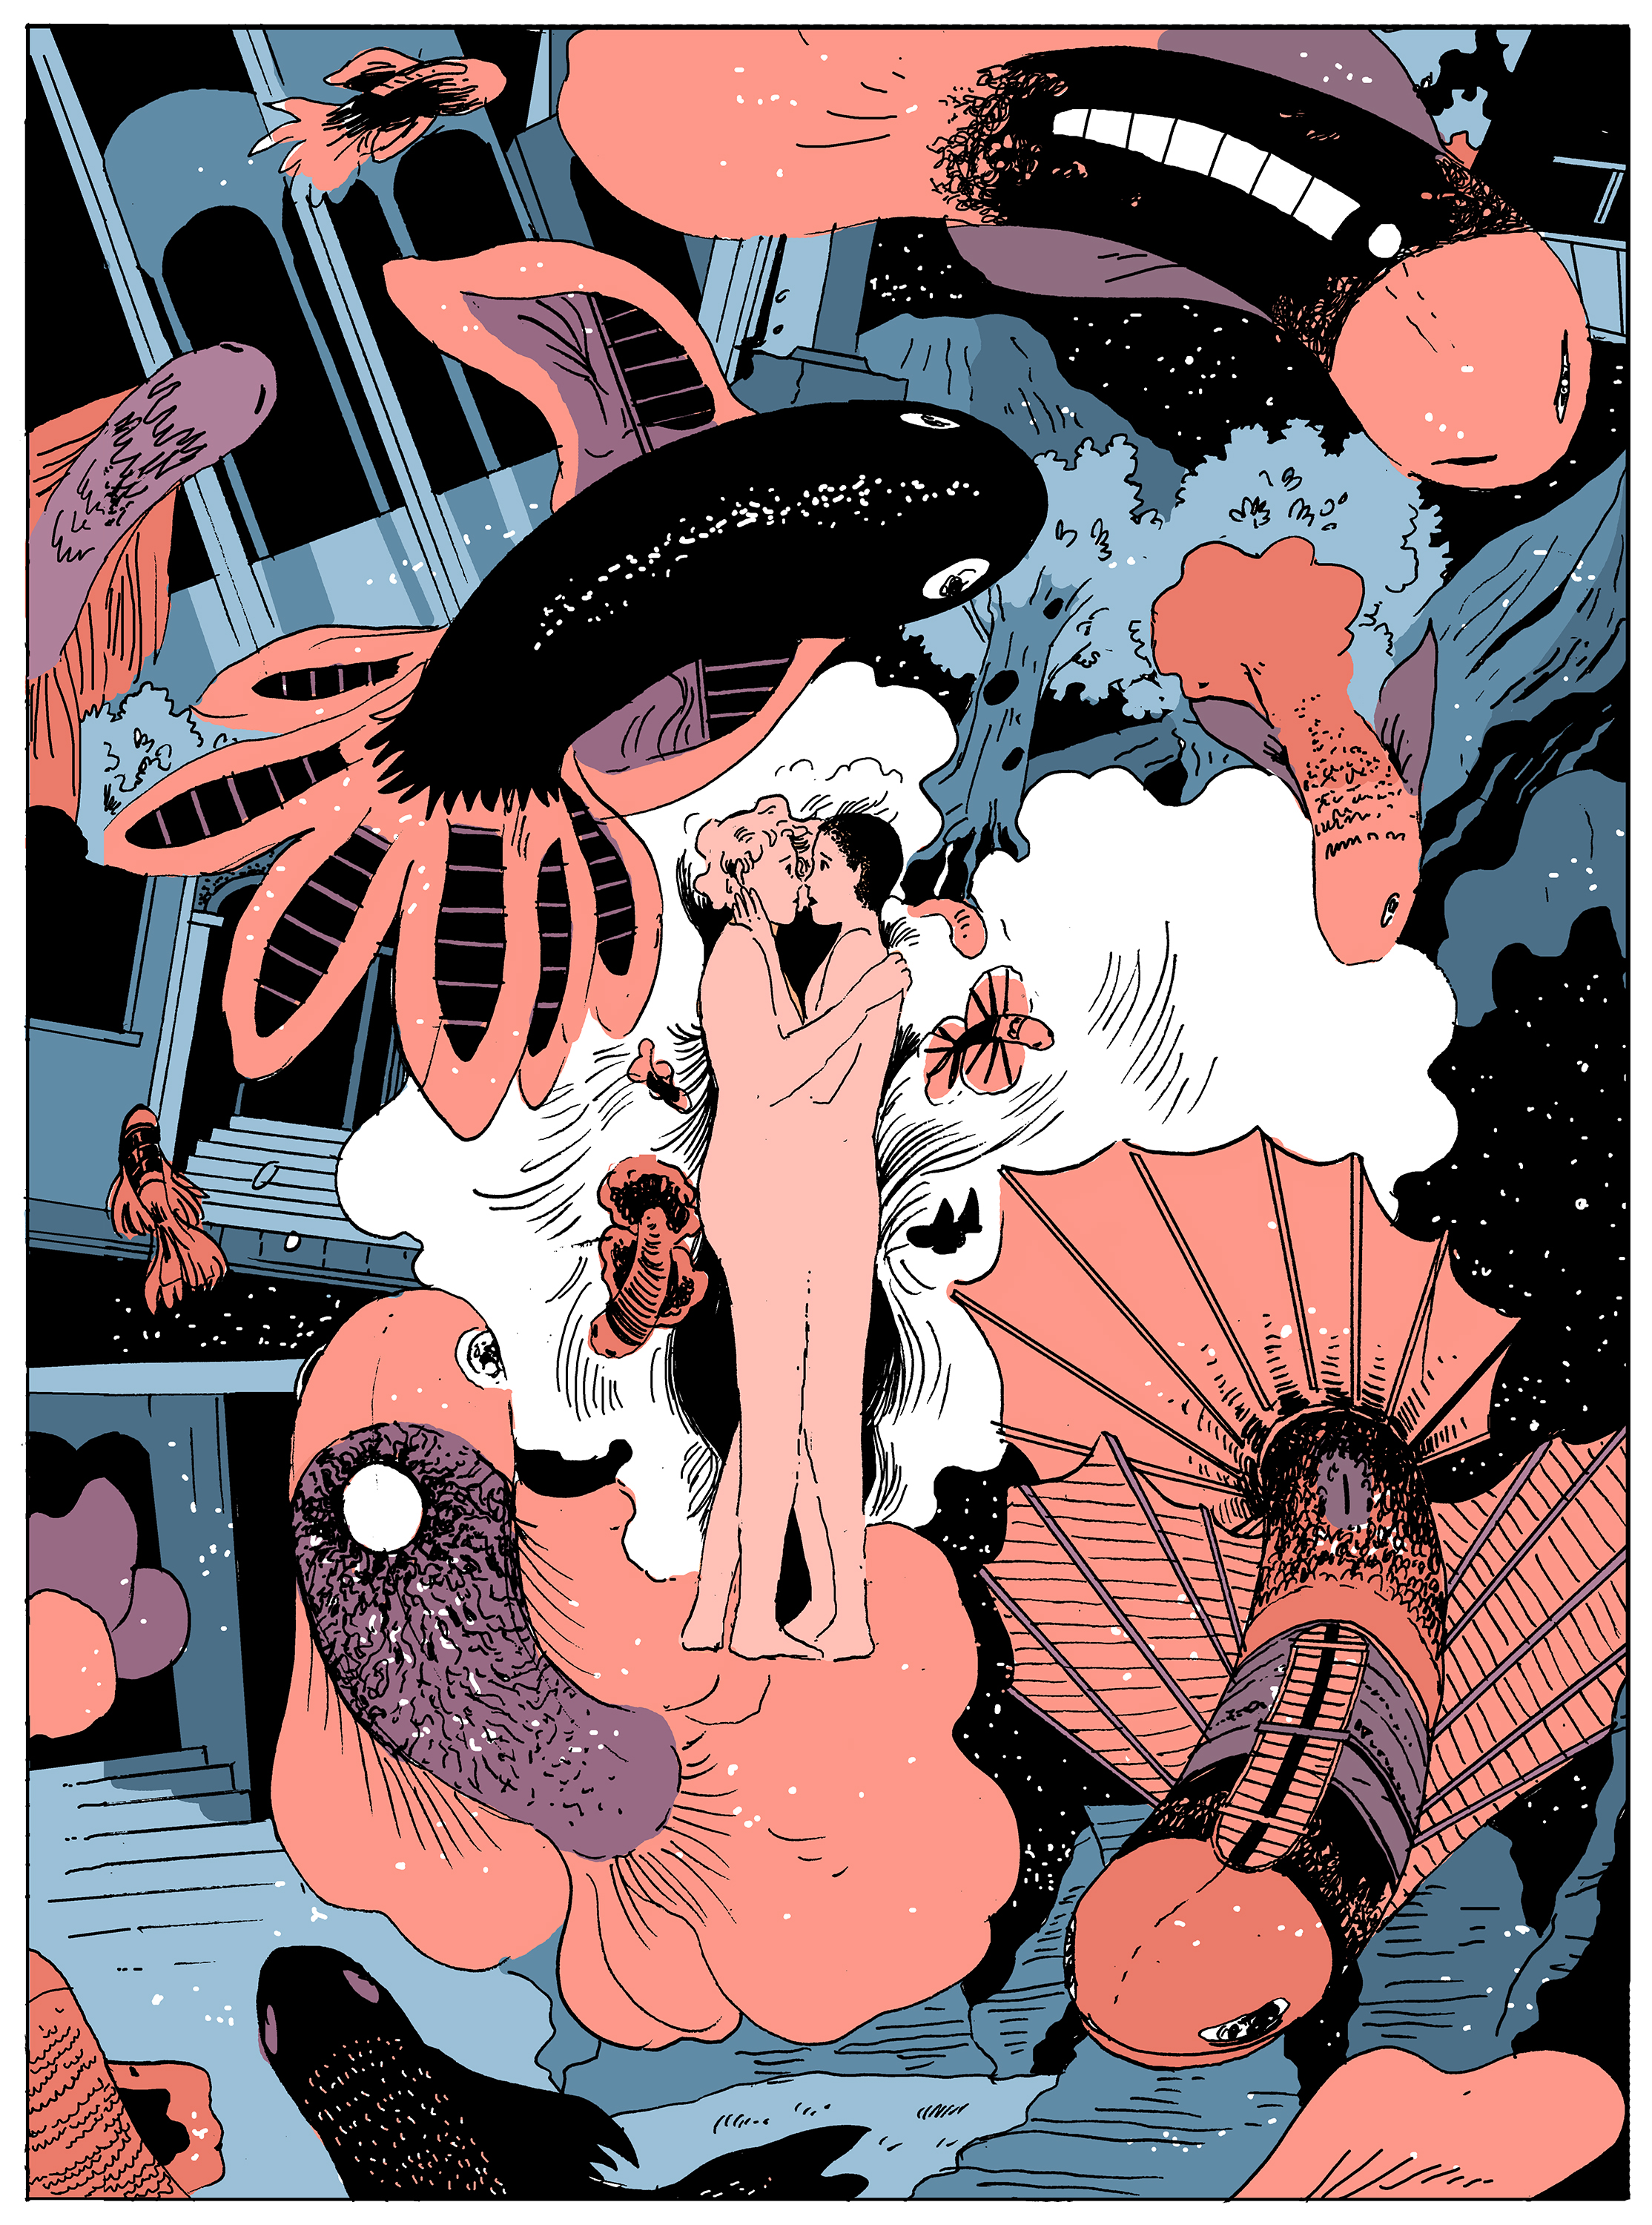
I recommend "fine art," but I just might be a snob for that. My girlfriend chose a spread from a graphic novel instead.
Items needed:
Now is when we learn about some of the terminology/theory. Don't be scared, I hate learning terms too. If I were reading this, I'd probably wanna skim over this part, and I don't judge you if you do too. But all I'm gonna do is introduce the 7 "elements of art" with, like, one sentence apiece. And then we're just gonna focus on the first one: "line." Hopefully that doesn't sound so bad!!
Anyways. So here are the elements of art:
If you wanna sound fancy, you can use them when you are talking about art ("i find that the forms truly jump off the canvas of this piece"). Blend in with those art majors!
Ok yeah so that's all the learning done for today! Now we get to the actual drawing part.
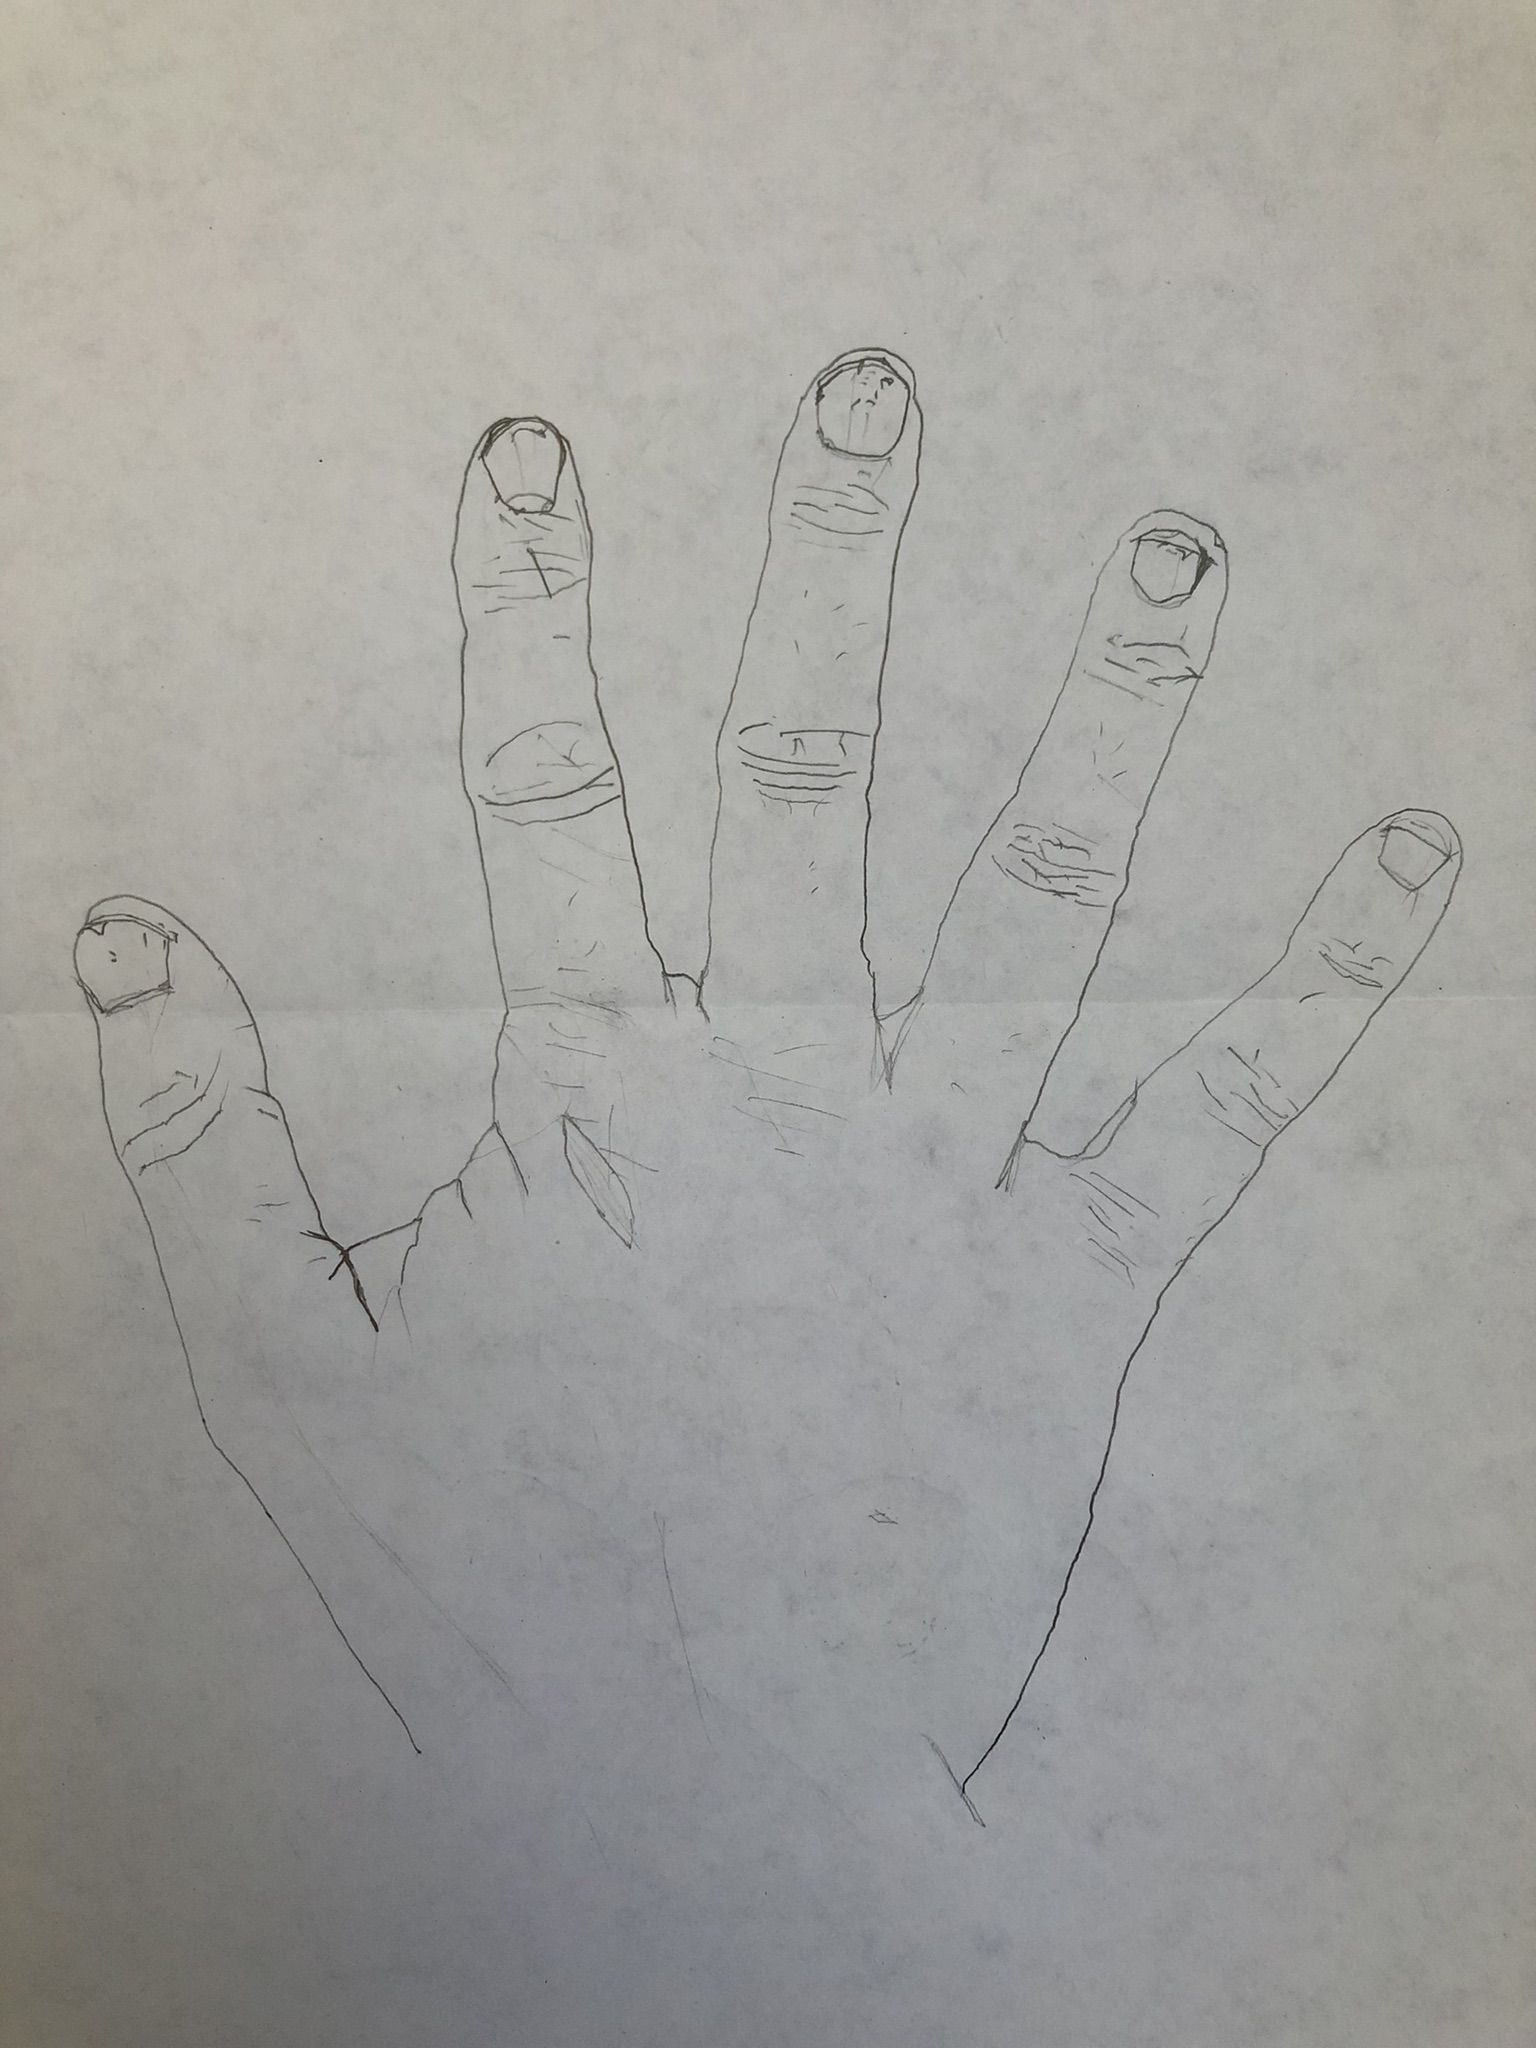
Get a piece of paper and a pencil. No need for any fancy materials, they really aren't necessary. Place your non writing hand flat on the paper. Now trace the outLINE of your hand! But not quickly. Try to take at least a full minute or more, not just a haphazard approximation. Really notice the little bumps and divots in your hand, and show them on the paper! In the end, it should look something like this.
An optional step is to draw in the details of your hand in the outline. Try using different kinds of lines: what do you use for hair? For your cuticles? How do you represent your knuckles? (Honestly it gets kinda grotesque the more details you add in, but that's fine. It's just an exercise.)

For an extra exercise you can repeat this process, but hold your hand off the paper in a different position (fist, pointing, quiet coyote).
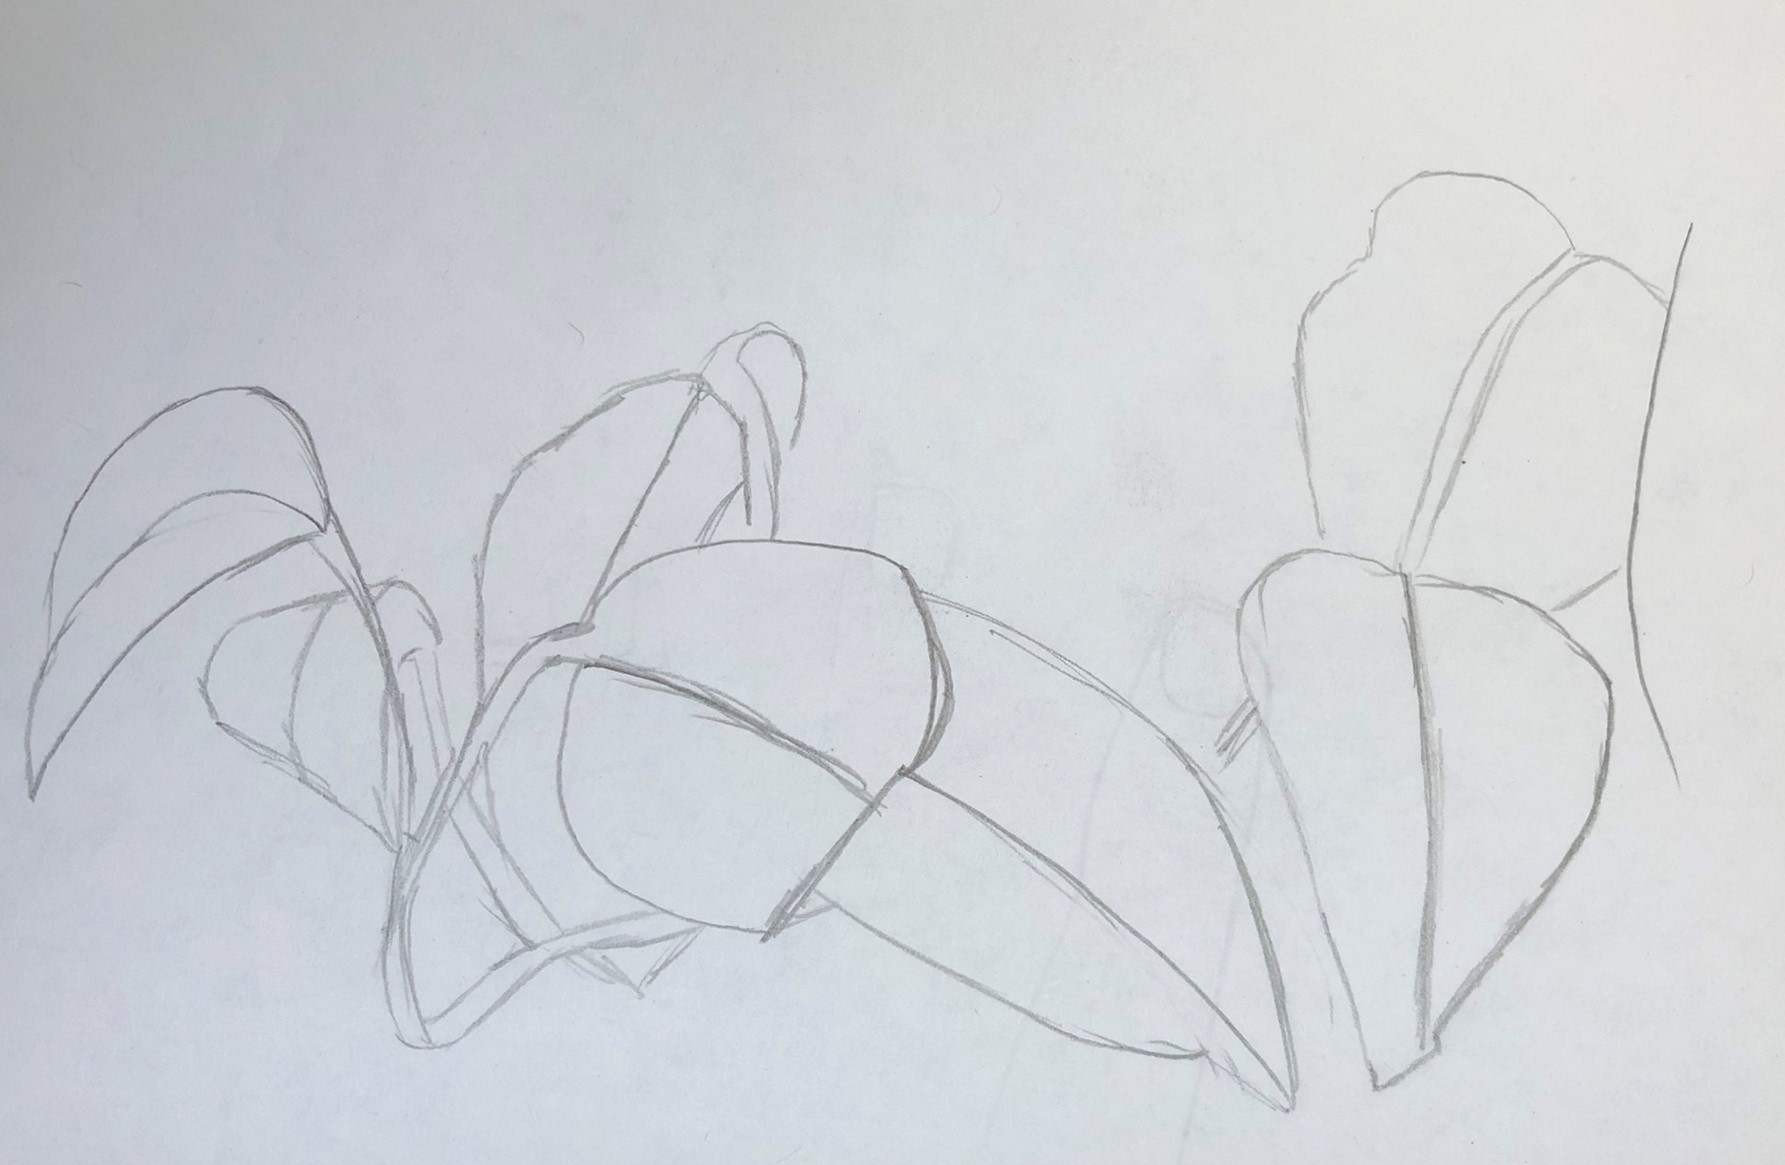
The next line activity requires something interesting to look at. I would recommend a leafy plant, with natural curves overlapping all over. If you don't have a plant accessible, find something else with interesting lines on it, like a sneaker or a pile of clothes.

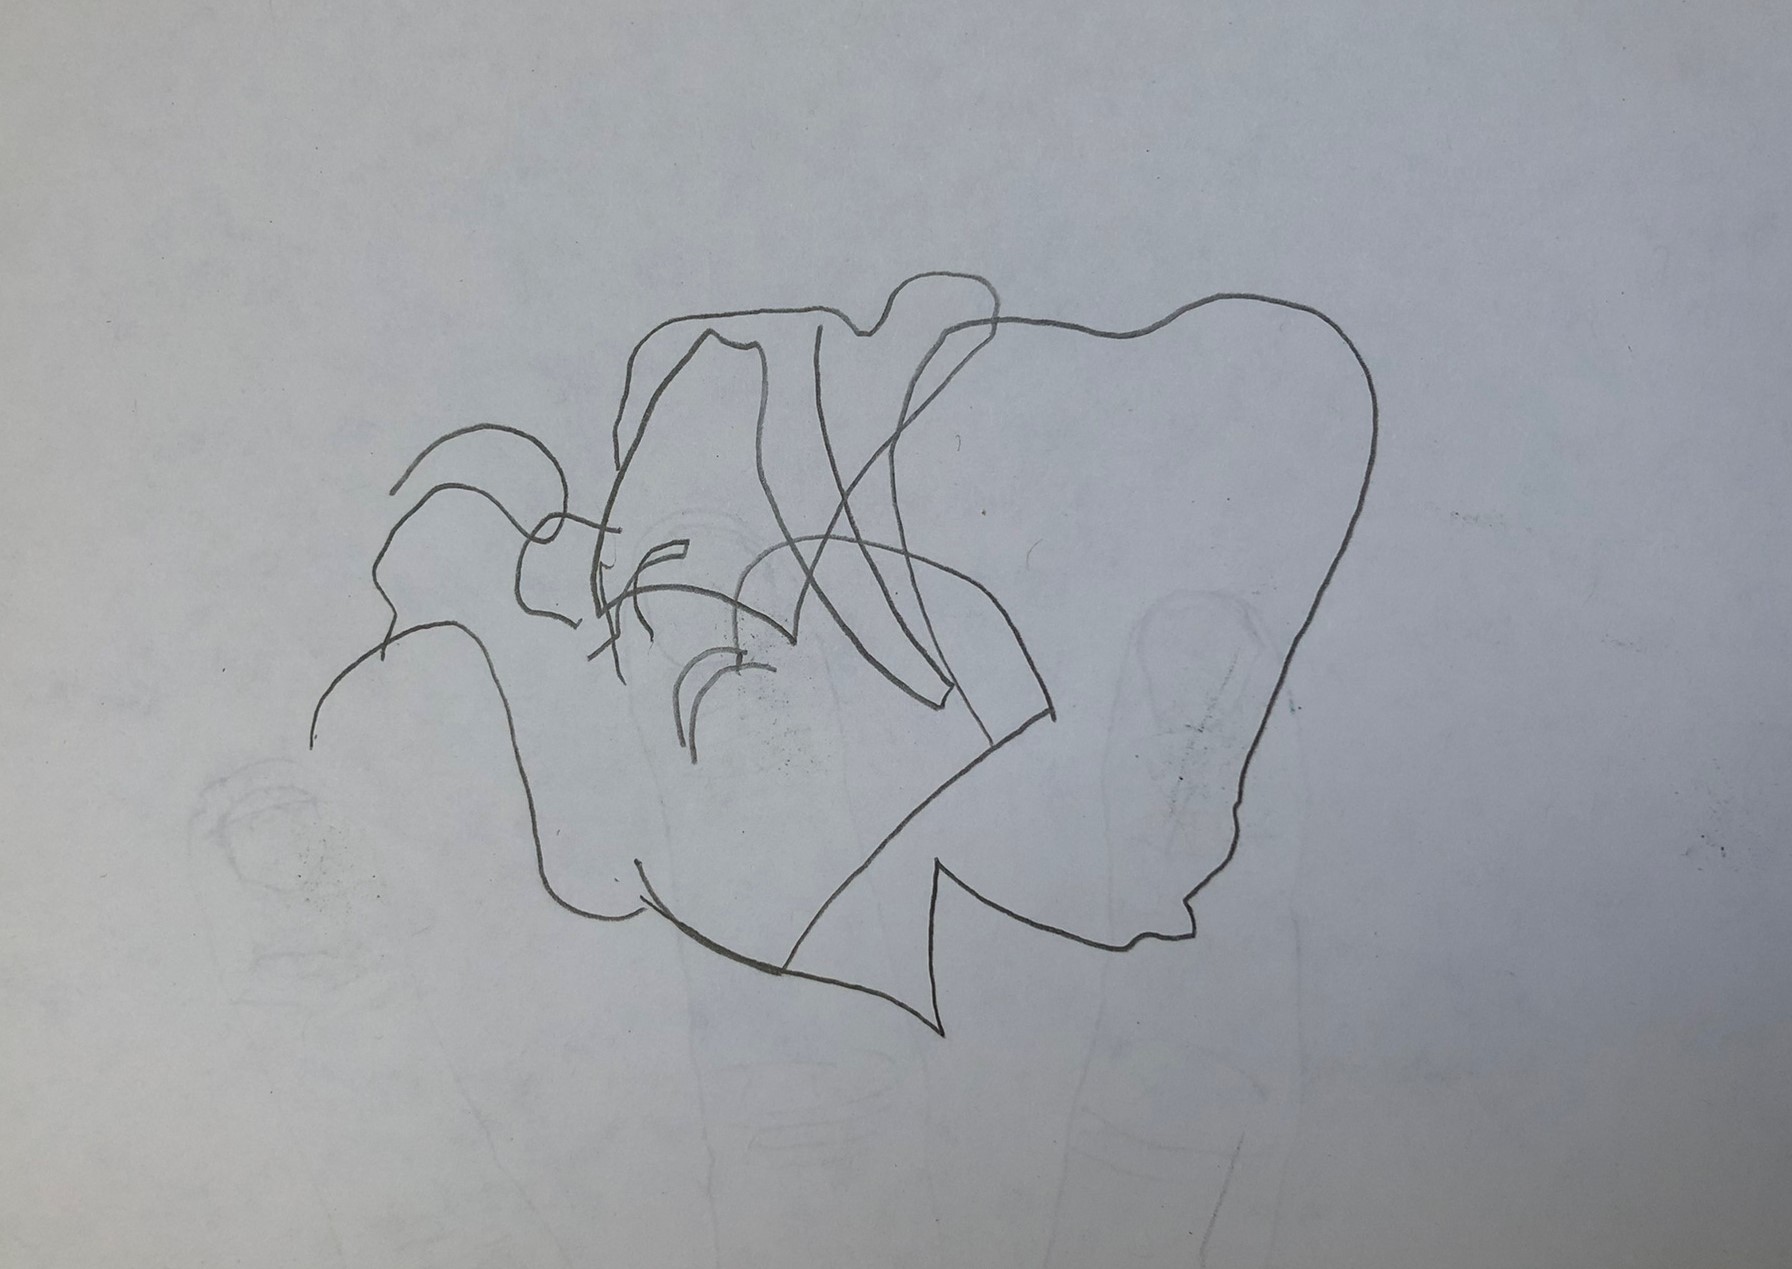
Take a sheet of regular paper, and fold it in half hamburger style. On one side, draw your object with one continuous line -- no picking up your pencil! Also, another catch: do not look down at your work while you draw. Simply focus on tracing the lines in your object, and transferring that motion to your hand. No peeking!
Once you're done, it'll look something like ours.
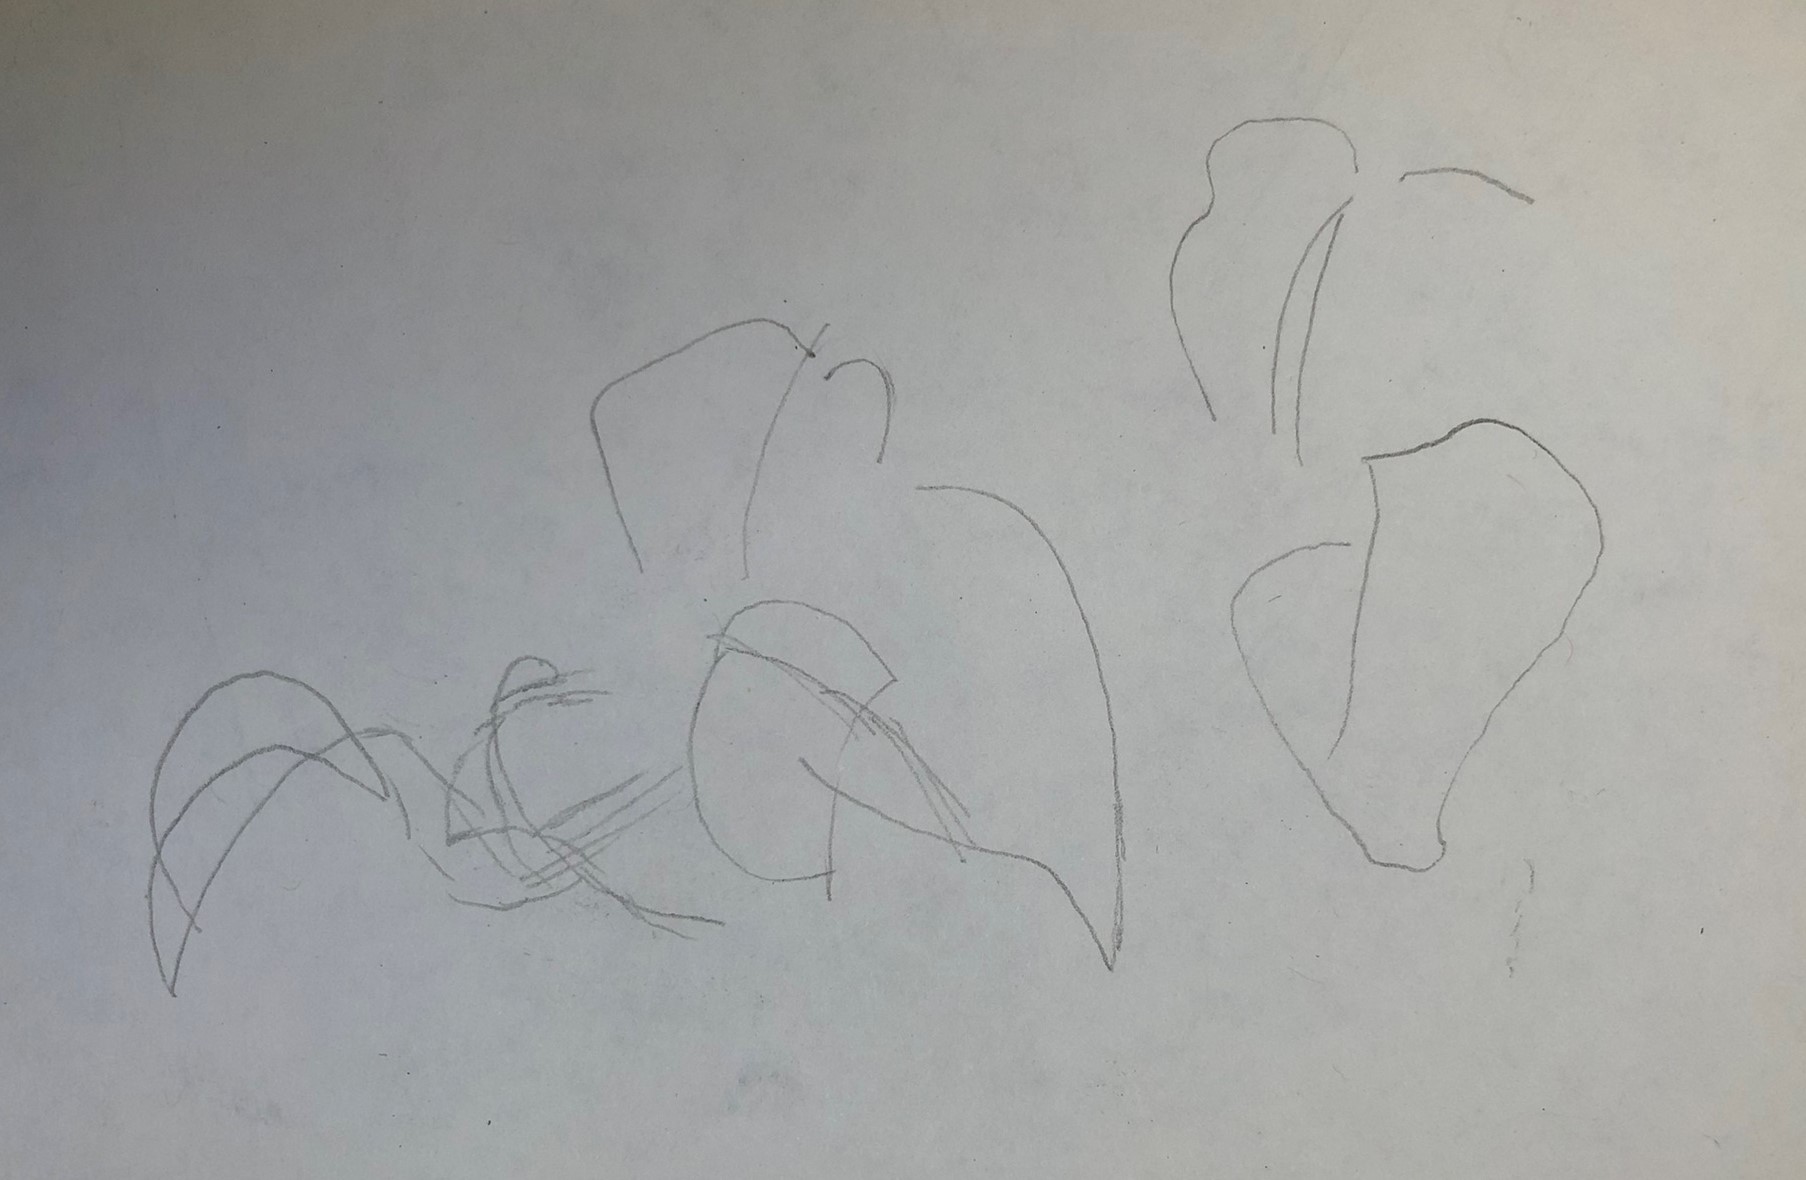
Now flip the page over vertically, so the drawing is face down, and upside down. Now, redraw the object normally, with looking back and forth, and picking your pencil up as you please. While you draw, think about the LINES in the object you found in the last step.
When you're done, you can unfold the paper and compare your two drawings. What do you notice? Do you see any similar lines?
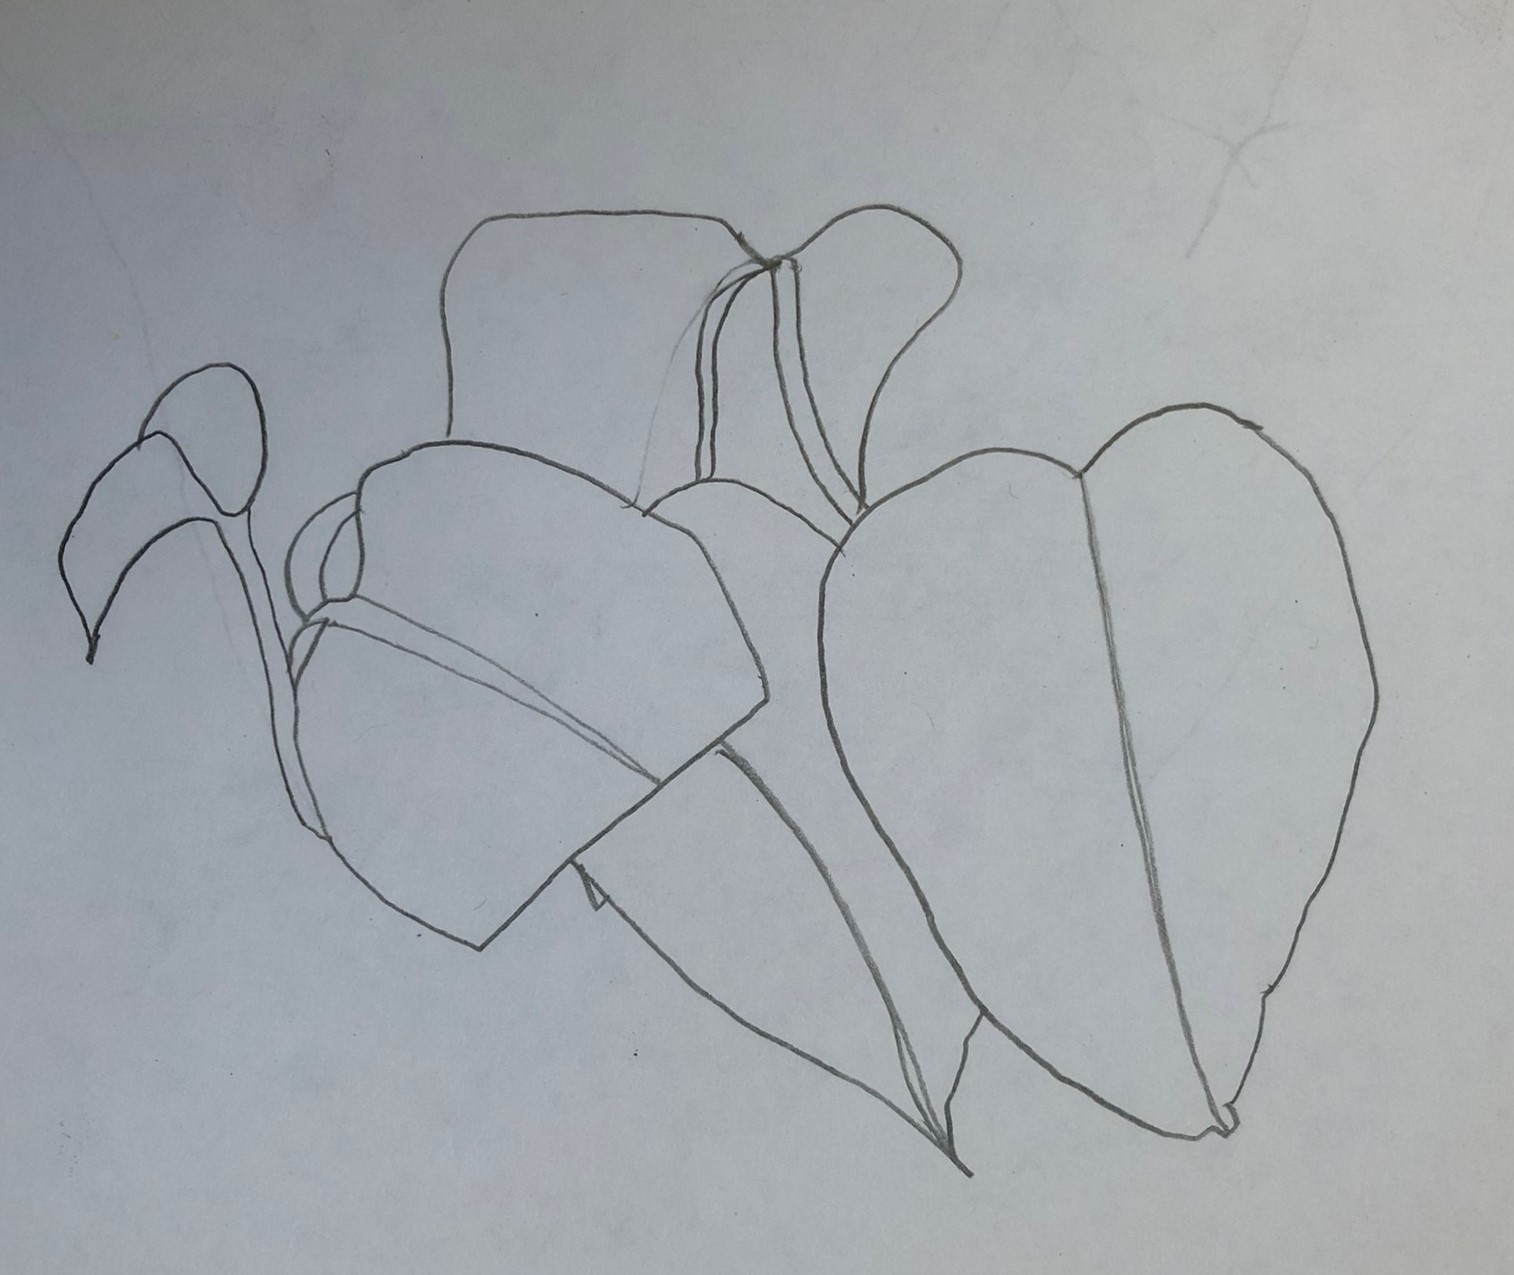
Also, notice that we never explicitly thought about shape! This is because we were focusing on the "contour line," A.K.A. the outlines. Since all shapes are, are just closed up lines!
Now that we've had some practice with lines (and implicitly, shape), we can learn a tad more about them. Here is a link to an inking guide by one of my favorite artists, Andrew Hussie. It's a fanstastic guide, and I honestly return to it at least once a year. I don't expect you to be a master of all the different ways of drawing lines right now, but it's definitely something interesting to hold in your mind as you progress.
Today, we'll be doing our first project, applying what we've learned about observing and drawing lines! Basically, what I want you to do, is set up shop in a room of your choice, then draw what you see in that room. It's up to you what it looks like: whether you zoom out and draw your entire field of view, or zoom in to one corner, and truly dive in to the details there. I'm not grading you lol so just enjoy it! Use that you've learned about lines, and really try to draw what you see not what you think the room looks like.

Items needed:
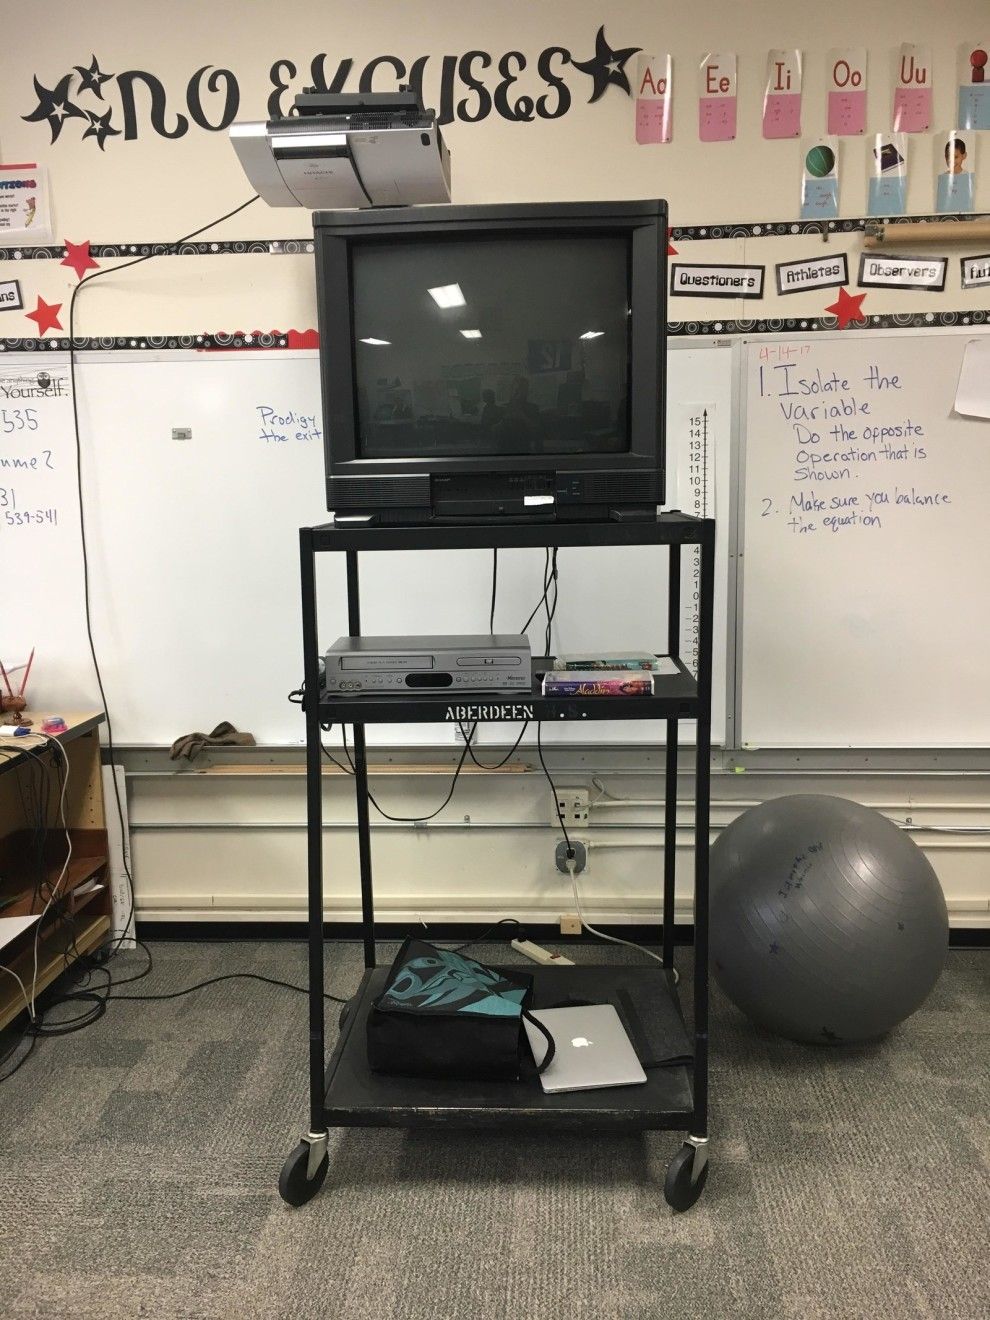
I'm bringing in the old TV on wheels today. We're watching a video!
Here are the timestamps for when I'd say something from behind my desk as the video was playing:
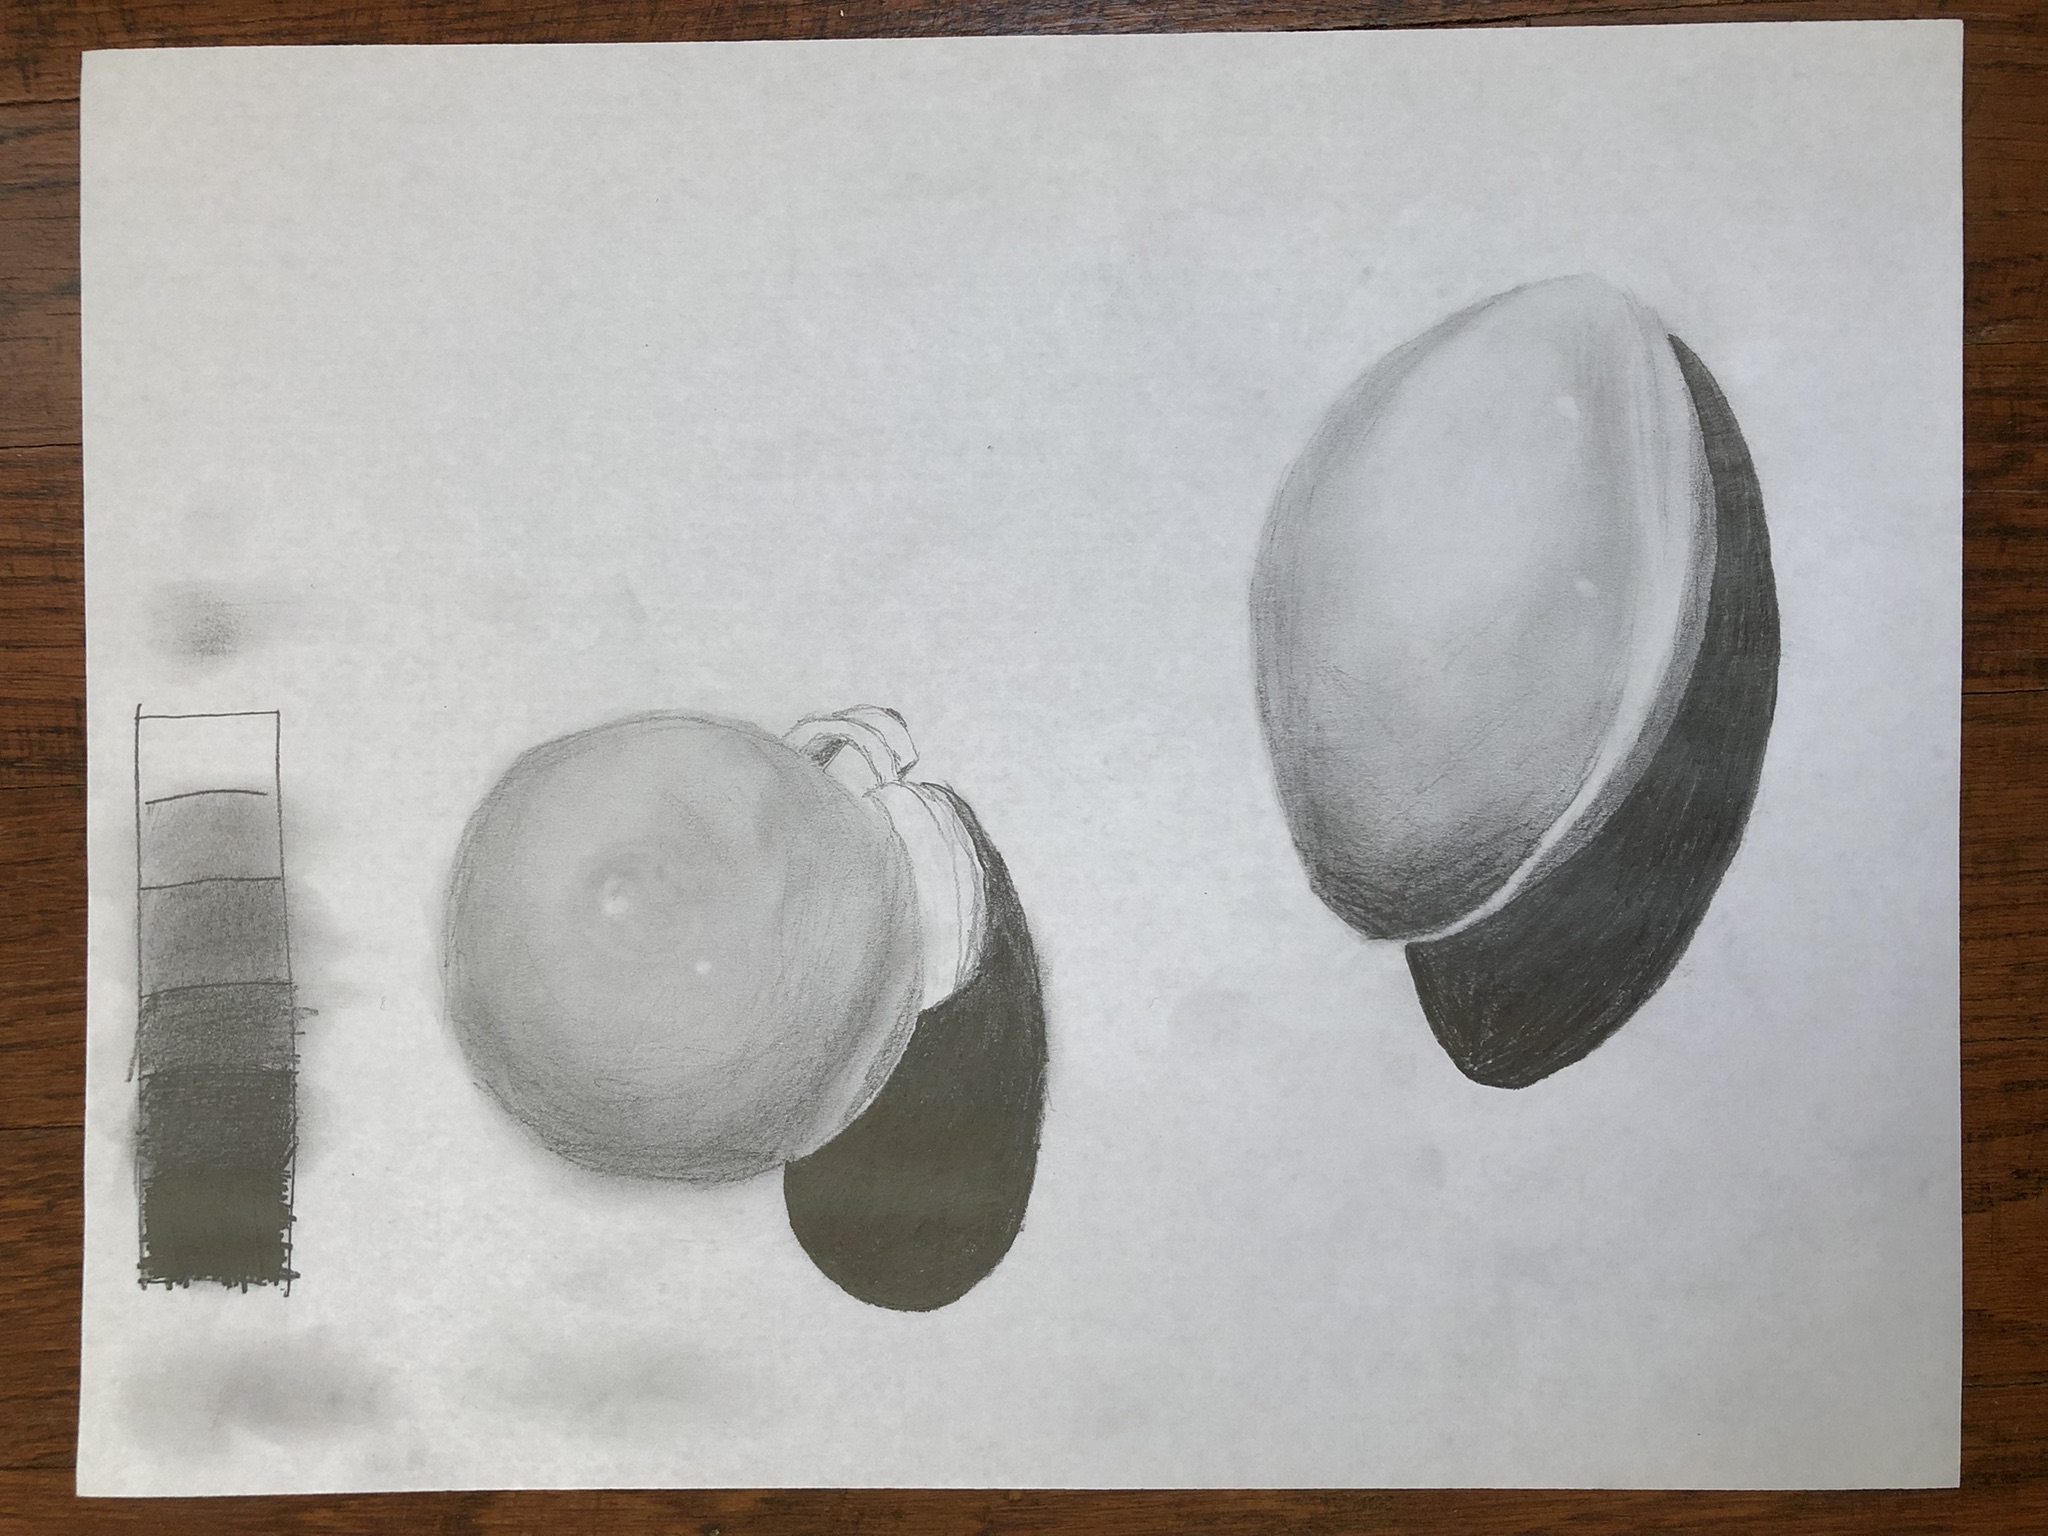
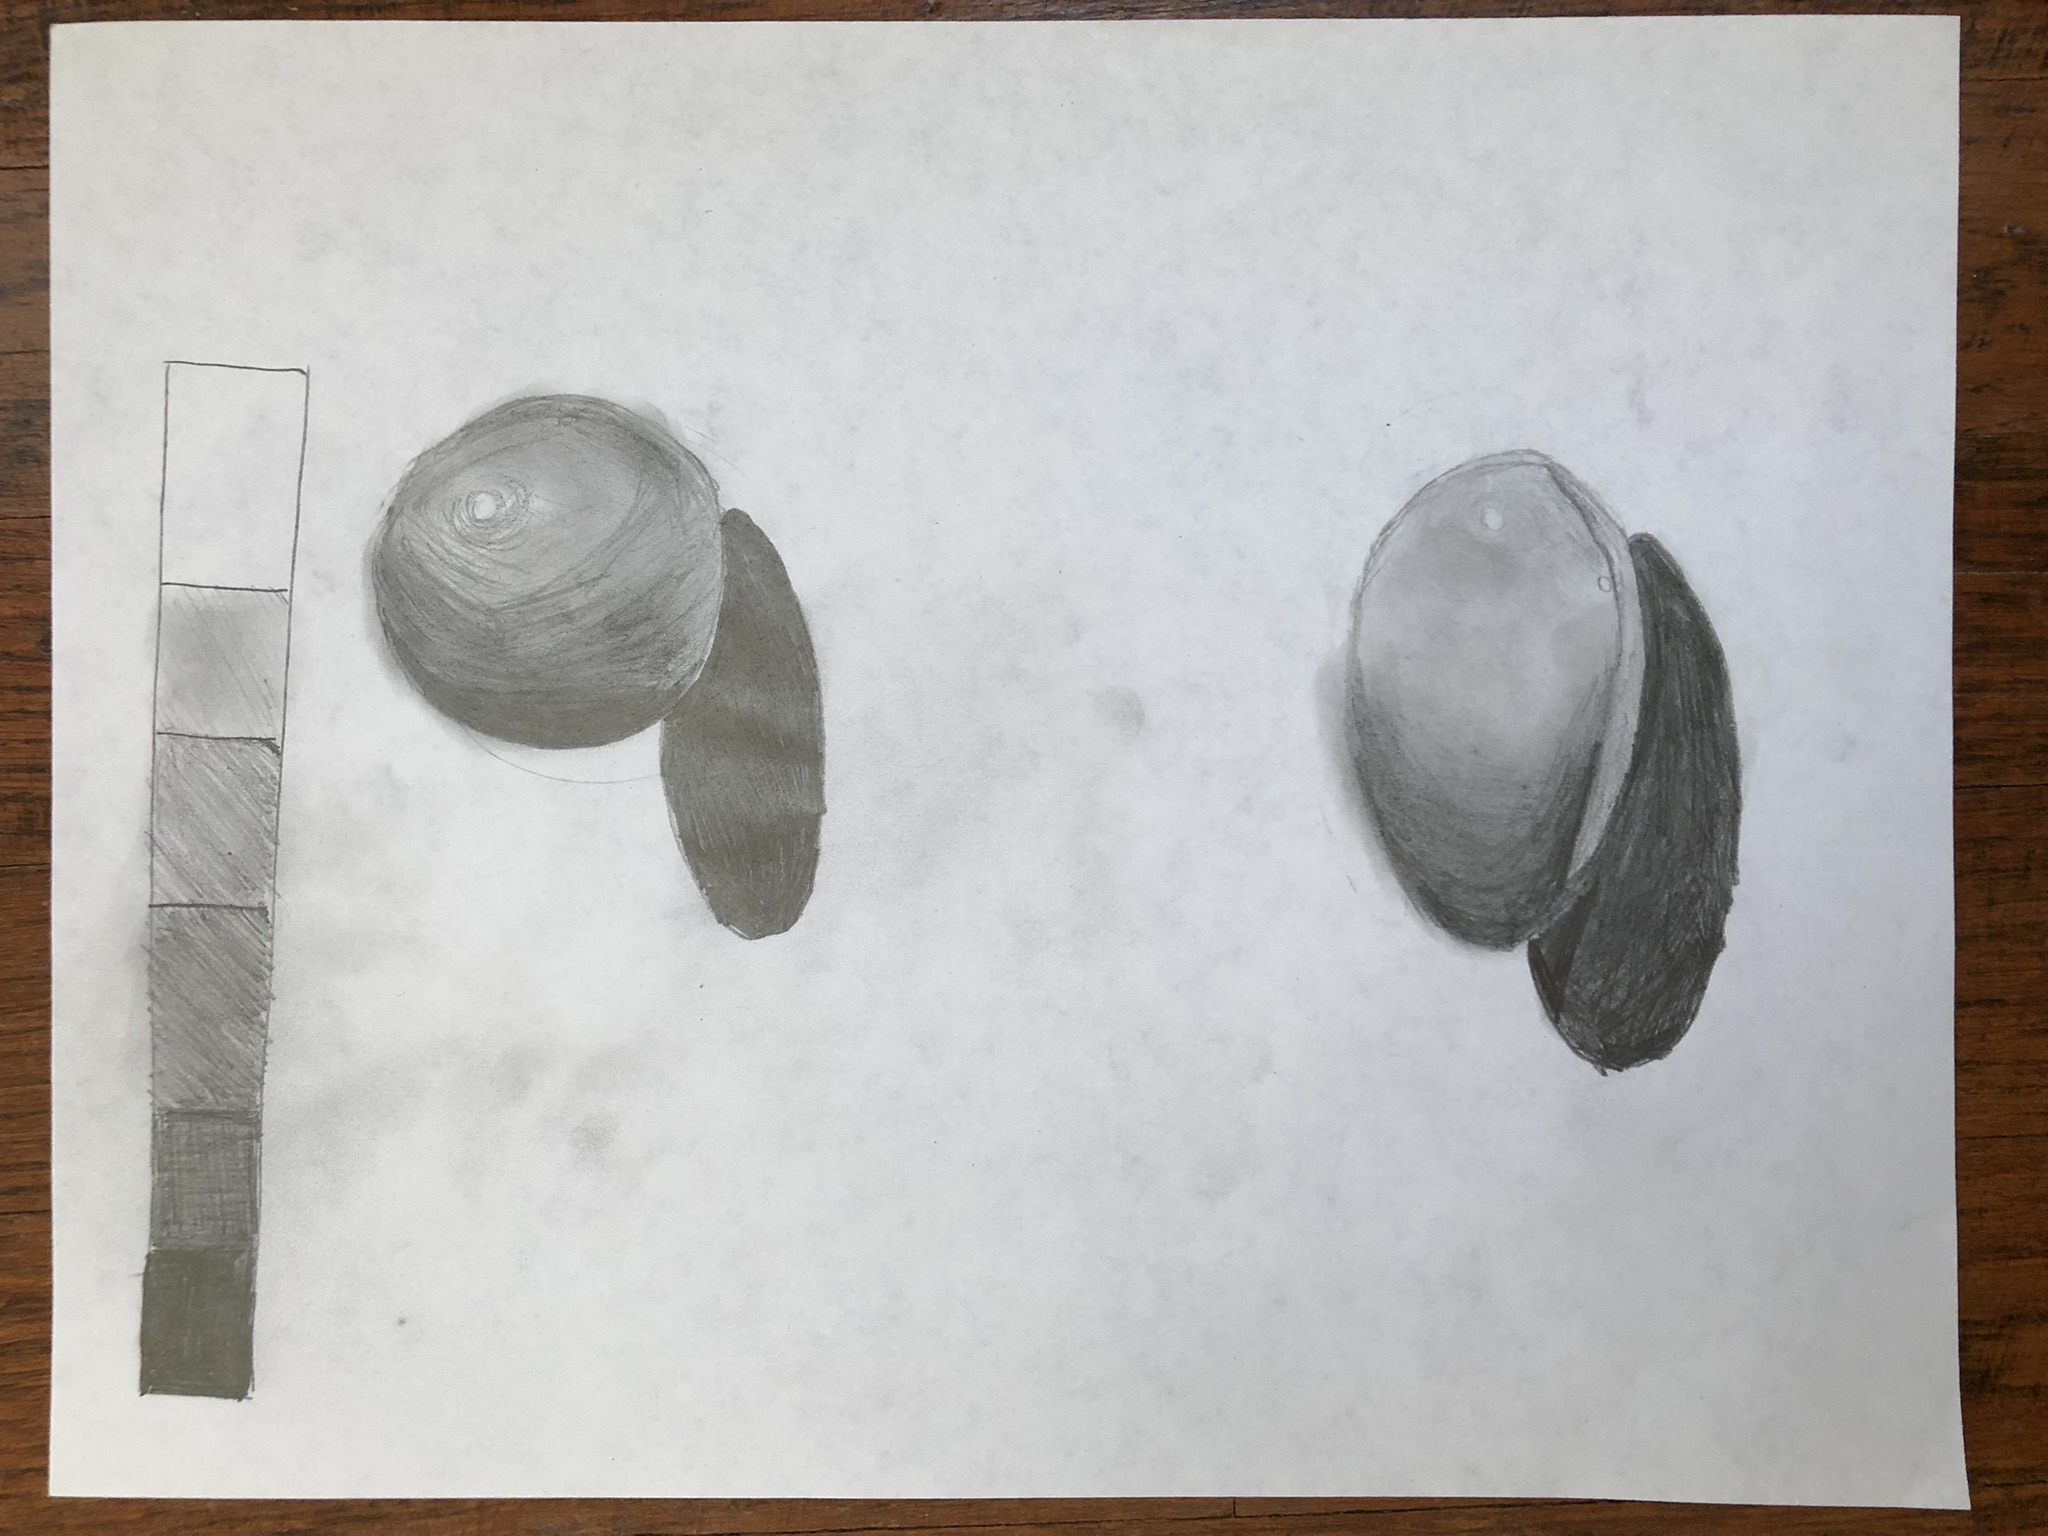
Ok! Hope everyone liked that. Our first activity is the value exercise. If you scroll down a bit, you can see our examples from when we did this lesson. We only did 6 values instead of 8, since we watched a different video back then.
I encourage getting dirty in this lesson. Is scribbling the pencil not giving you a smooth enough shade? Just take your finger and start rubbing! I absolutely love smudging my shading, even if it coats my hands in graphite. I feel like it really helps blend out gradient shadows like we'll need in the next activity, and it's very tactile! Like, no instrument necessary. Just throw down some graphite and let your hands do the rest.
Now for this next part, you gotta get something vaguely spherical, and without patterns/noticeable textures. I realize this is kind of a tall order! This video suggested using an egg, which is a great idea. When we did this lesson last year, I struggled finding something spherical (even as a mathematician!). What we ended up using were some round polished crystals that my girlfriend has. Basically, we want a similar FORM that is curved everywhere, so we see a nice gradient of light upon it. Once you find the best approximation of a sphere in your house, place it on a sheet of paper, and position a bright light above it. I tried using a lamp but honestly I got better results with my iPhone flashlight stacked on top of some books, as pictured.

Now that you have your setup, you can hopefully see the elements that the woman was talking about in the video. The gradient of white light reflecting, to the dark gray of the shadow. Notice that it is not fully black, since there's still light bouncing around everywhere.
Follow the steps of the video. You can use your expertise from last week to draw a nice outline, then you can start using your "palette" of grays. Take care again to draw what you see, not that you think you see (this is a common theme in this course!). Where are there bright spots? How does the proximity of the bottom of the sphere and the paper interact? Is it brighter or darker than you'd expect?
Items needed:
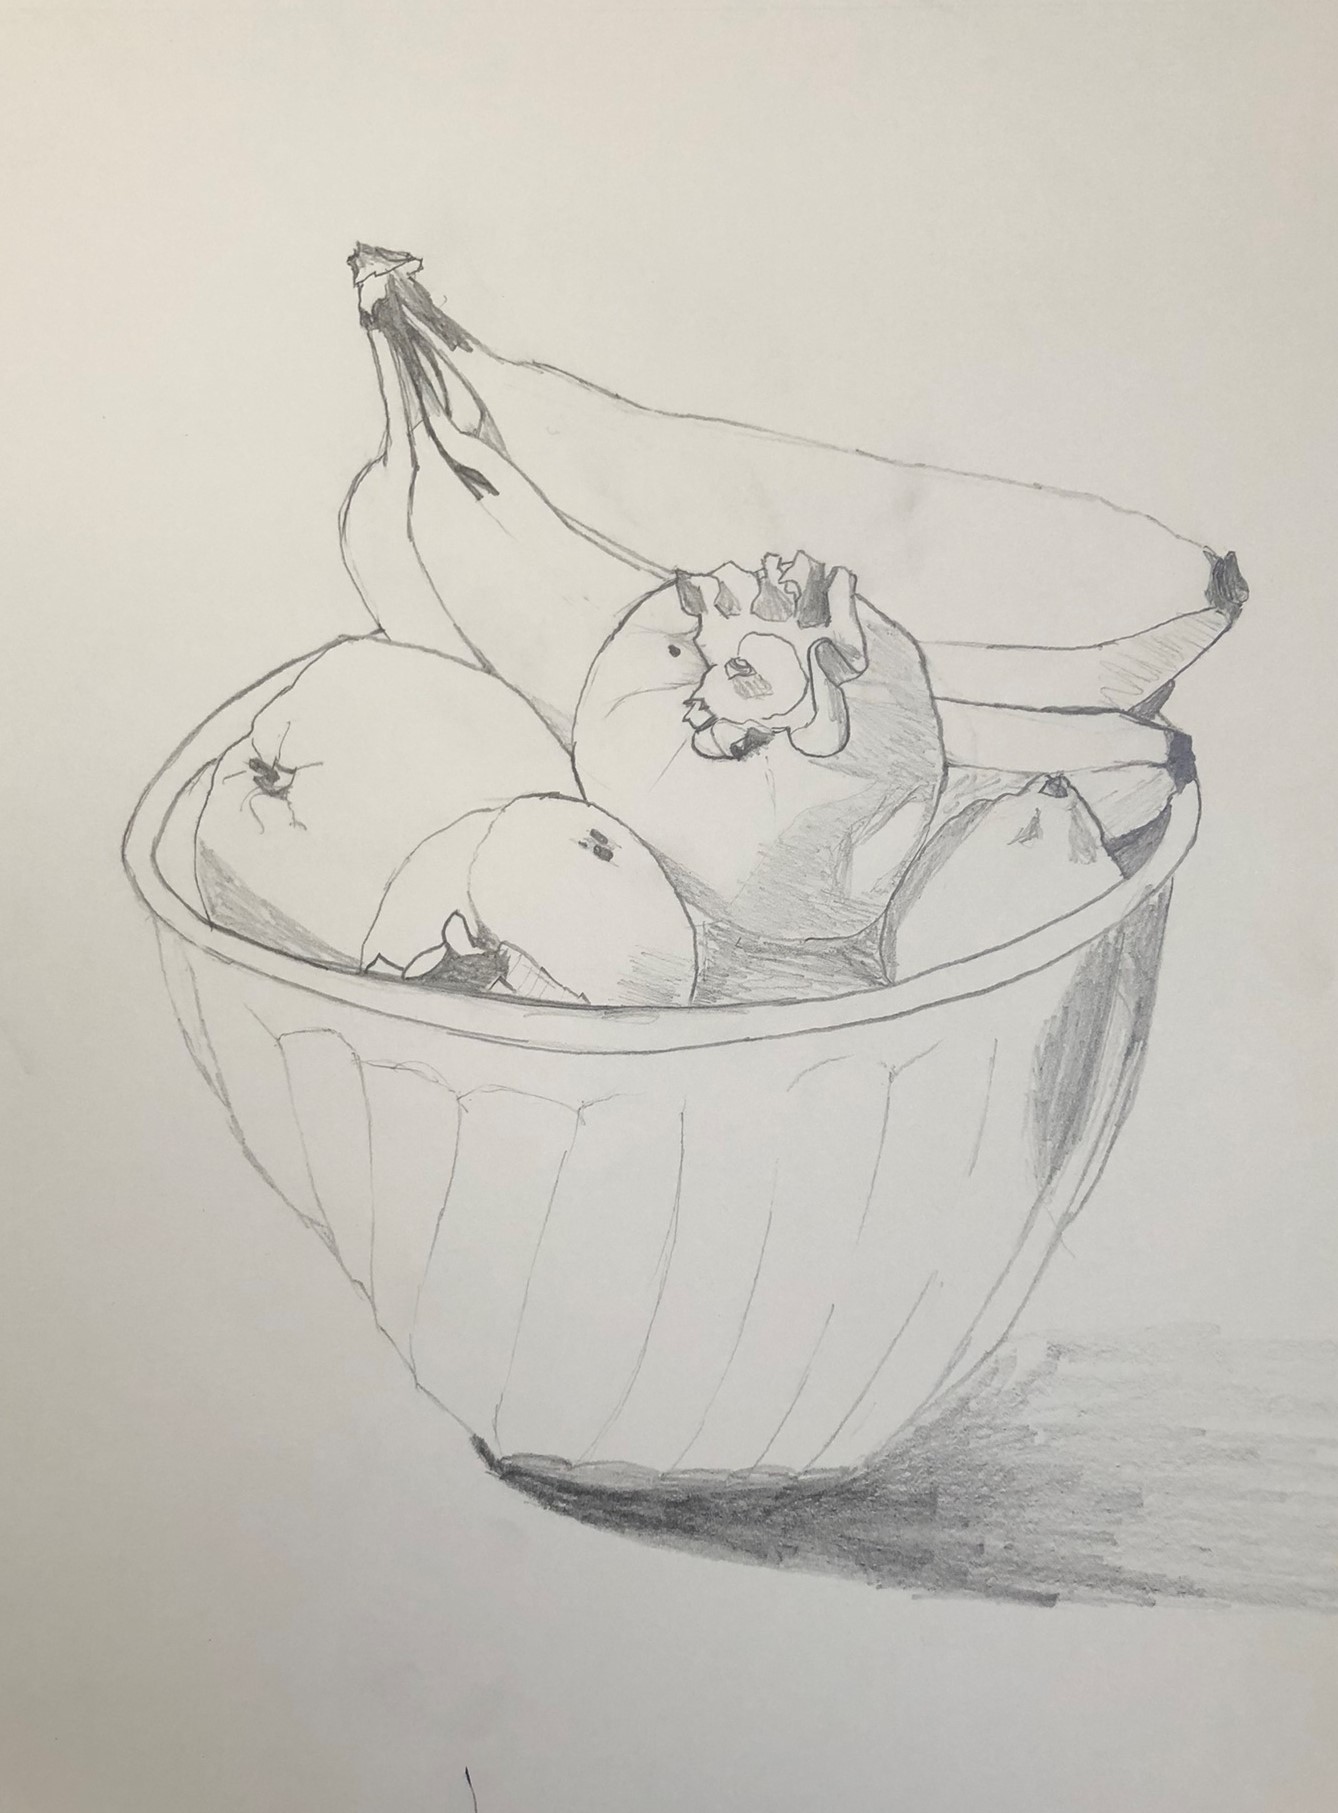
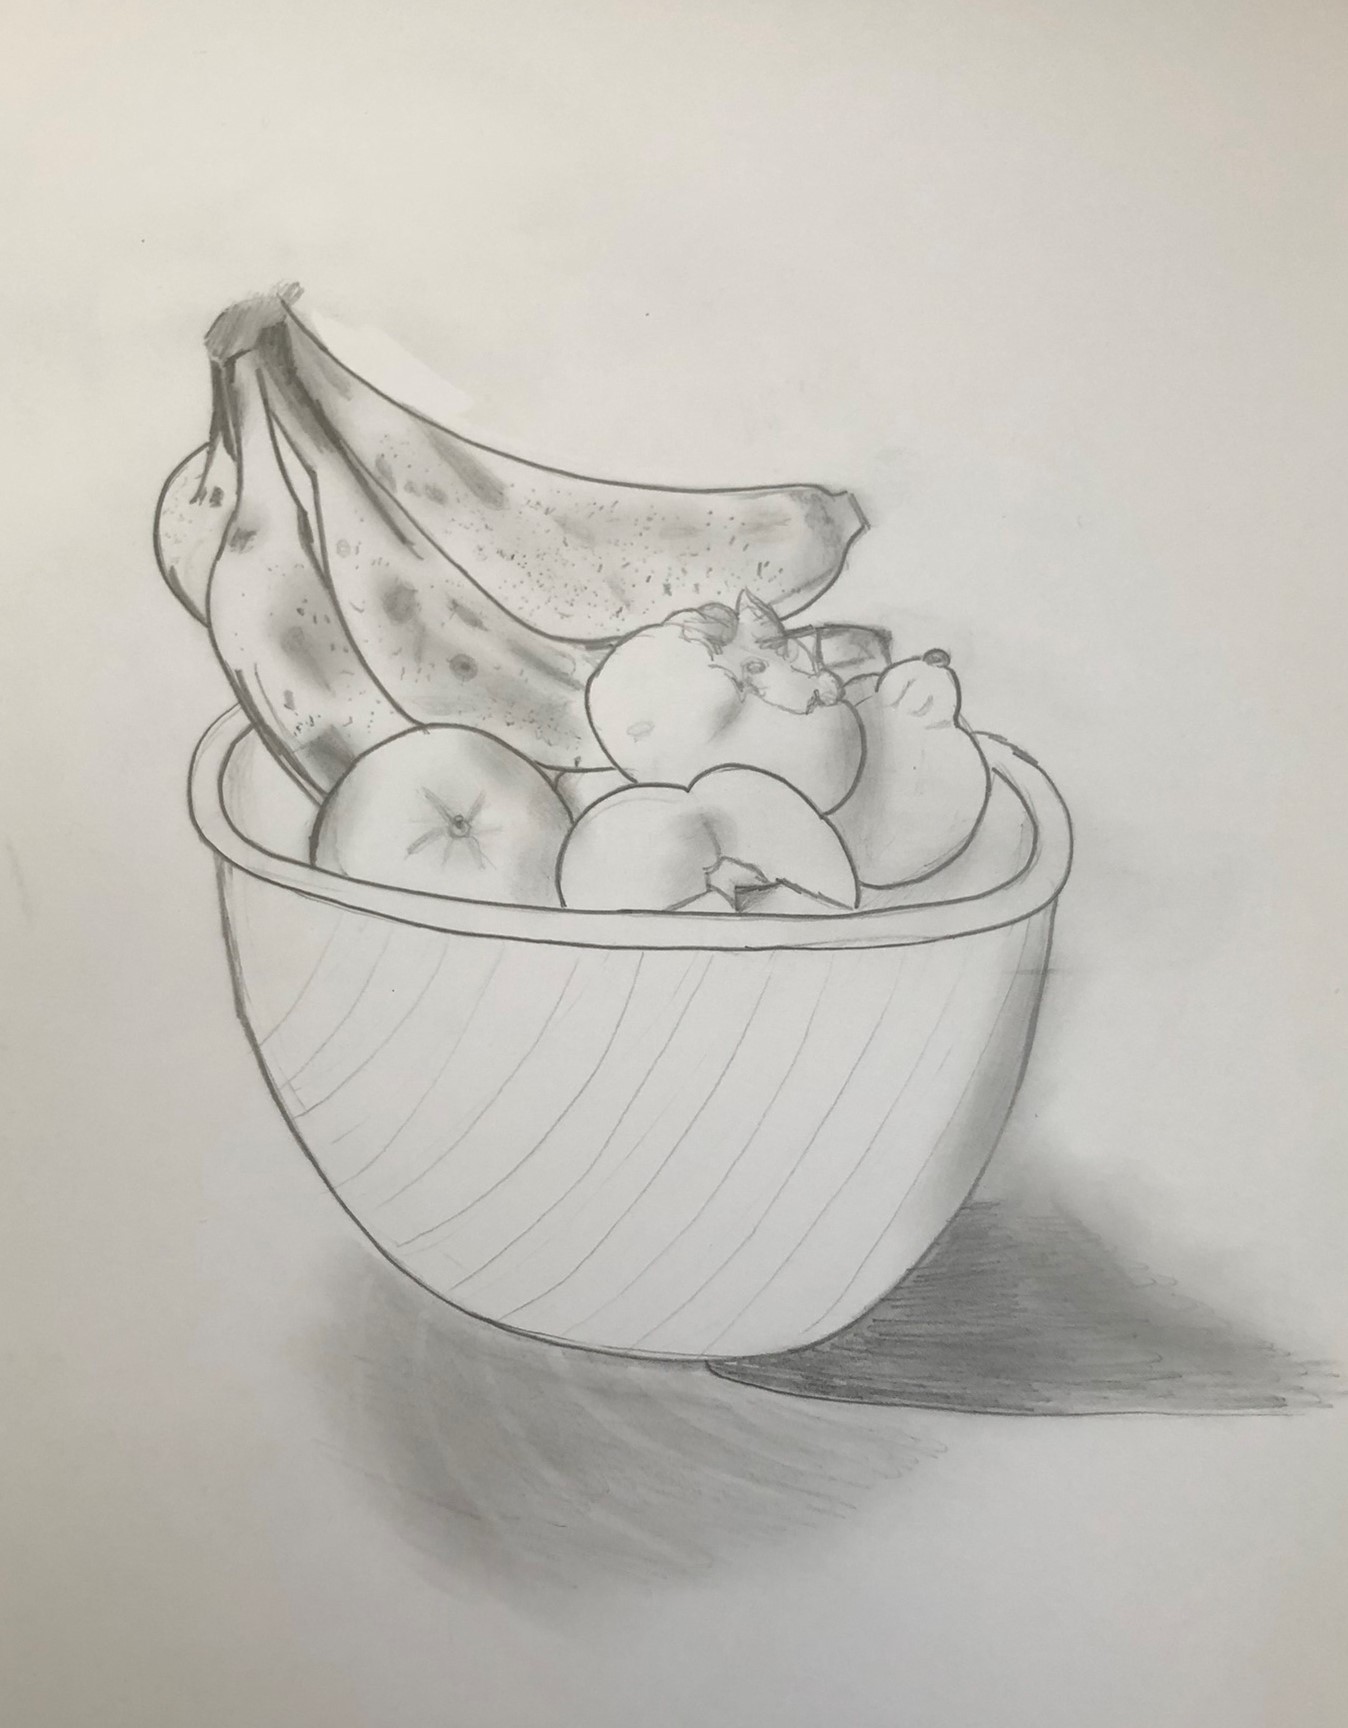
Using what we know about form and shading, we're gonna do a fine art staple: a still life using fruit!
Go ahead and grab a bunch of fruit (all same or all different) and throw 'em in a nice bowl. Arrange it and make it look artsy and interesting!
Now, settle in, and draw what you see. You may want to start out by sketching lightly the rough proportions of the drawing ("the bowl is about as wide as the orange, the apple, and the grapes all lined up..."). Then go ahead and dive in! Even with our two techniques of contour line and shading, we can really begin making some nice art. Spend as much time as you'd like on this! There's no rush and no grade, so enjoy the process of creating some art. Who knows, maybe you'll like it enough to hang it on the fridge!
But also, don't be afraid to experiment. Try different ways of shading, ways that may or may not work for the differnt forms here. No grade means no risk in messing up :)
