| q (polygons at each vertex) | ⋮ | ⋮ | |||||||
| 8 | 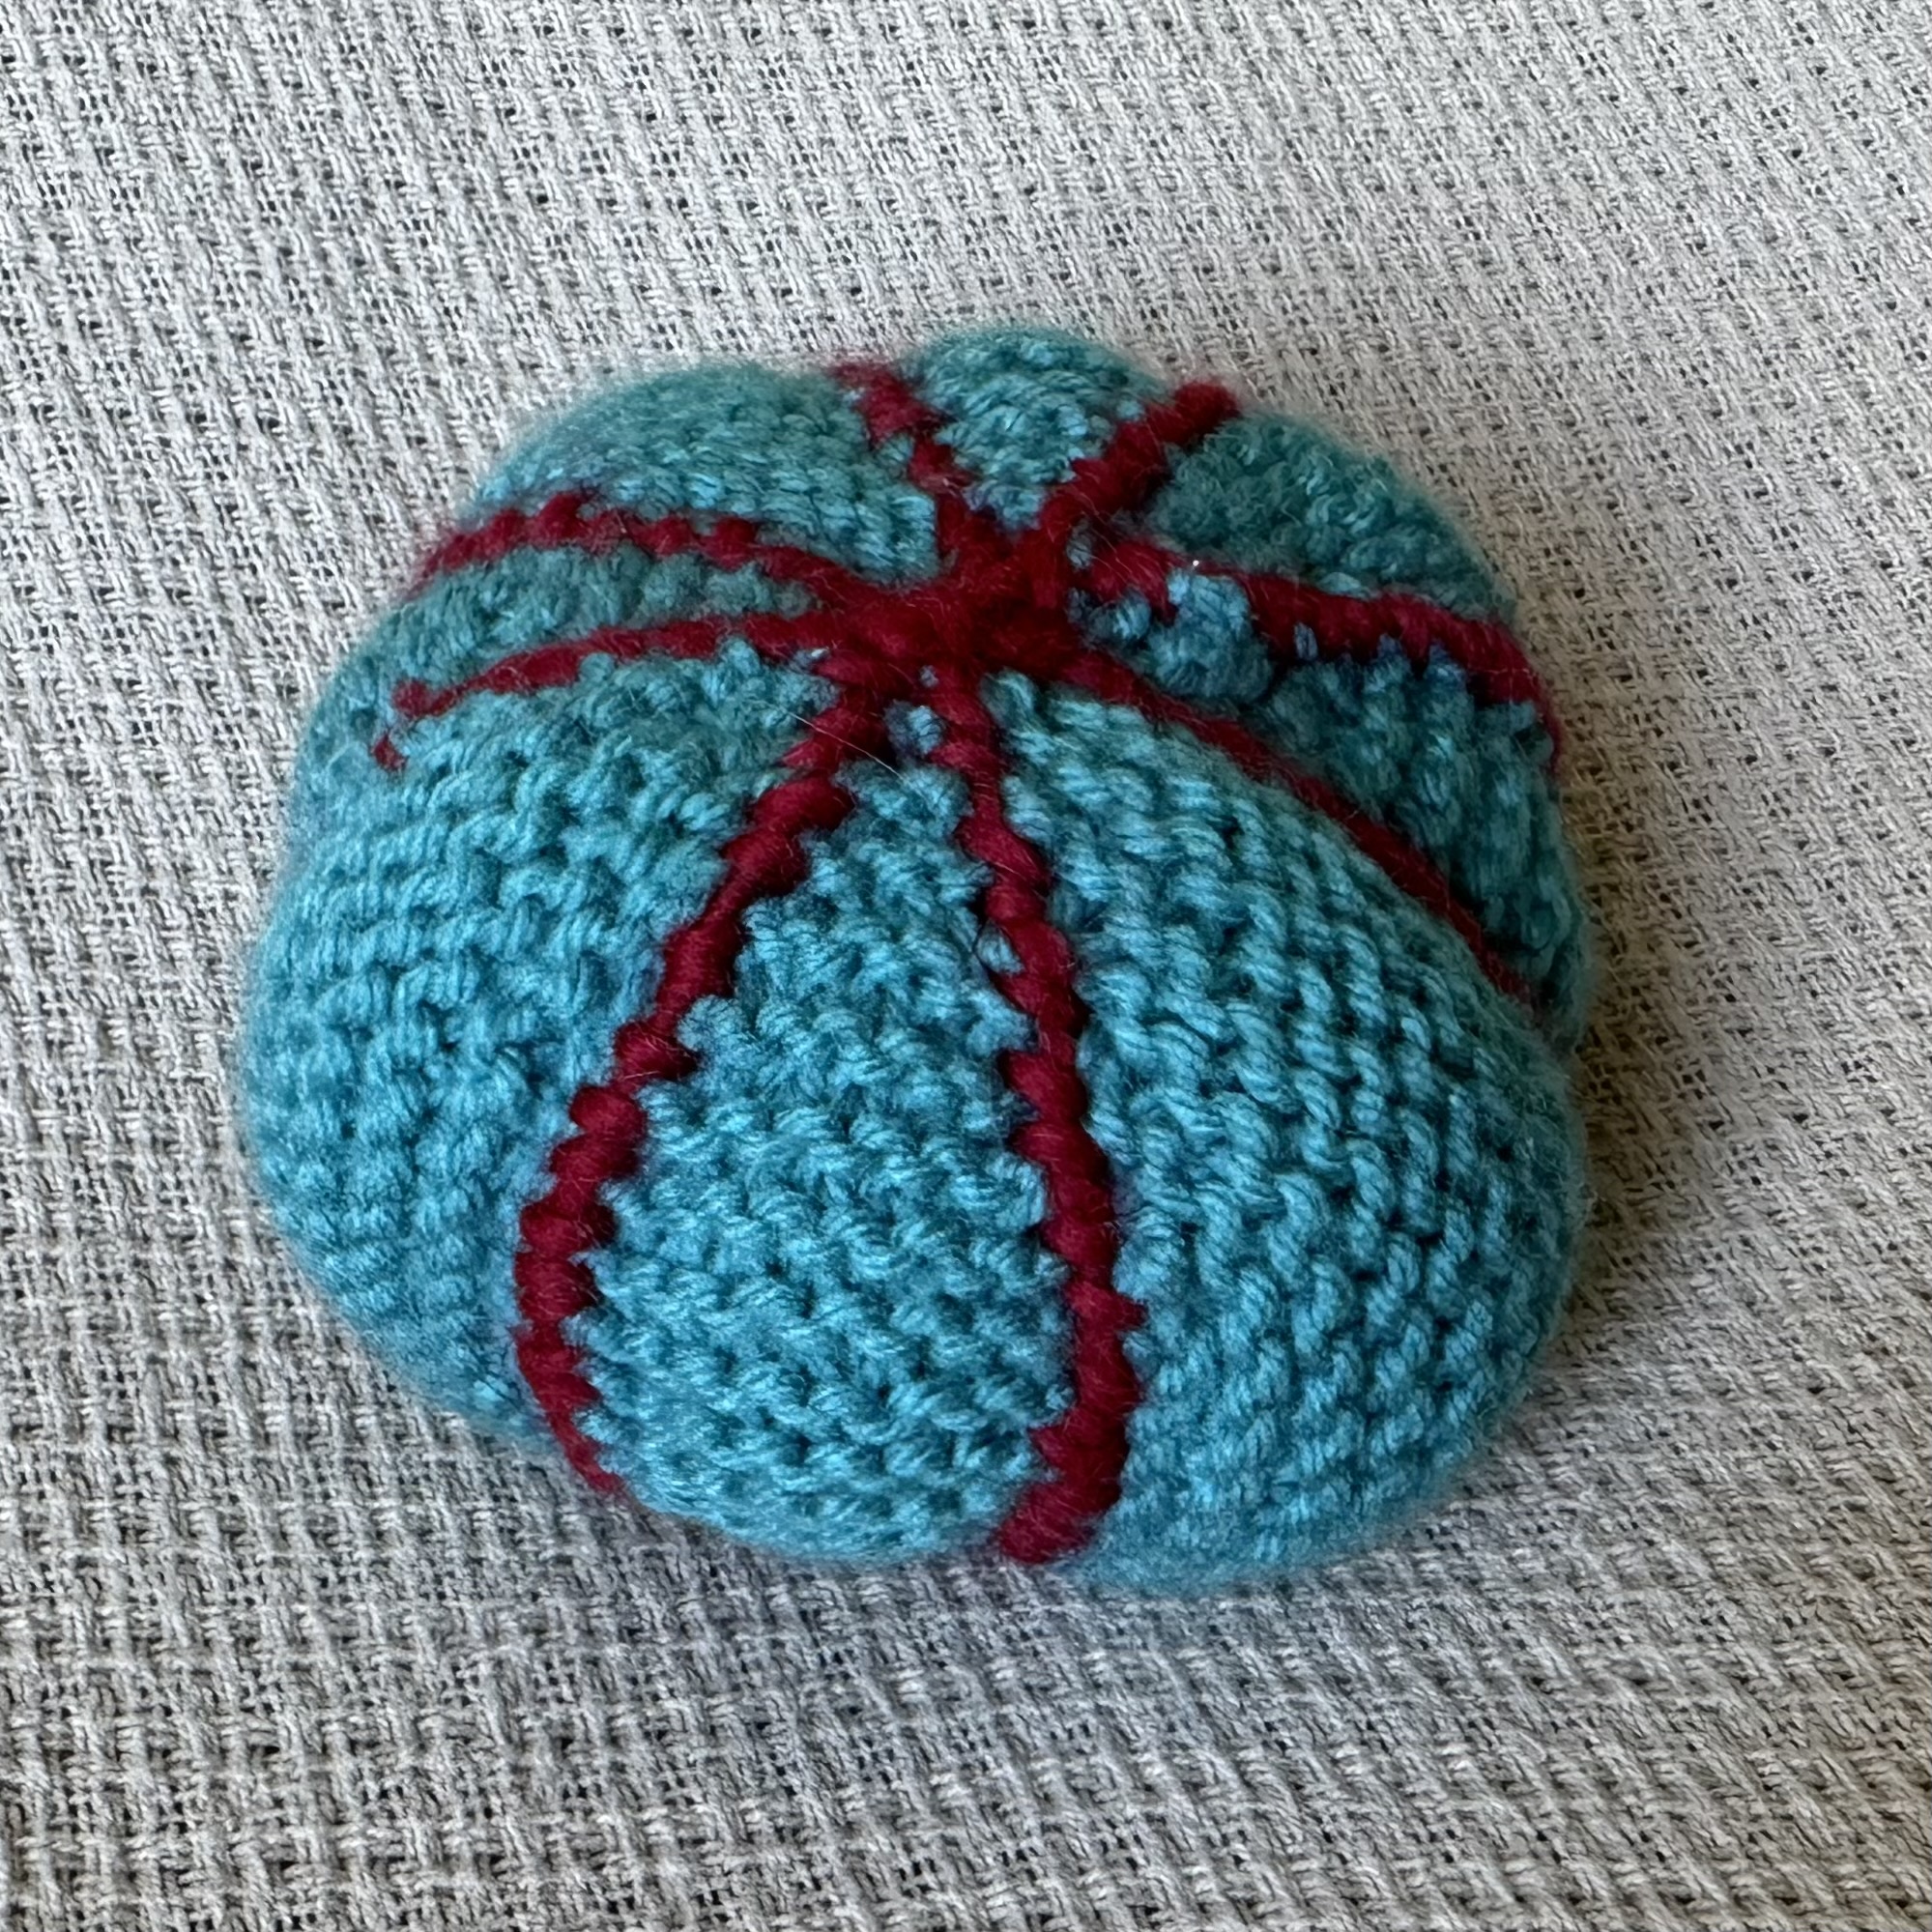 |
⋮ | |||||||
| 7 | * | 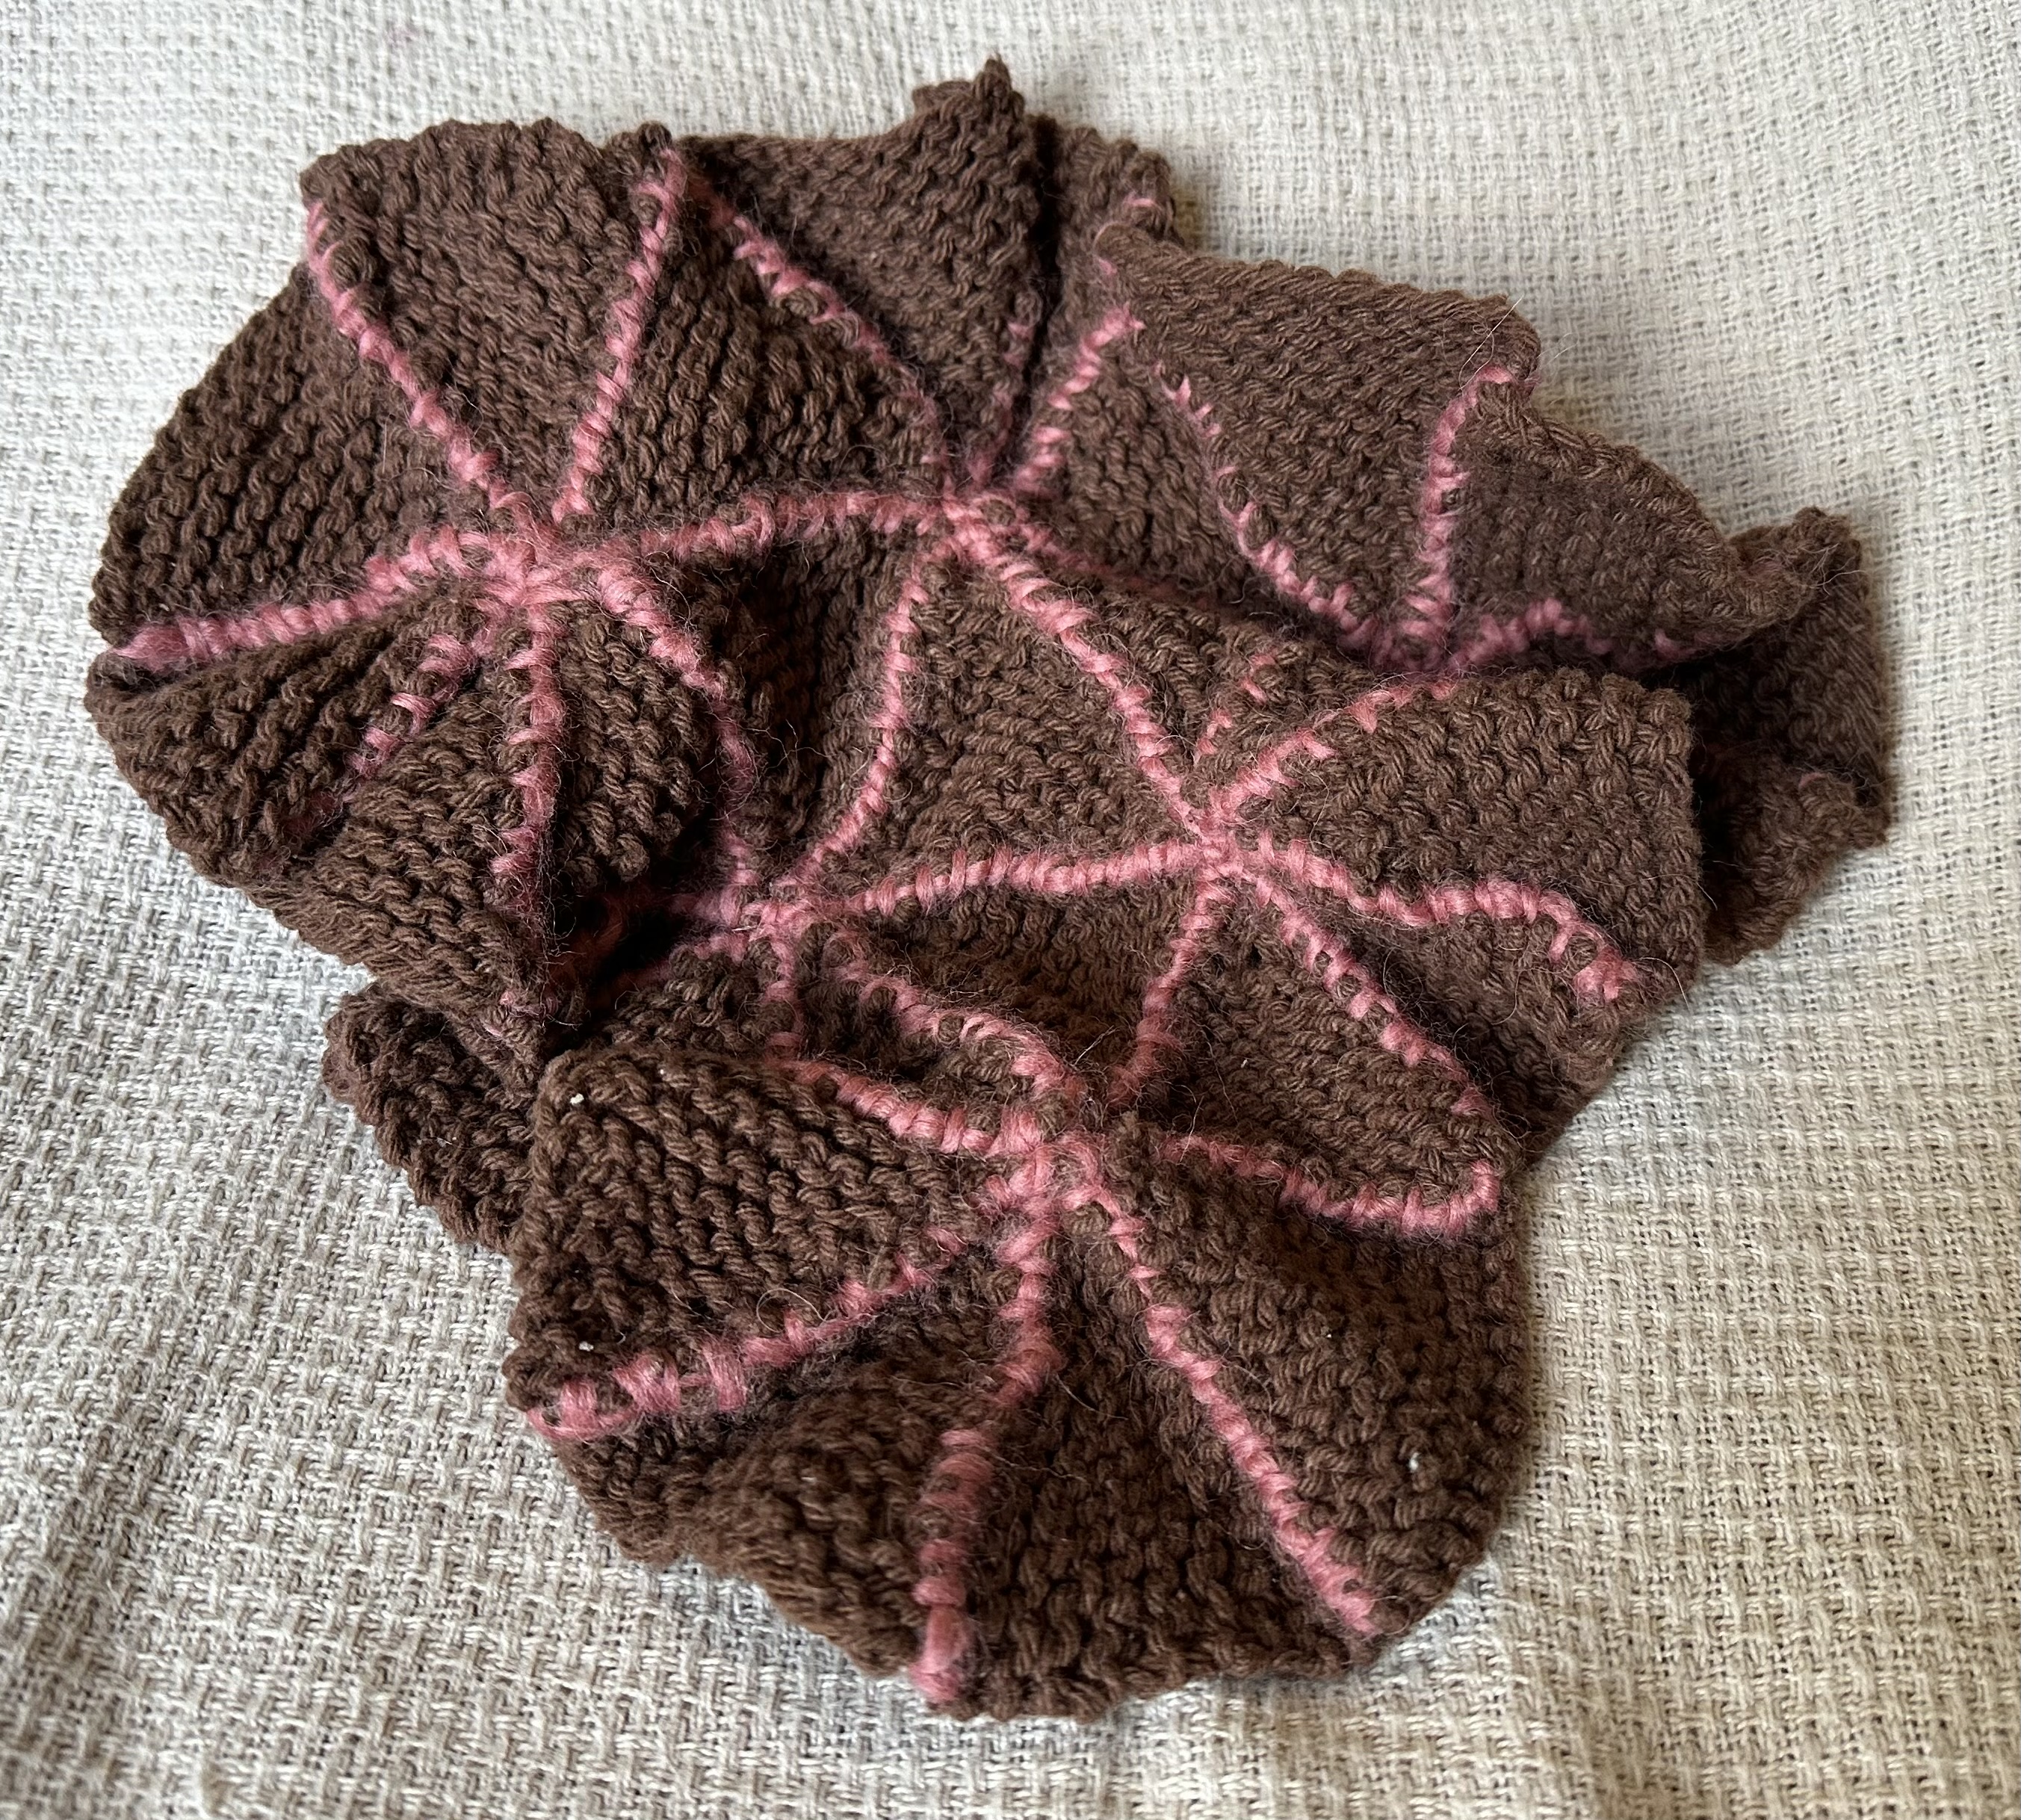 |
⋰ | ||||||
| 6 | * | 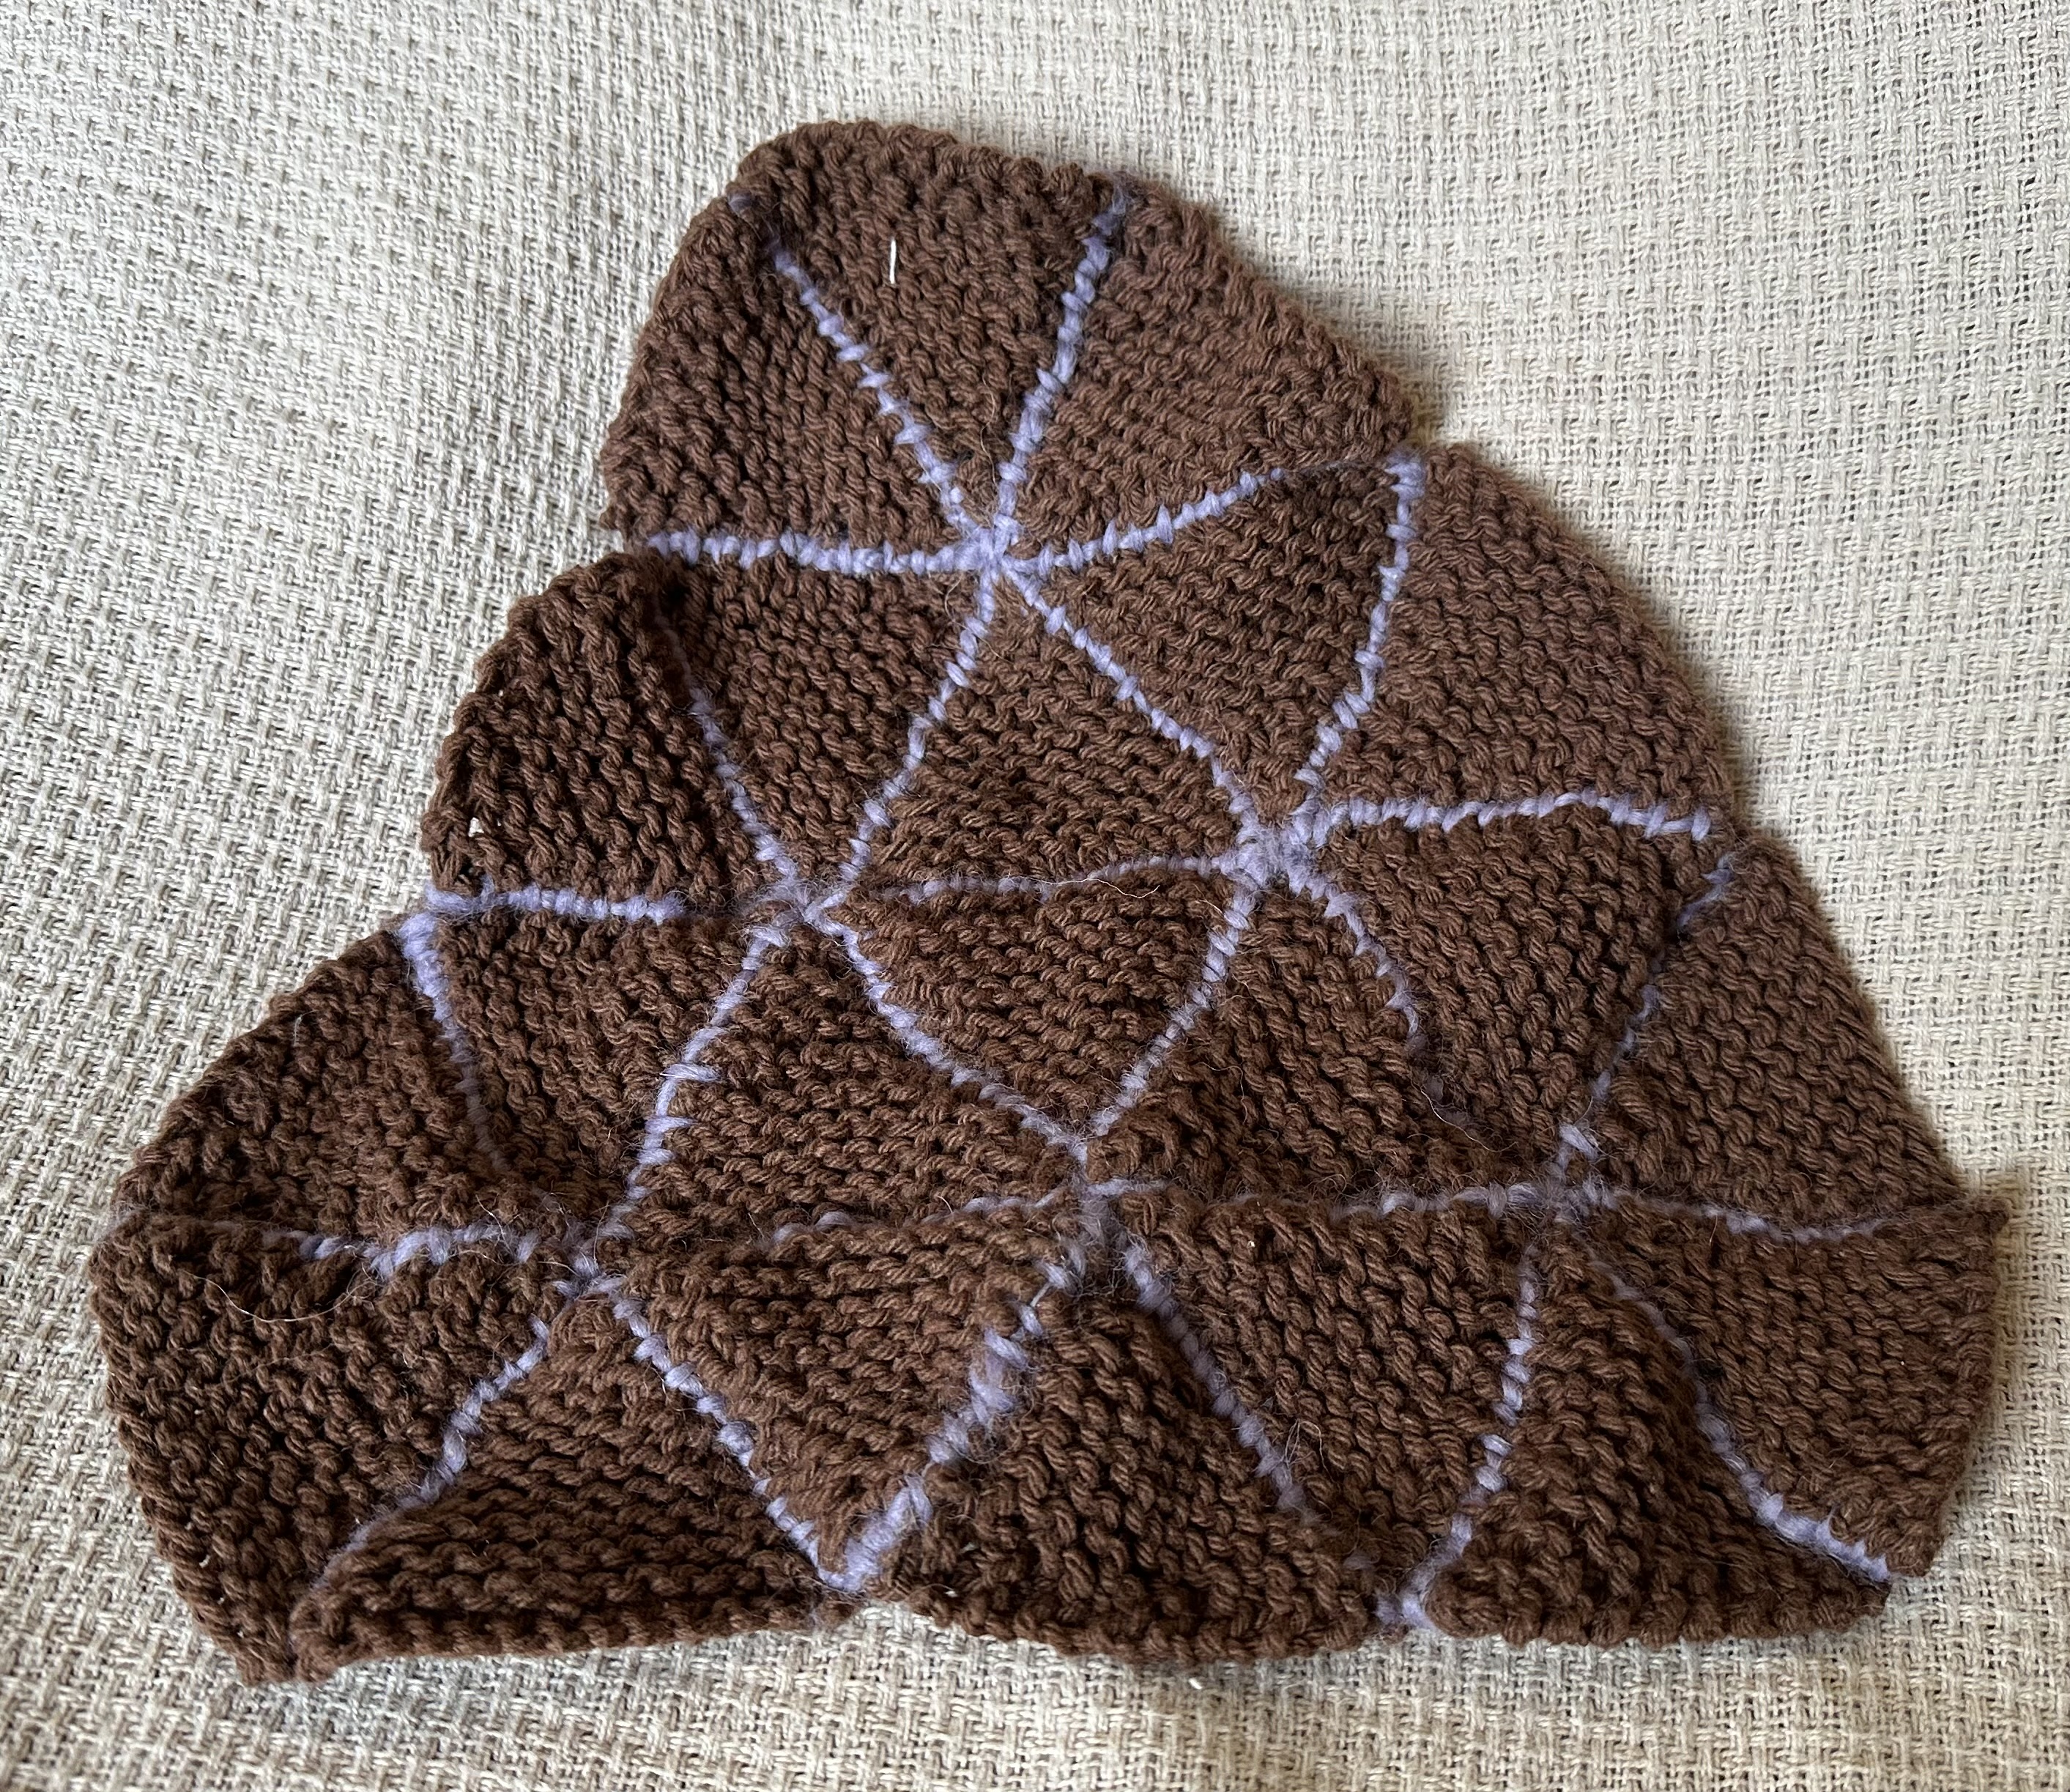 |
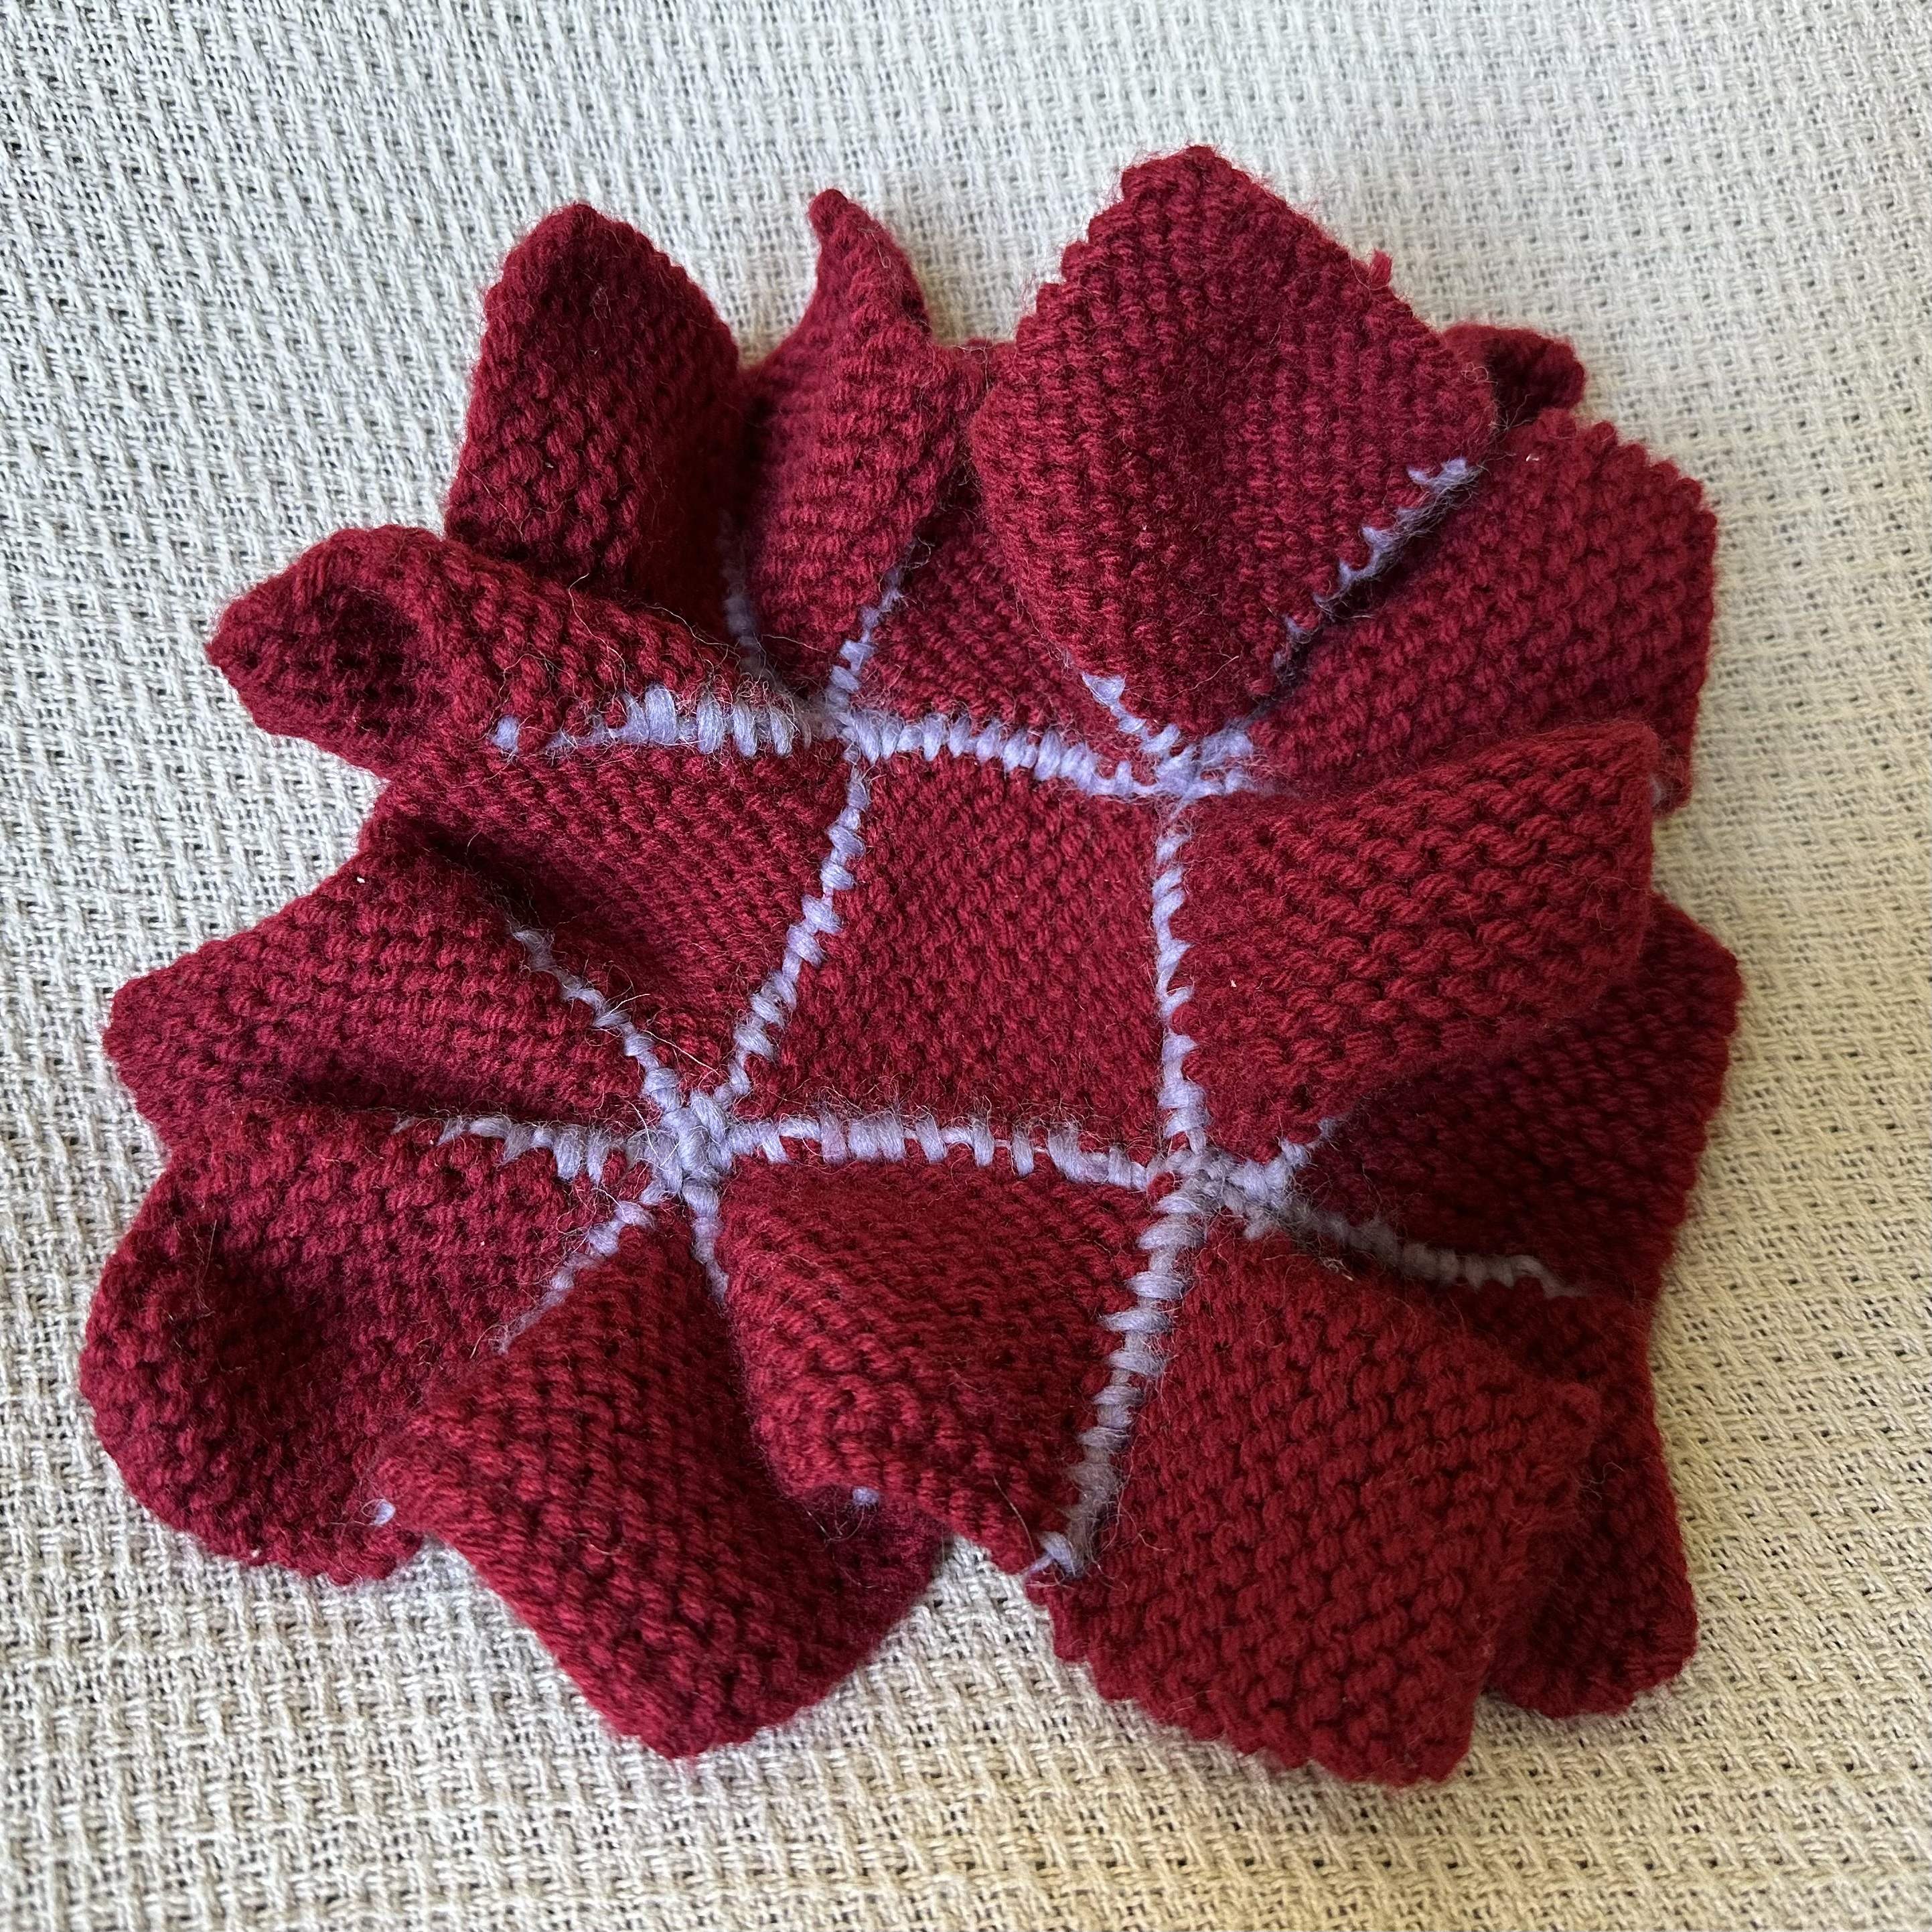 |
⋰ | |||||
| 5 | * | 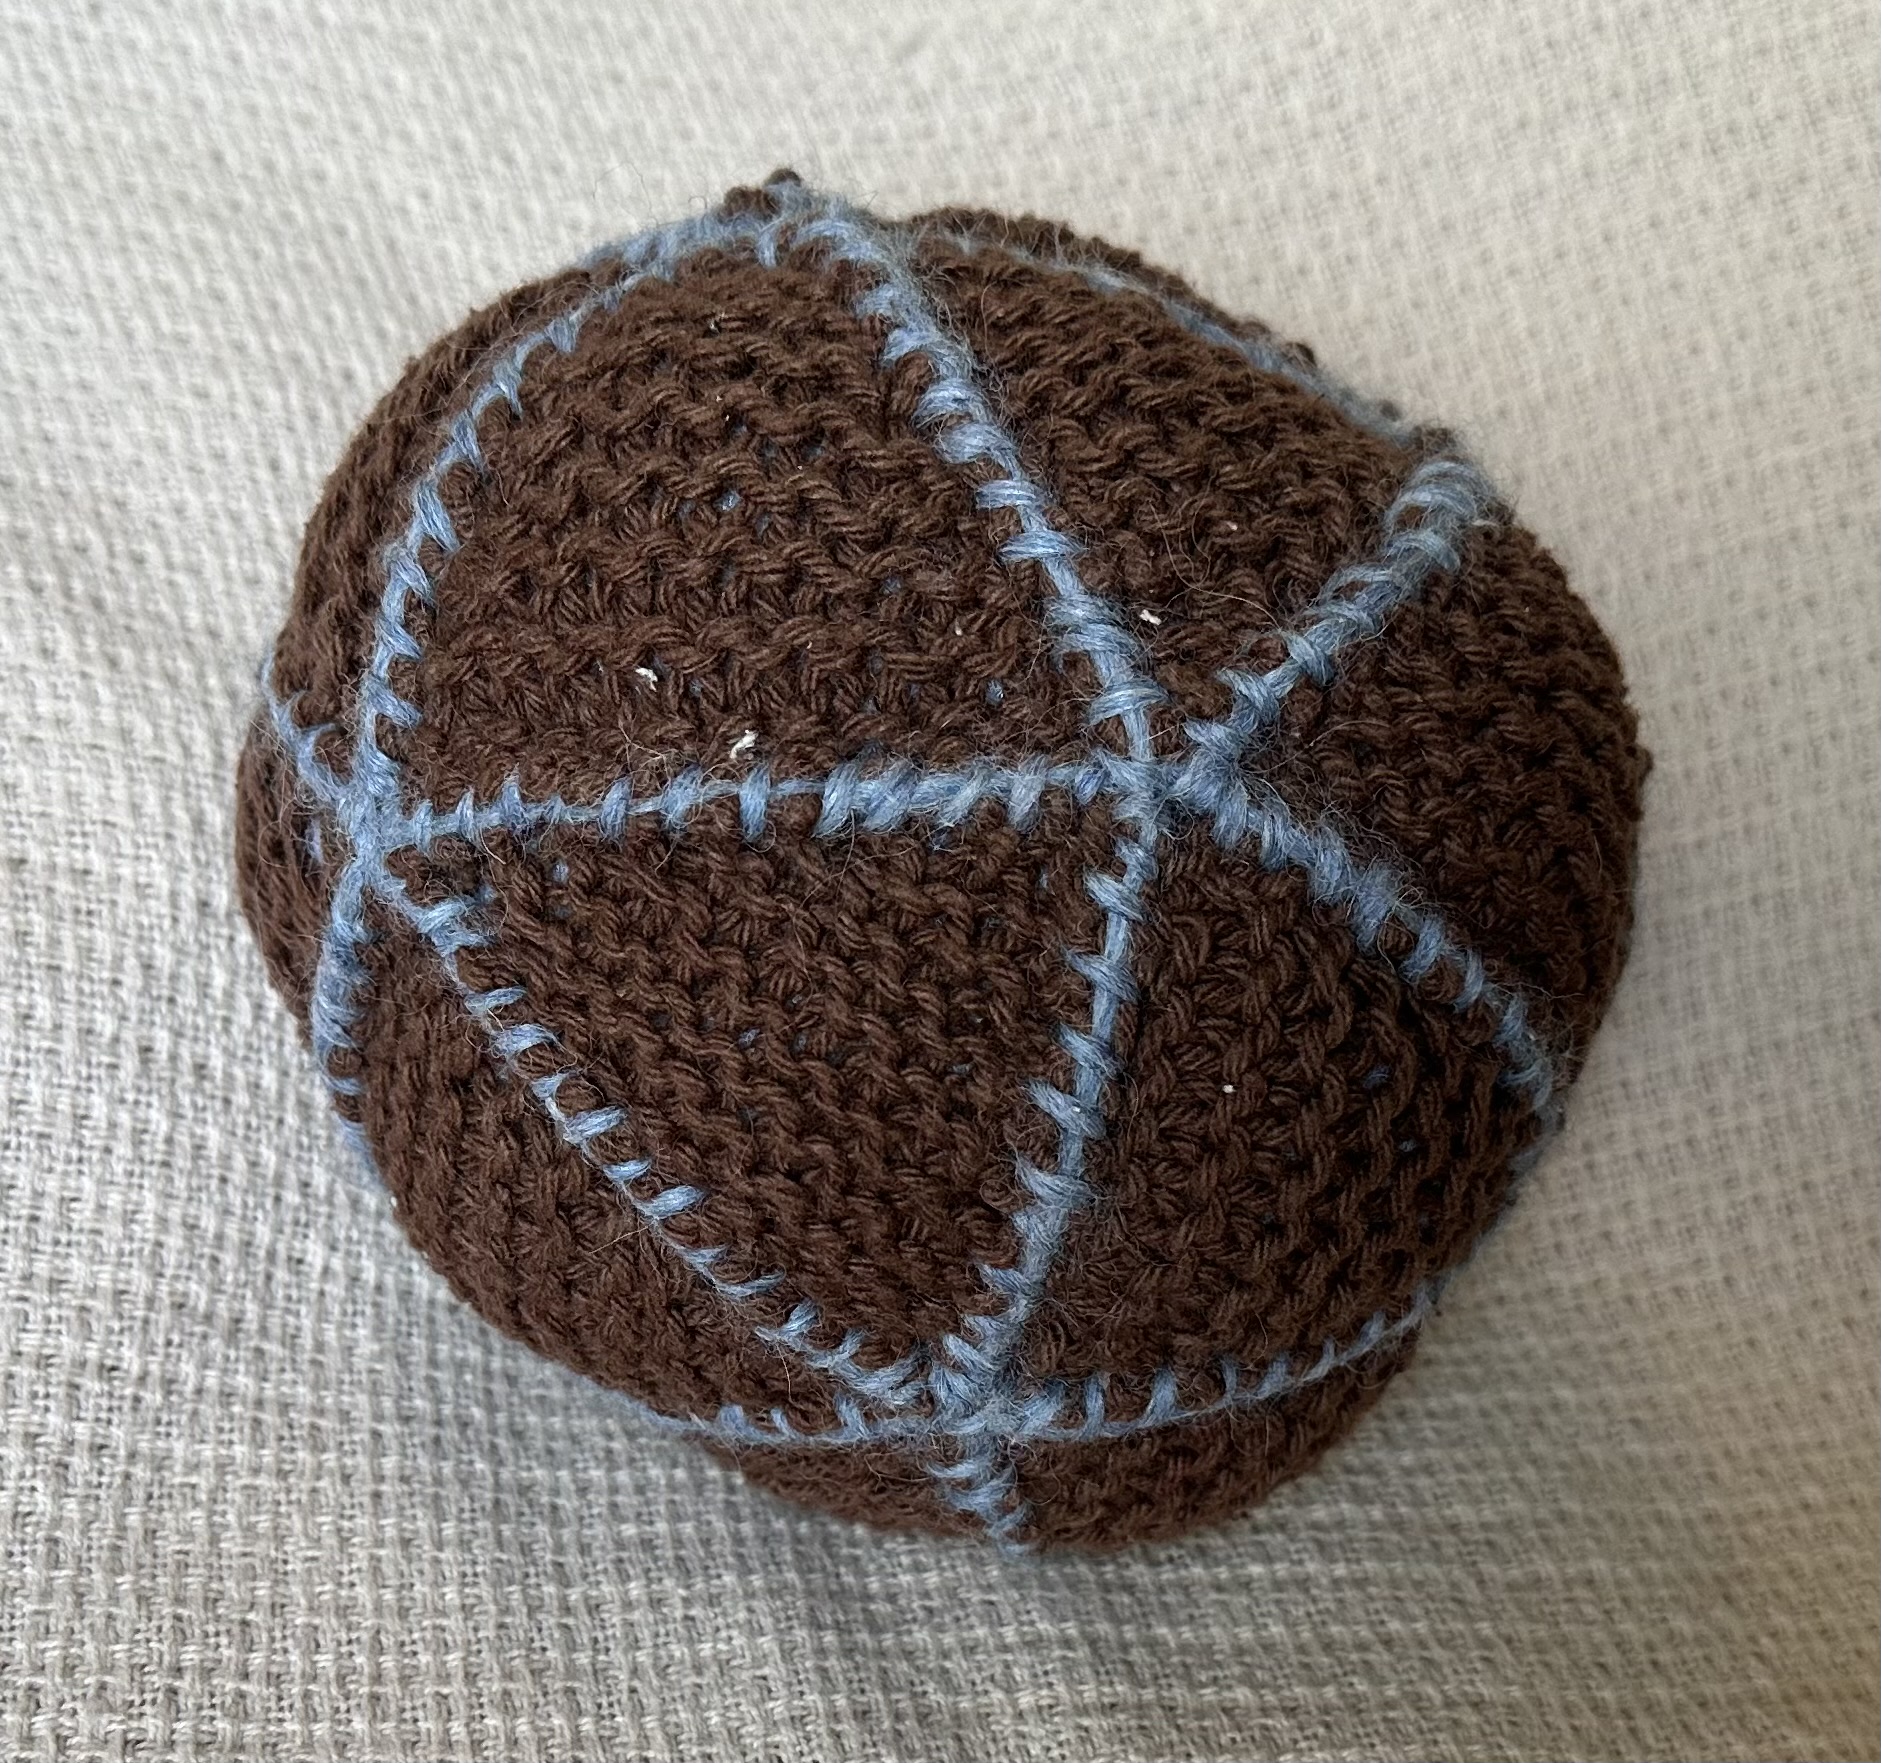 |
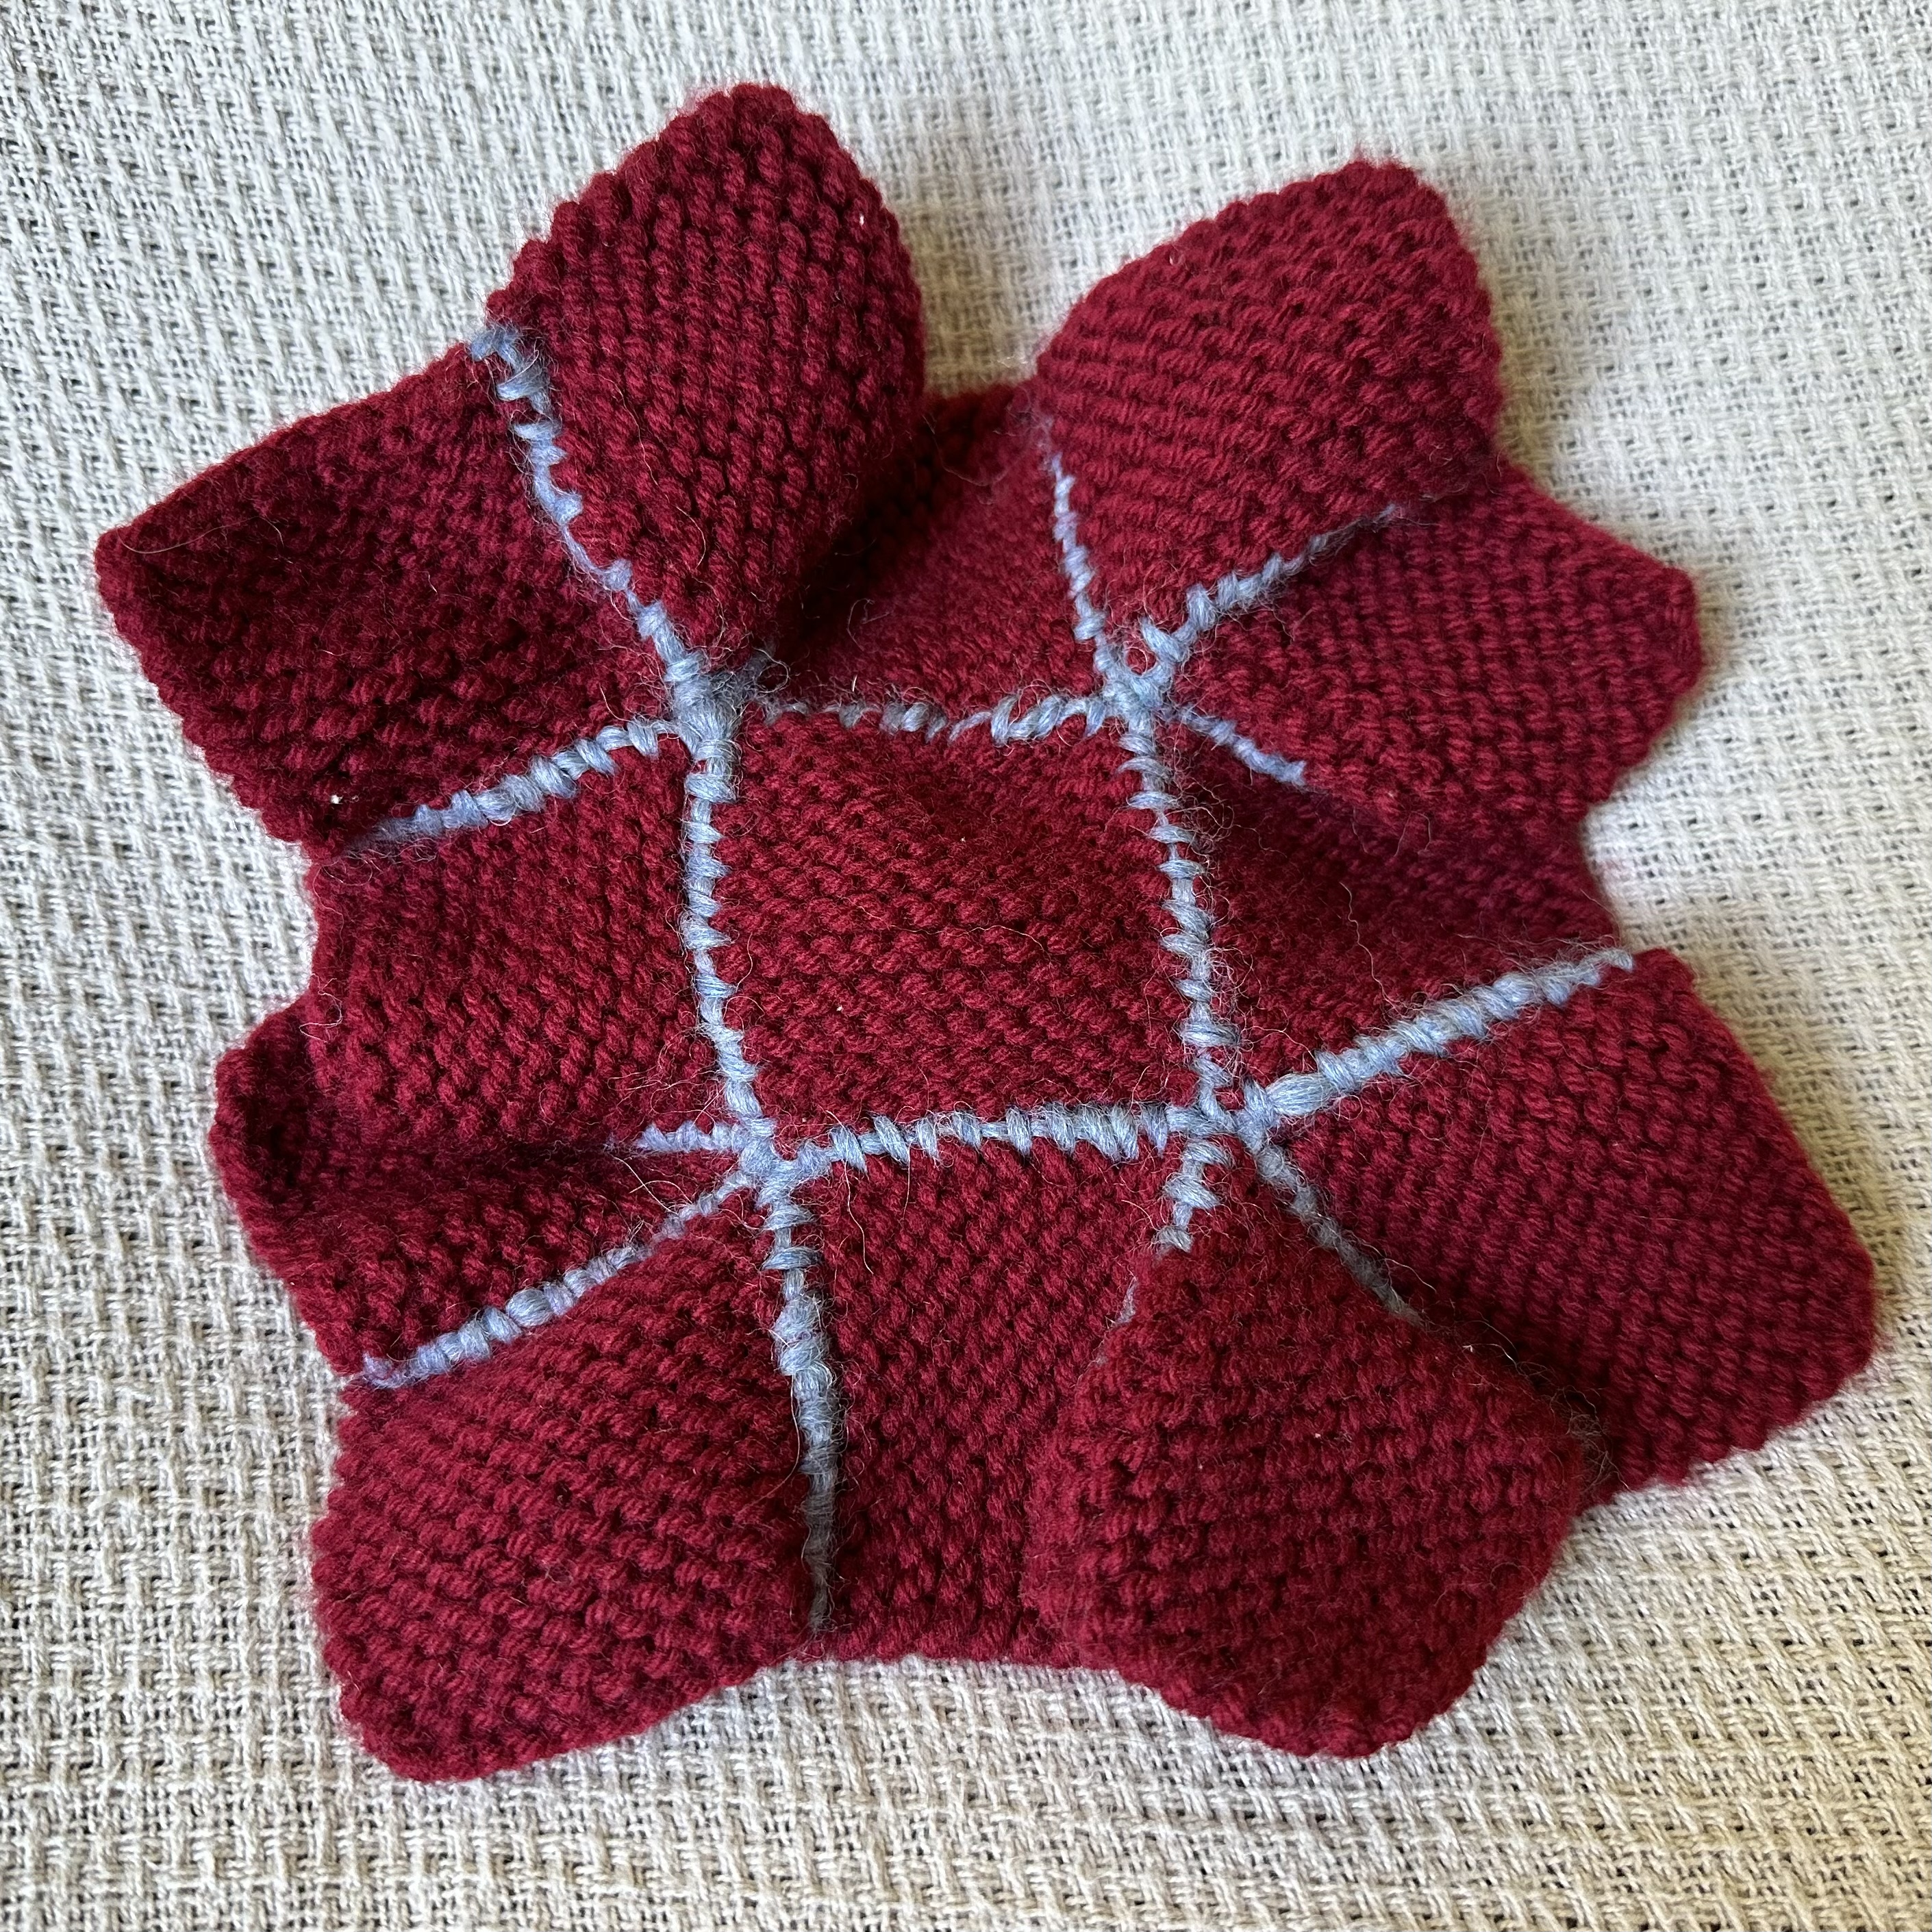 |
⋰ | ⋰ | ||||
| 4 | * | 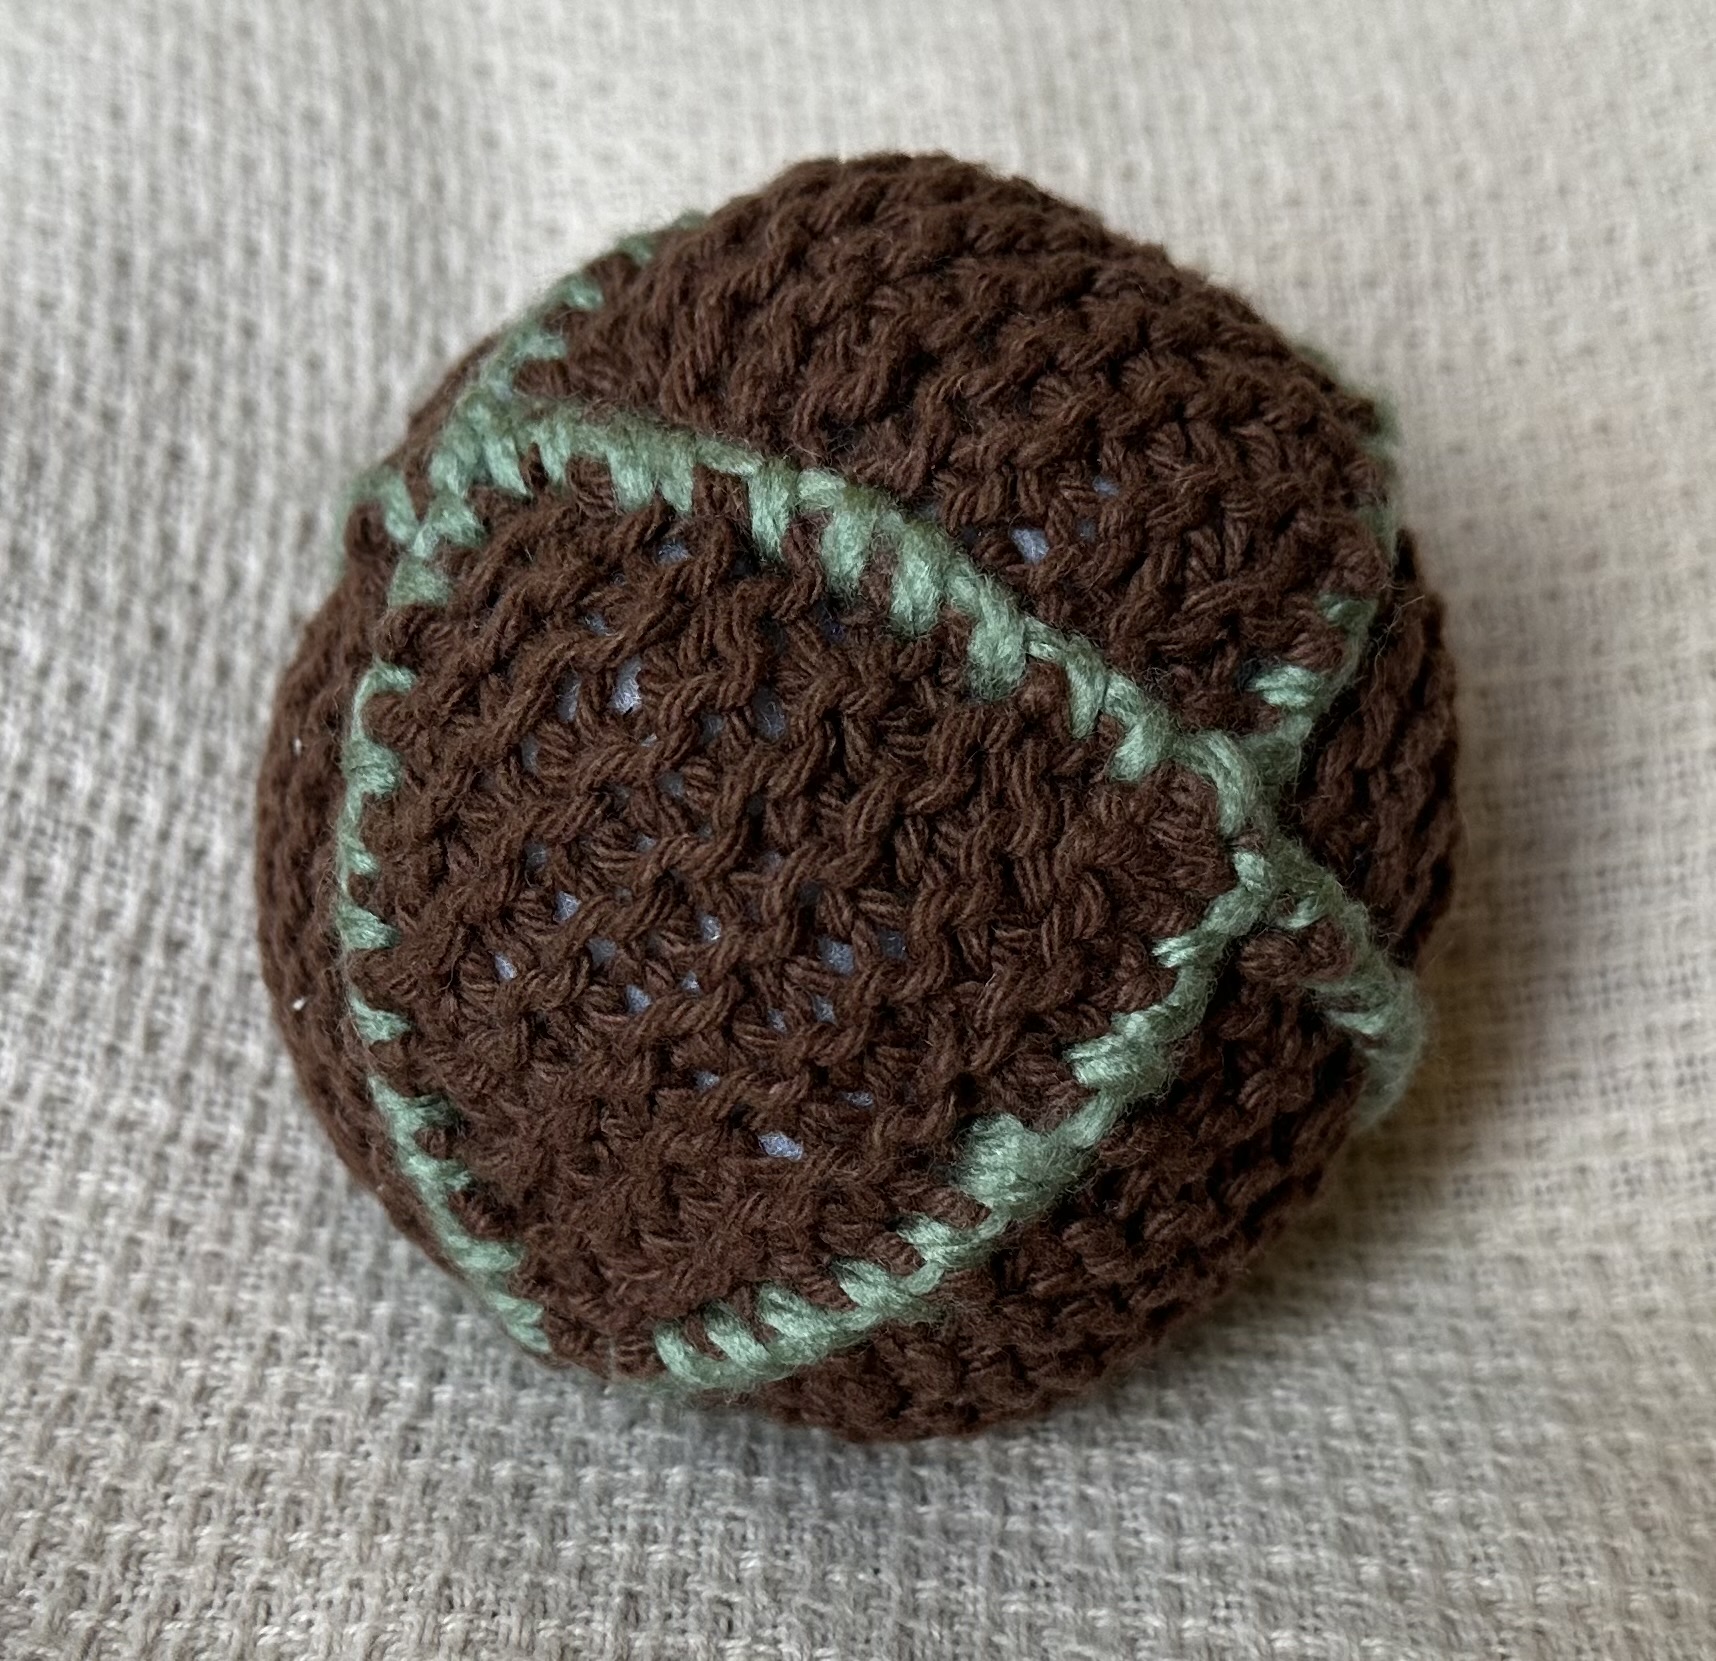 |
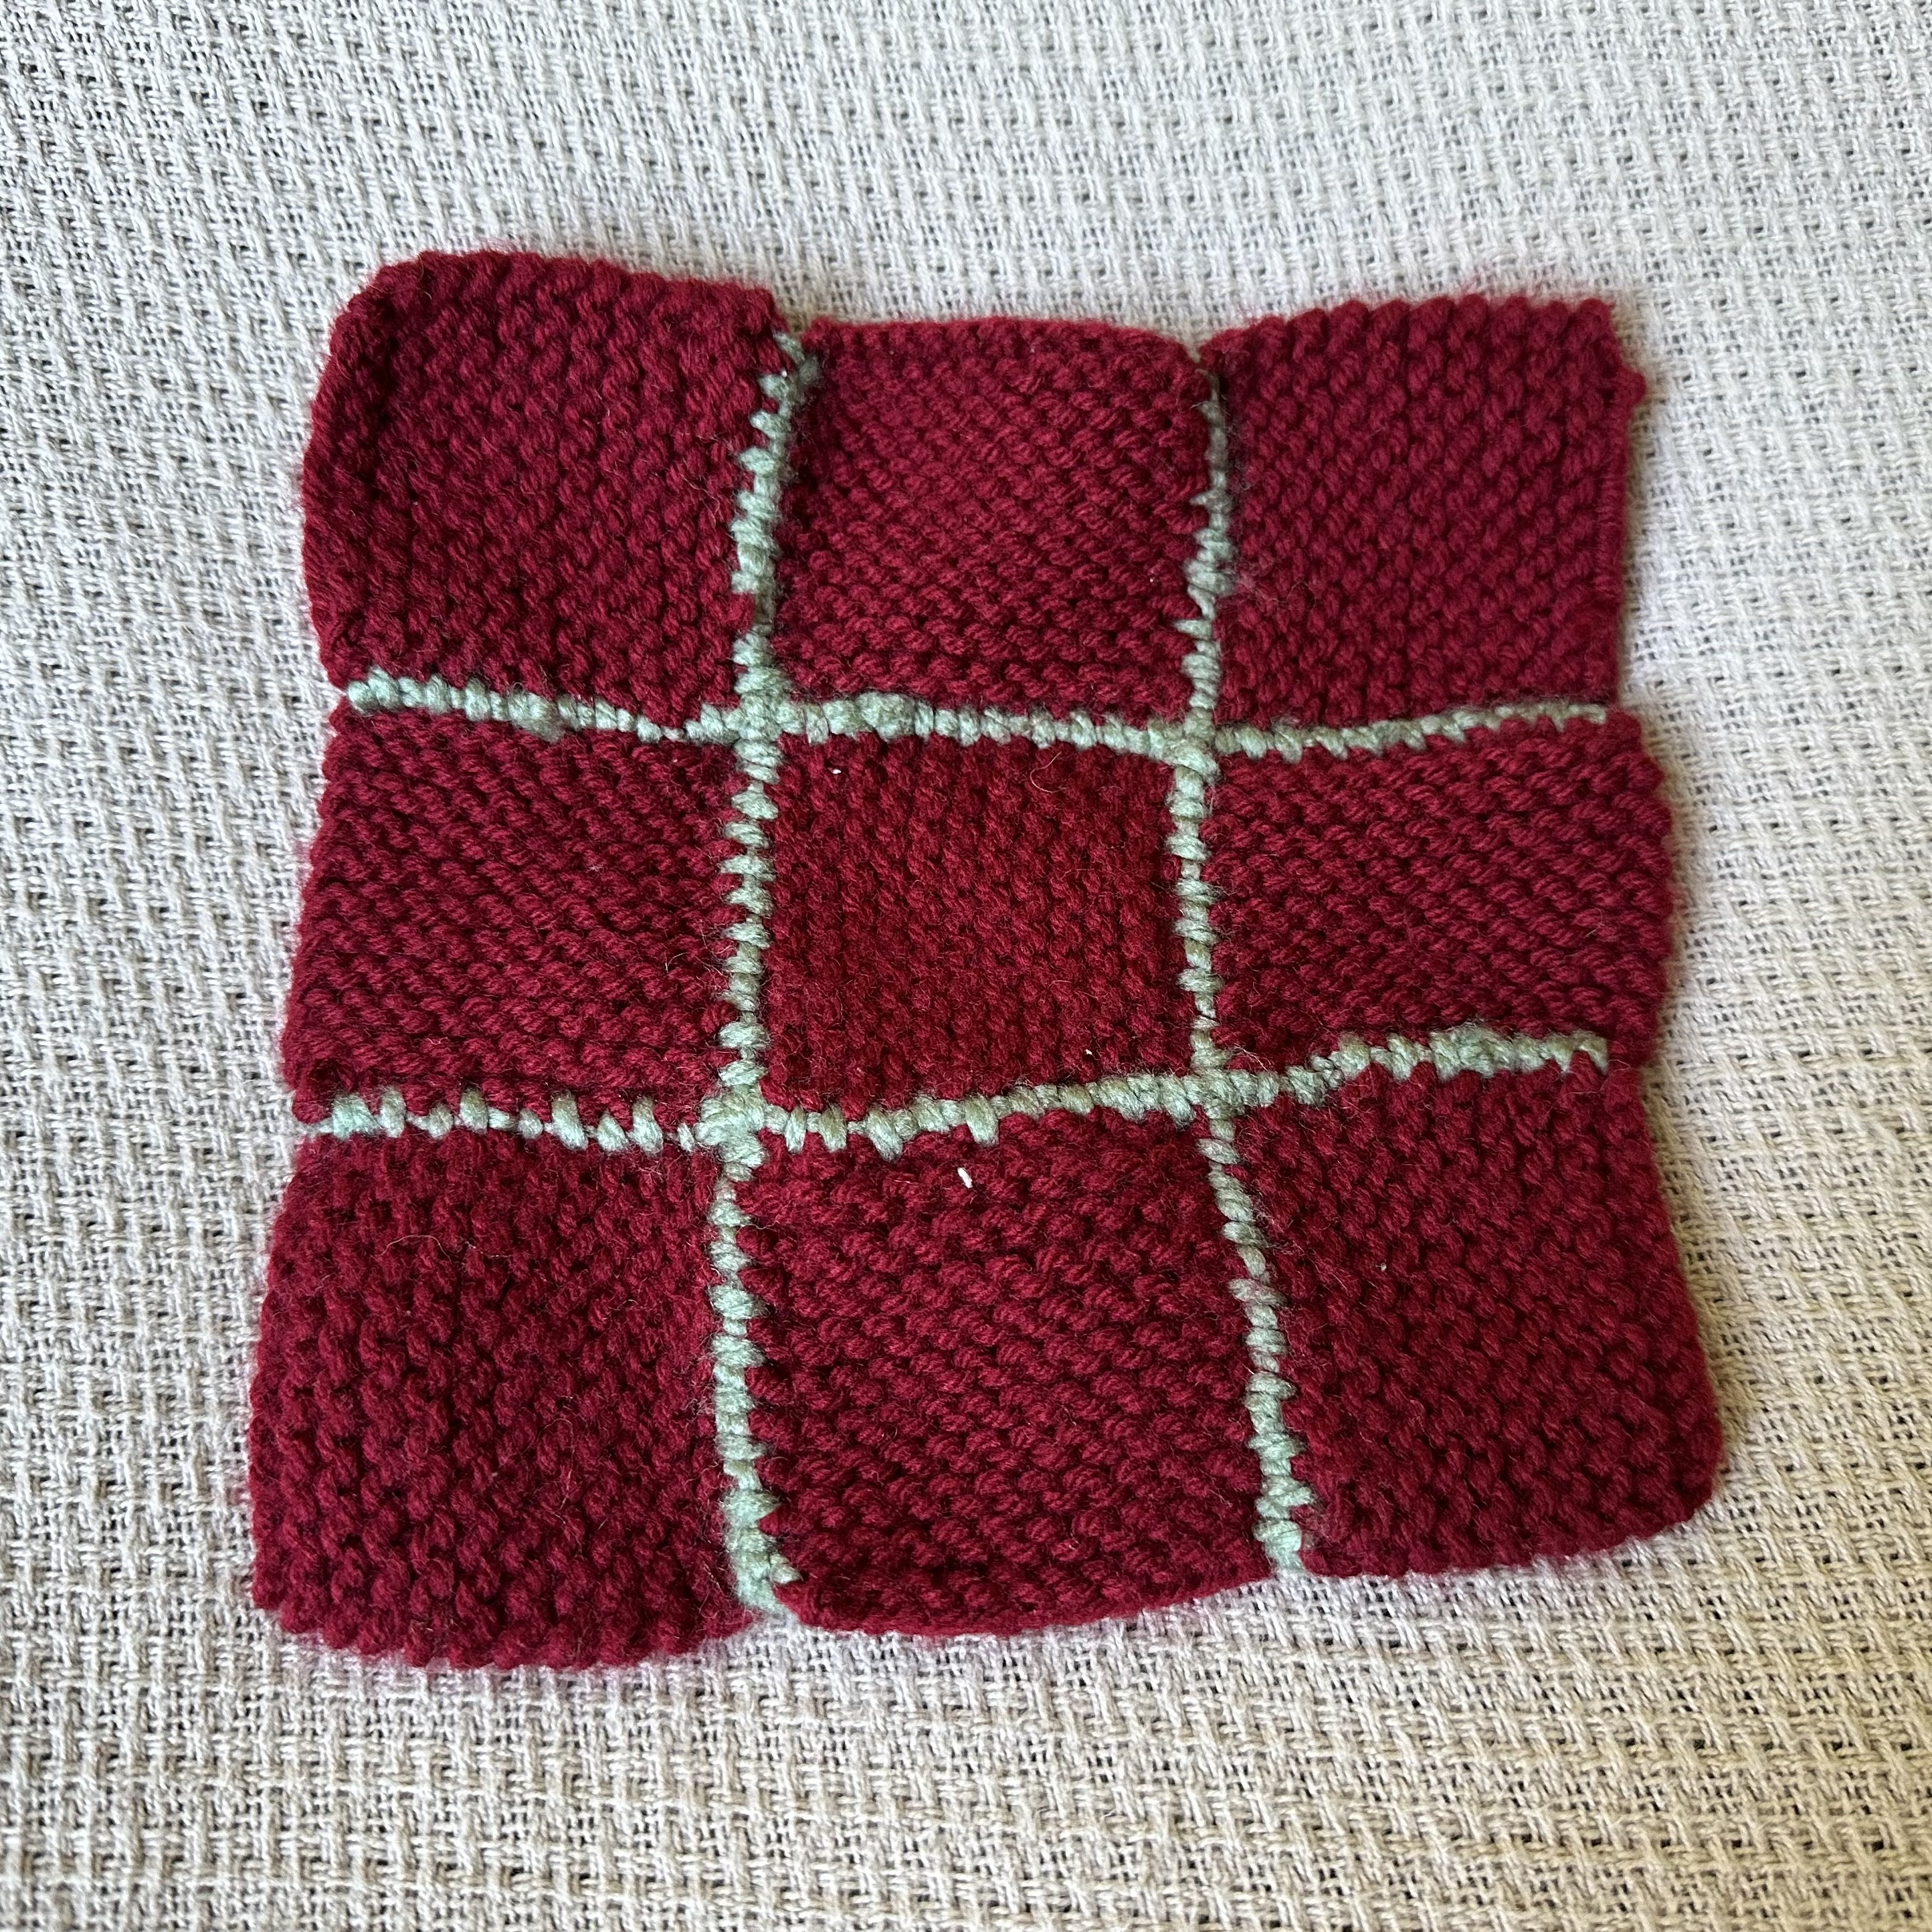 |
 |
 |
⋰ | |||
| 3 | * | 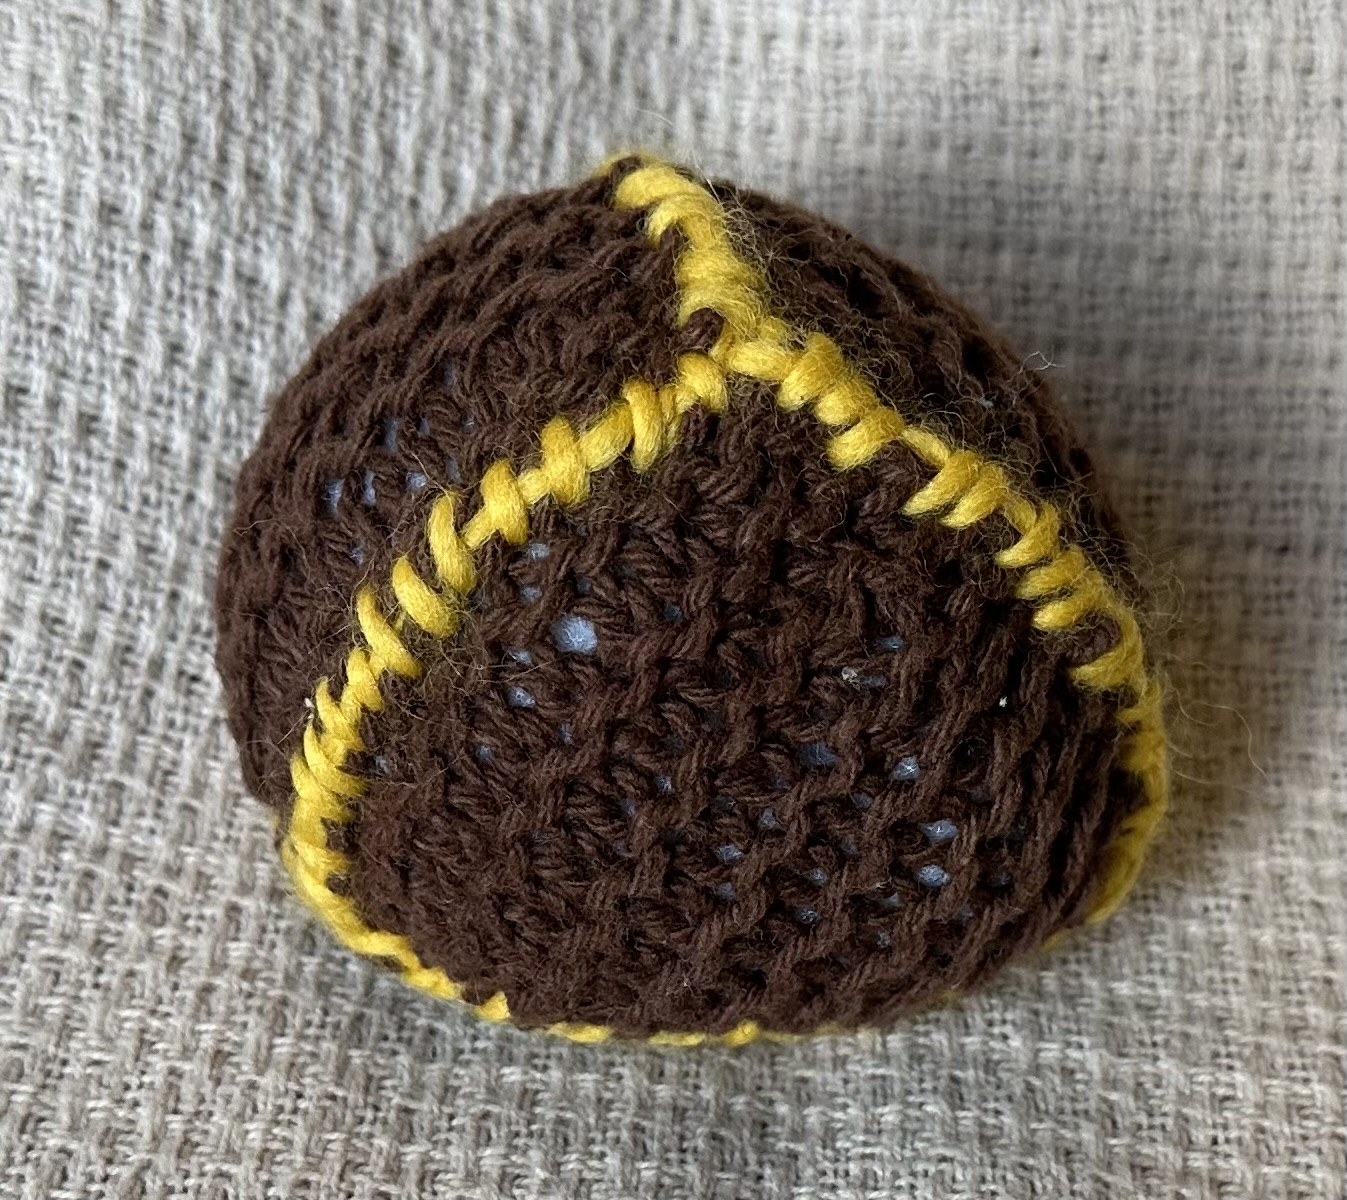 |
 |
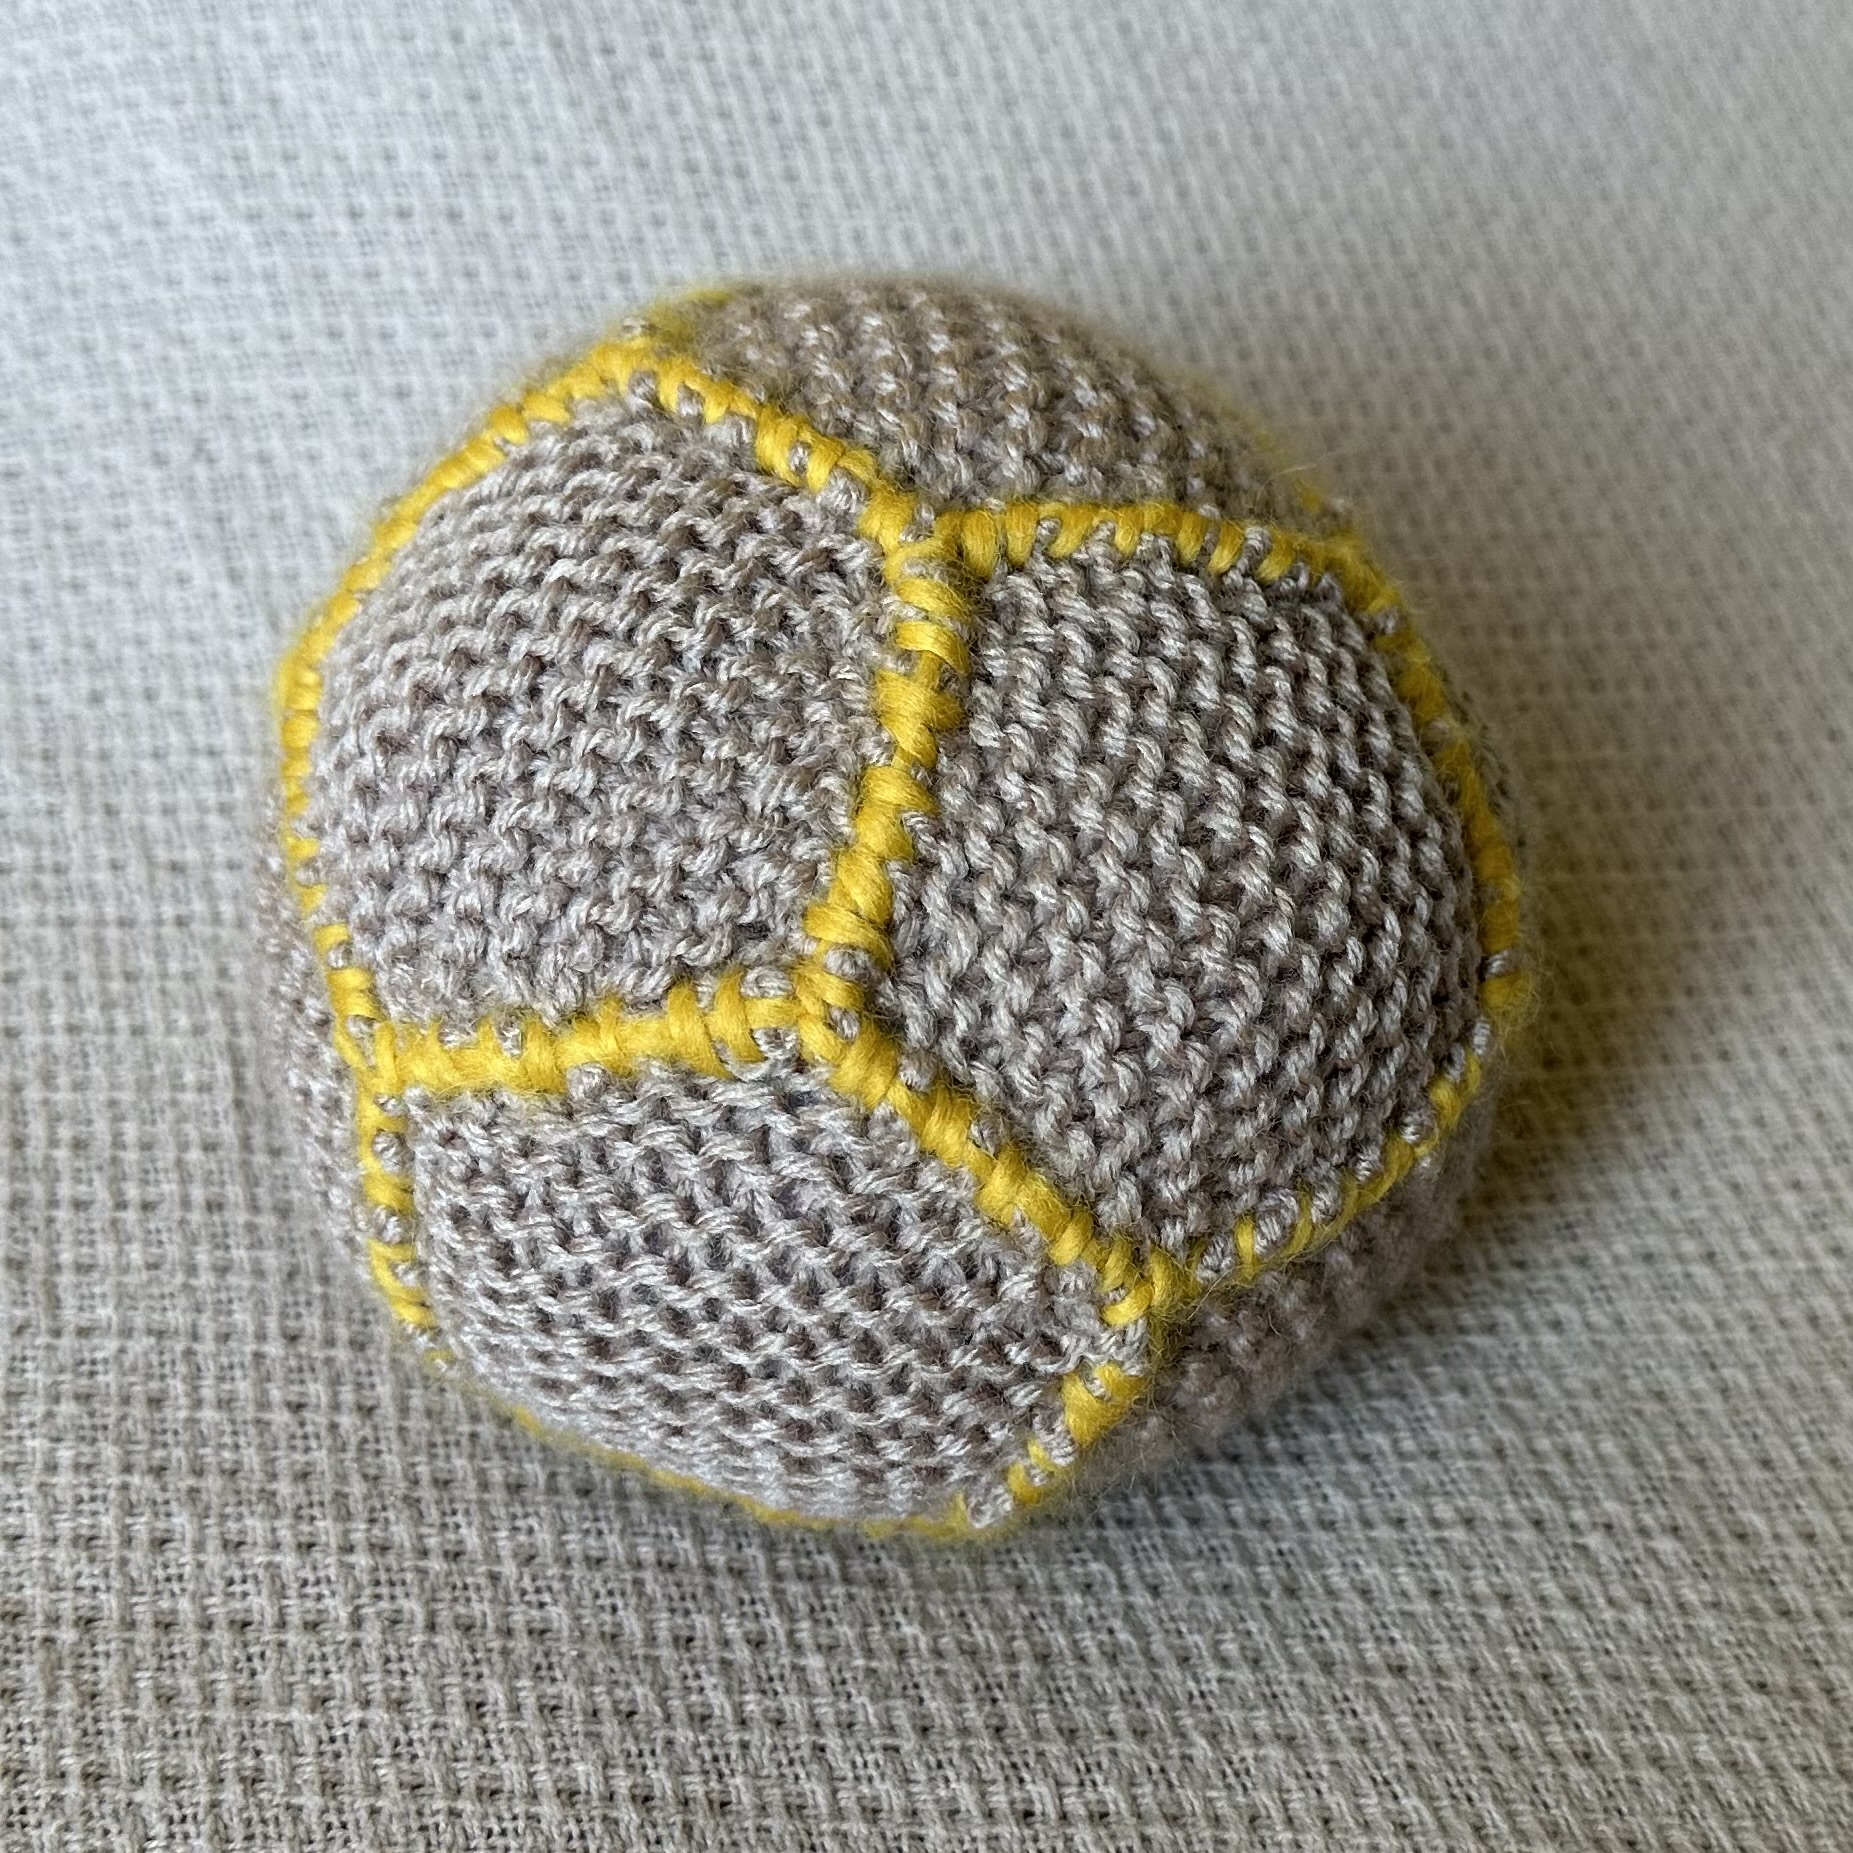 |
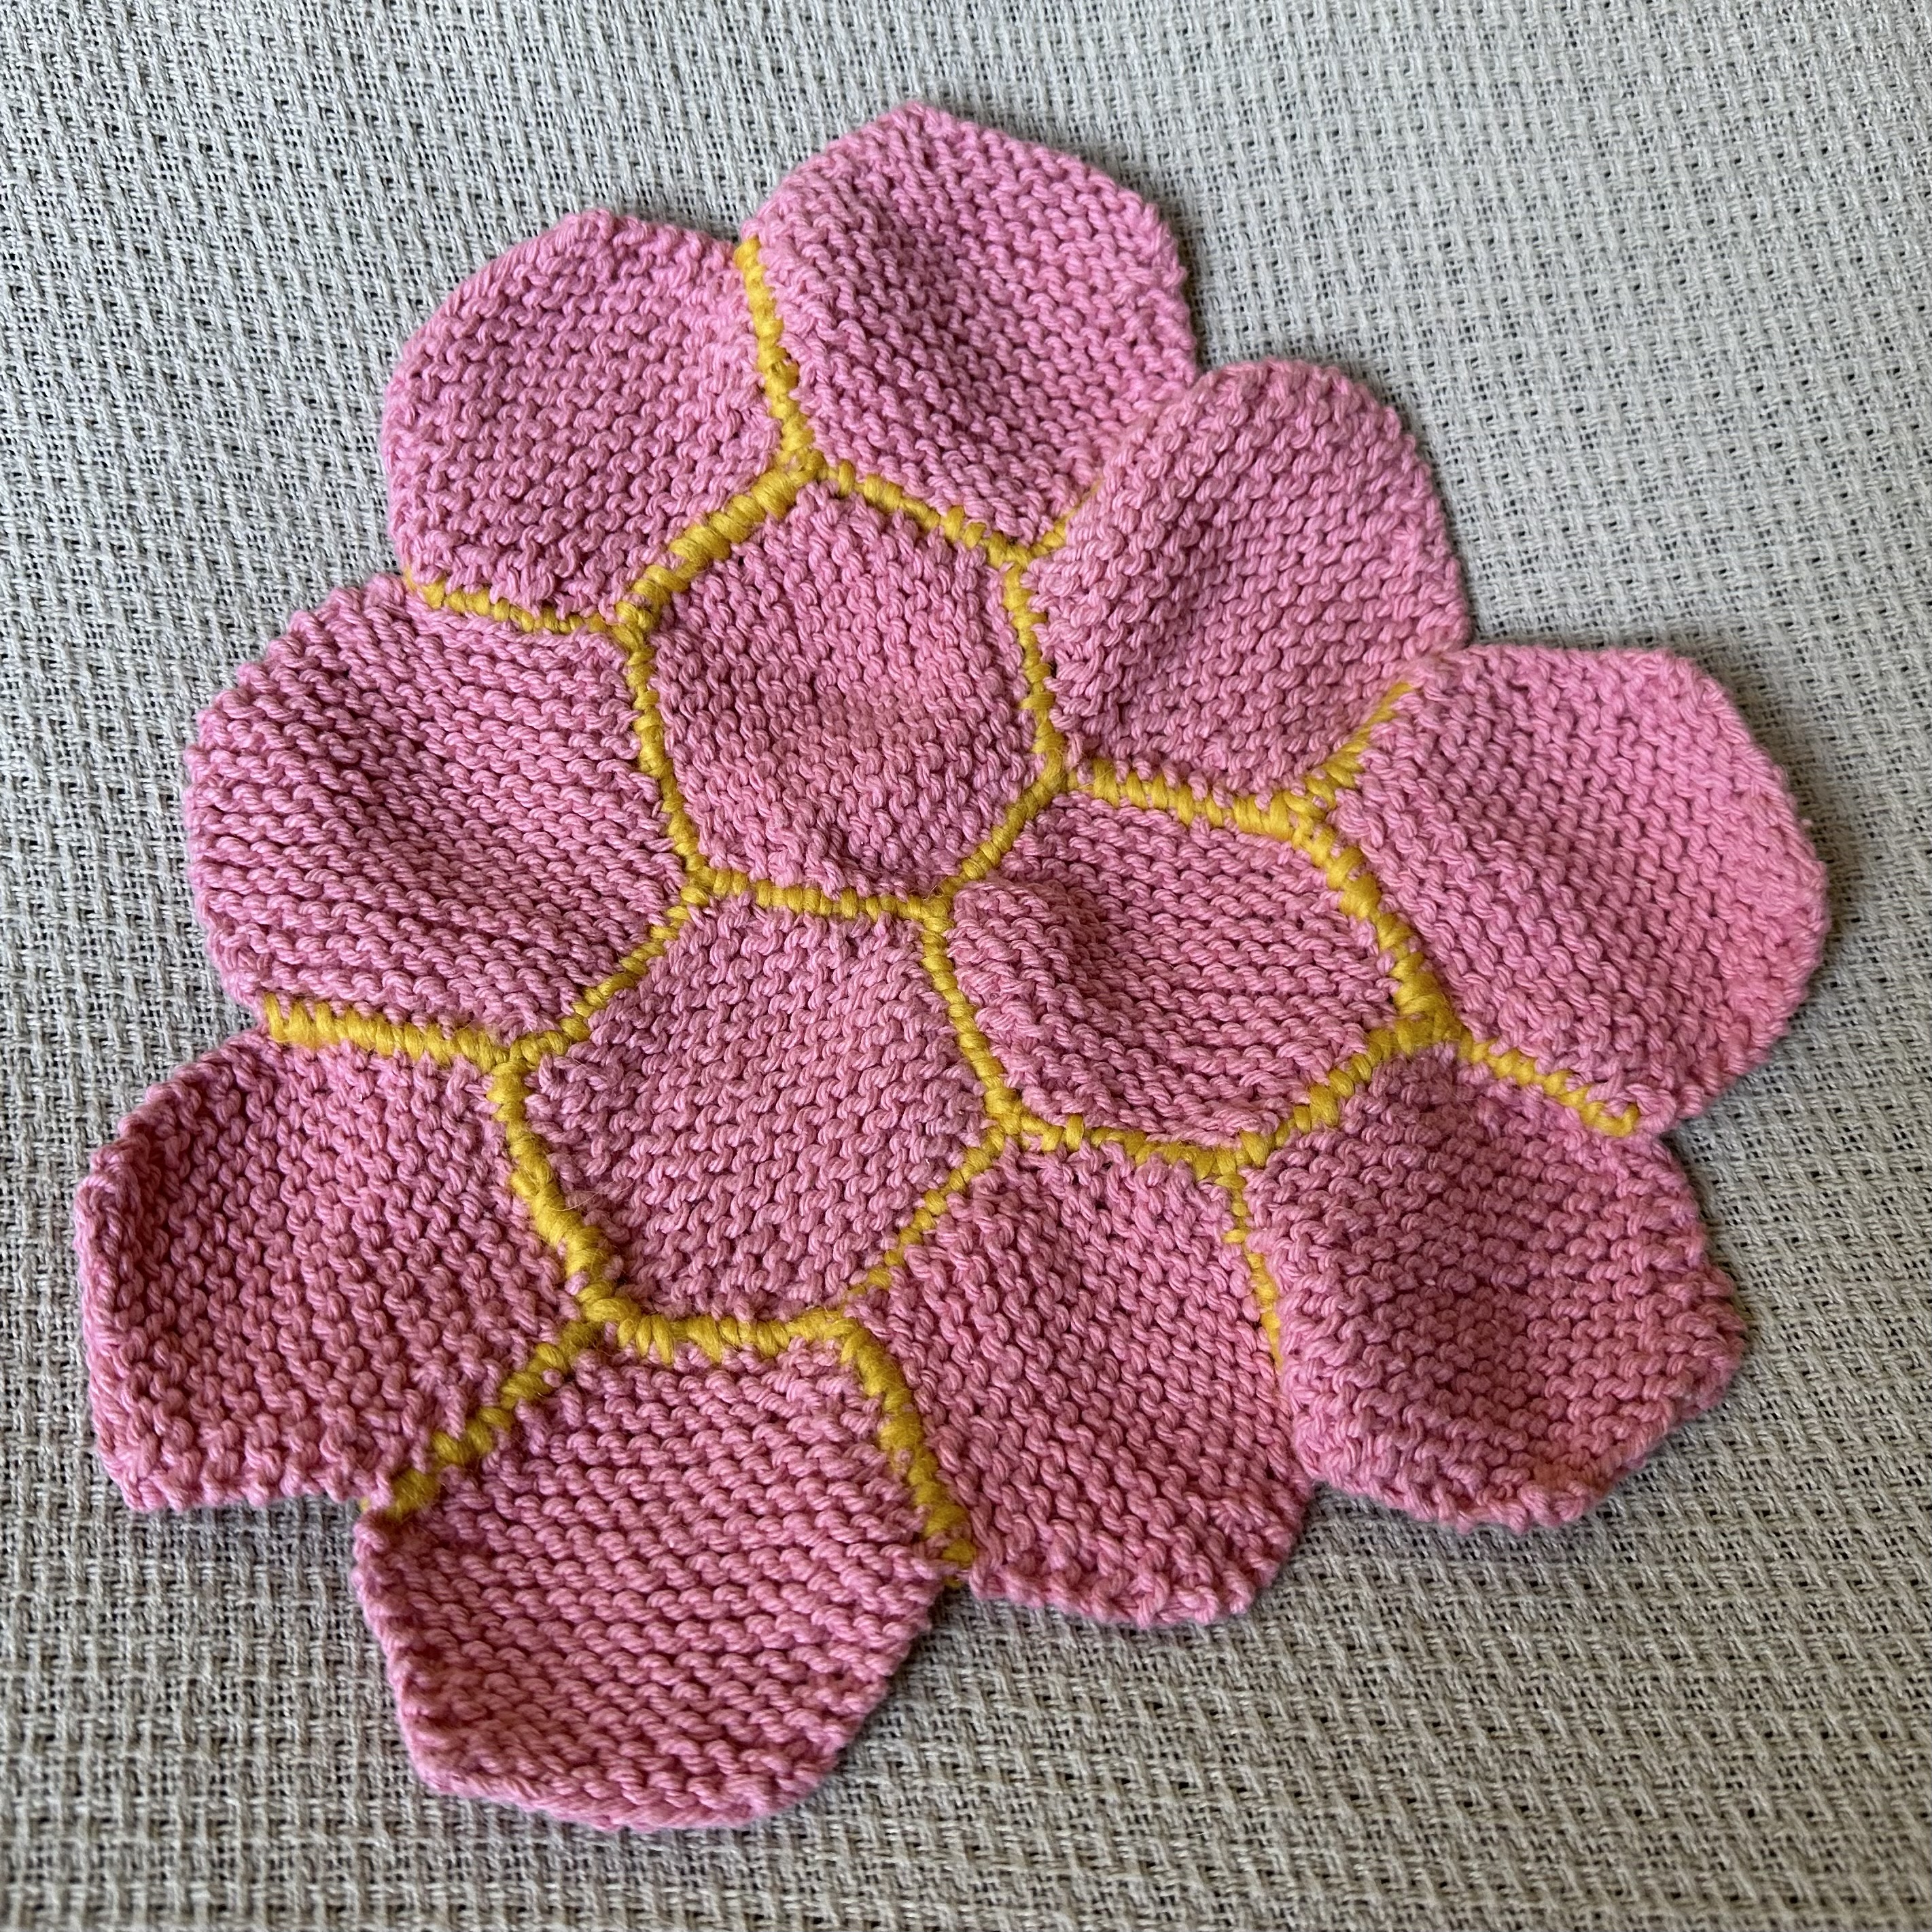 |
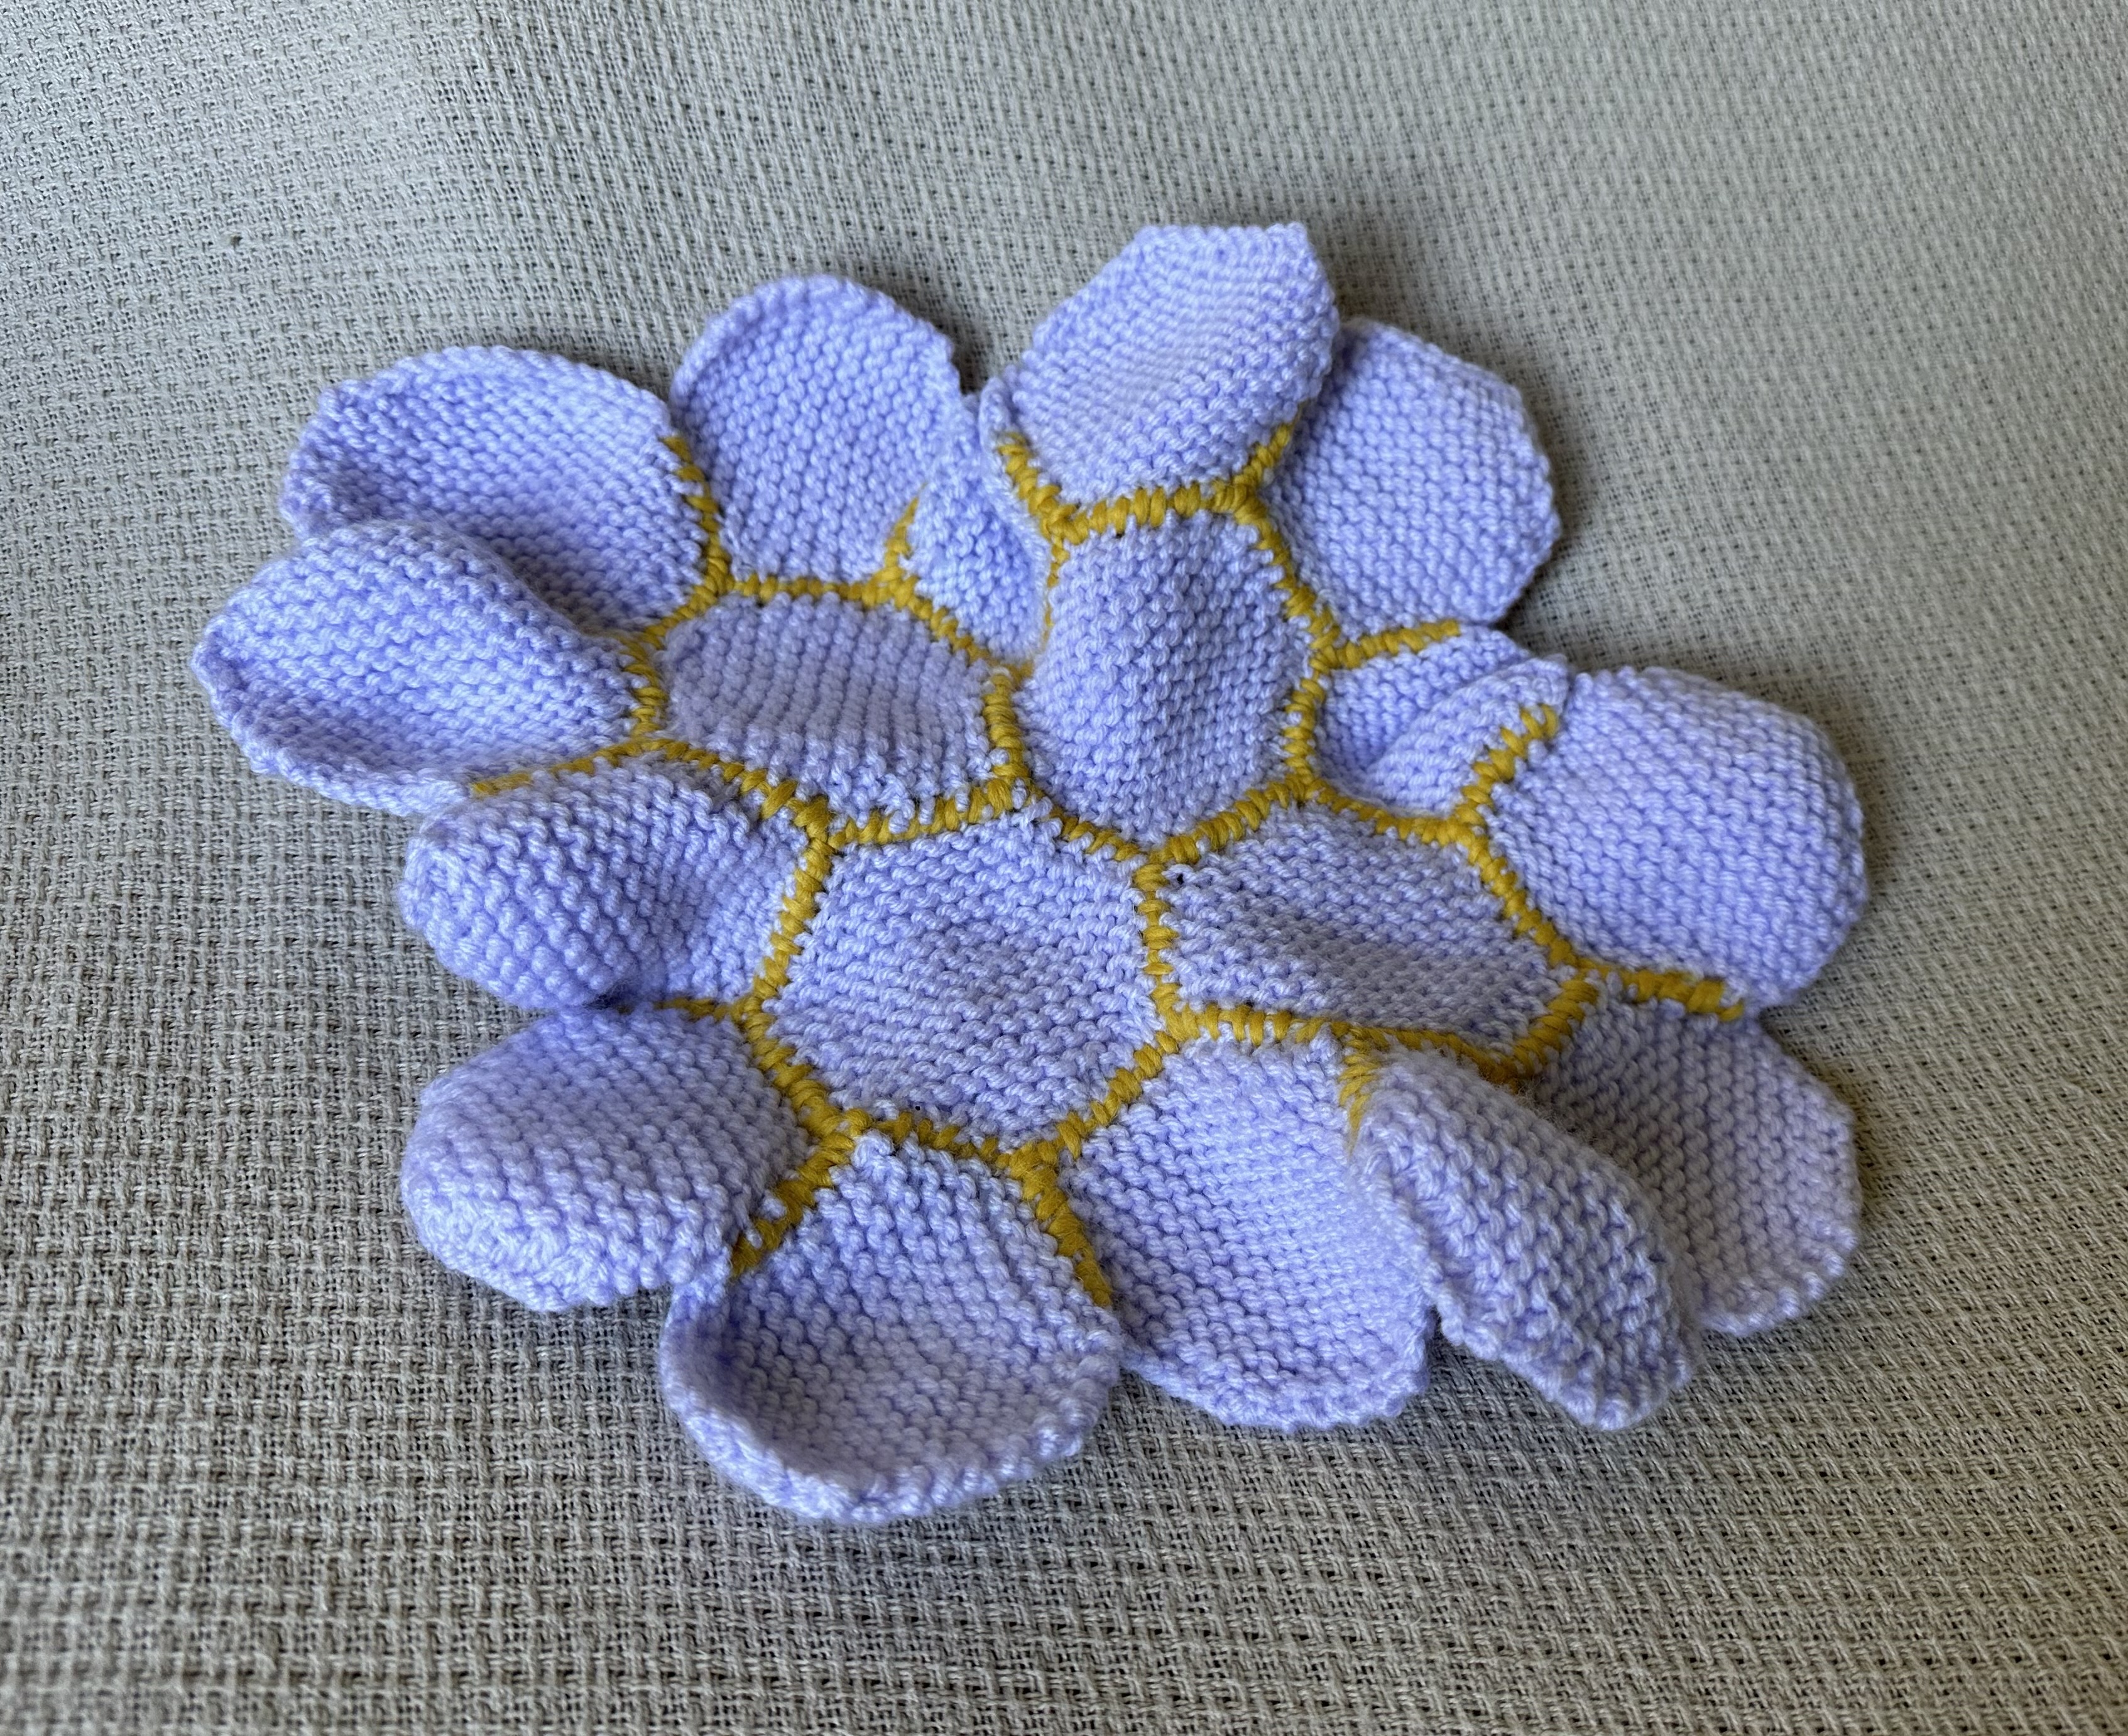 |
... | ||
| 2 | * | * | * | * | * | * | 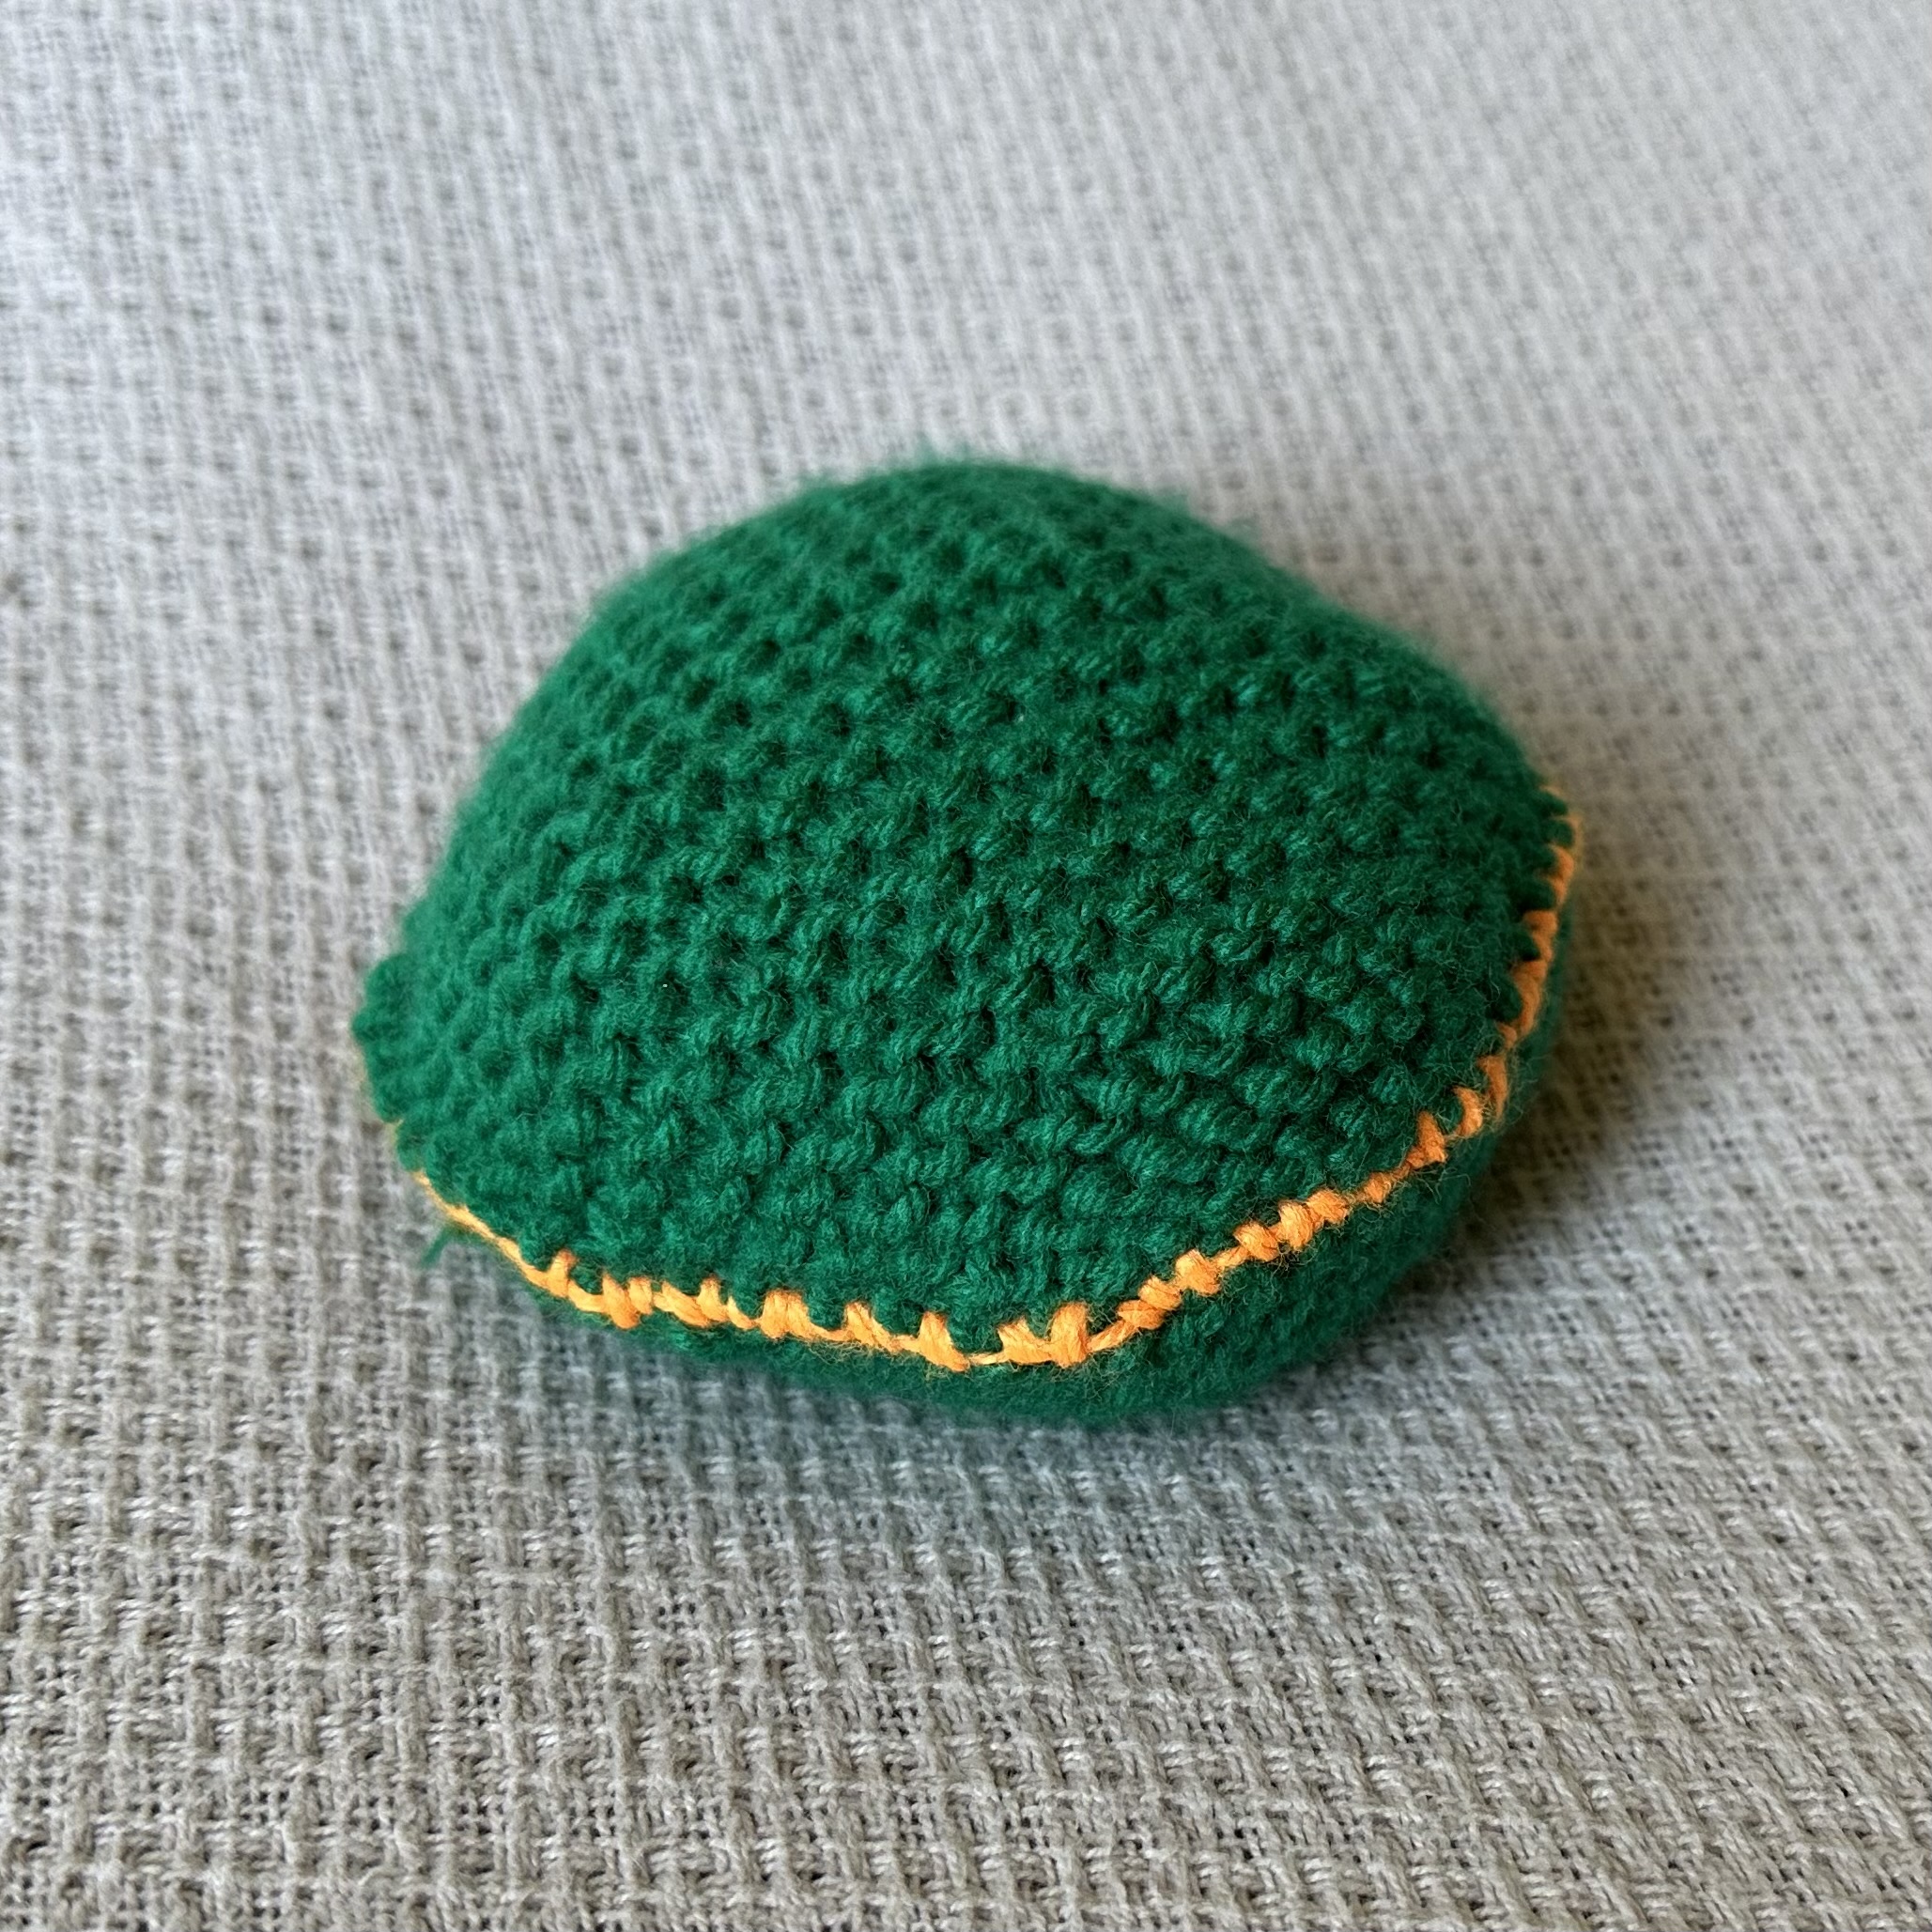 |
... | |
| 2 | 3 | 4 | 5 | 6 | 7 | 8 | ... | ||
| p (sides of polygon) | |||||||||
Tags:
A tiling (or tessellation) is a pattern consisting of a single polygon repeated over and over. A "regular" tiling uses a polygon that has equal length sides, like squares. You're likely familiar with 3 regular tilings from real life: using hexagons, like honeycomb; using squares, like a chessboard; and using triangles, like... isometric grid paper?
In January 2023, I was inspired to make a knitting project based off of regular tilings after seeing slide 32 of Douglas J. Dunham's presentation at the 2023 Joint Mathematics Meetings. The diagram below shows that regular tilings go beyond the normal flat Euclidean world that we're familiar with. By categorizing regular tilings by noting the number of sides to each regular polygon (denoted p) and how many polygons meet at each vertex (denoted q), we can plot out all possible regular tilings.
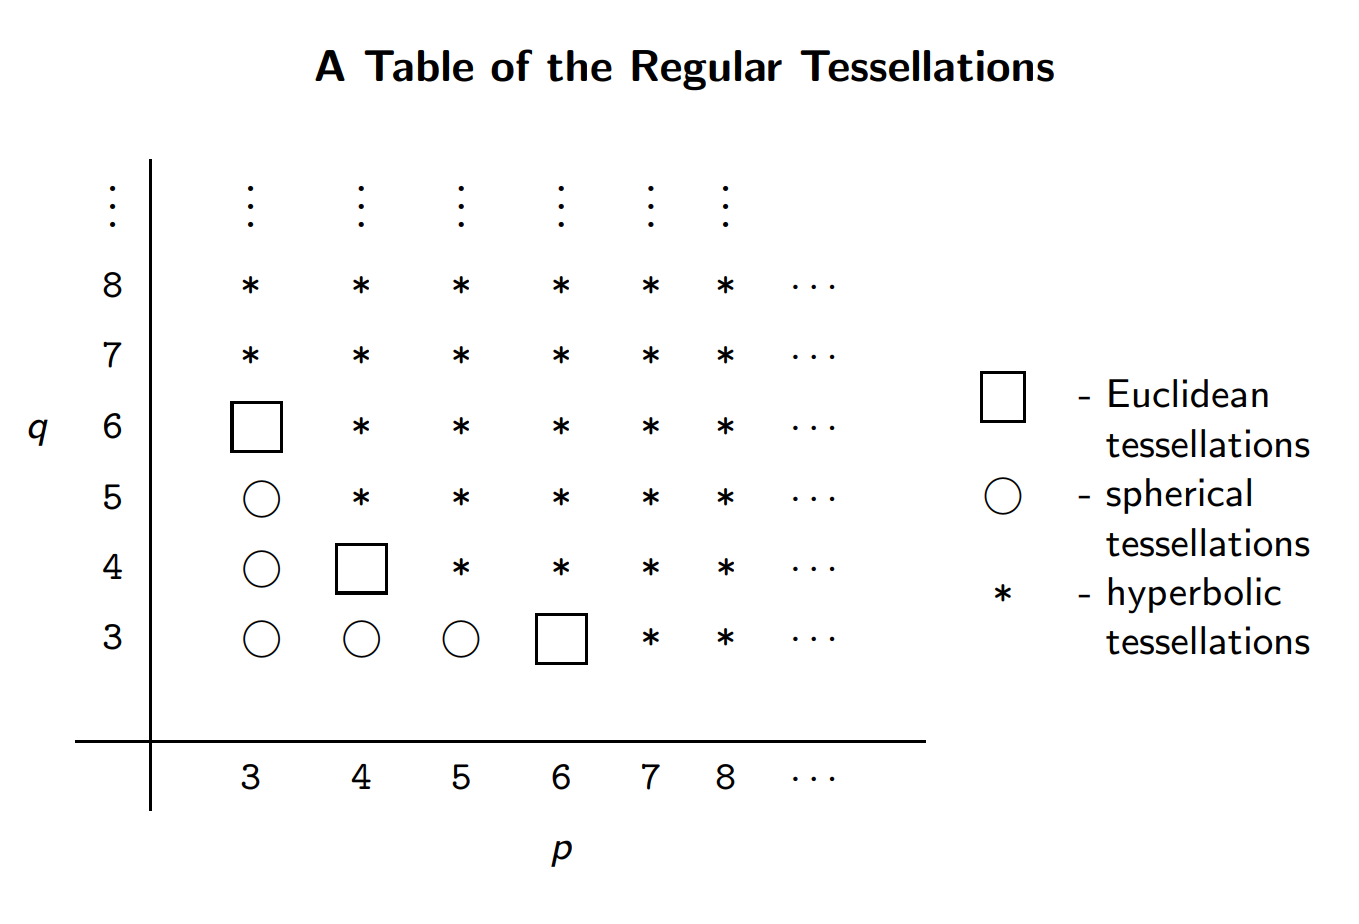
Note the familiar Euclidean tilings that I mentioned in the first paragraph represented as squares, going right to left respectively.
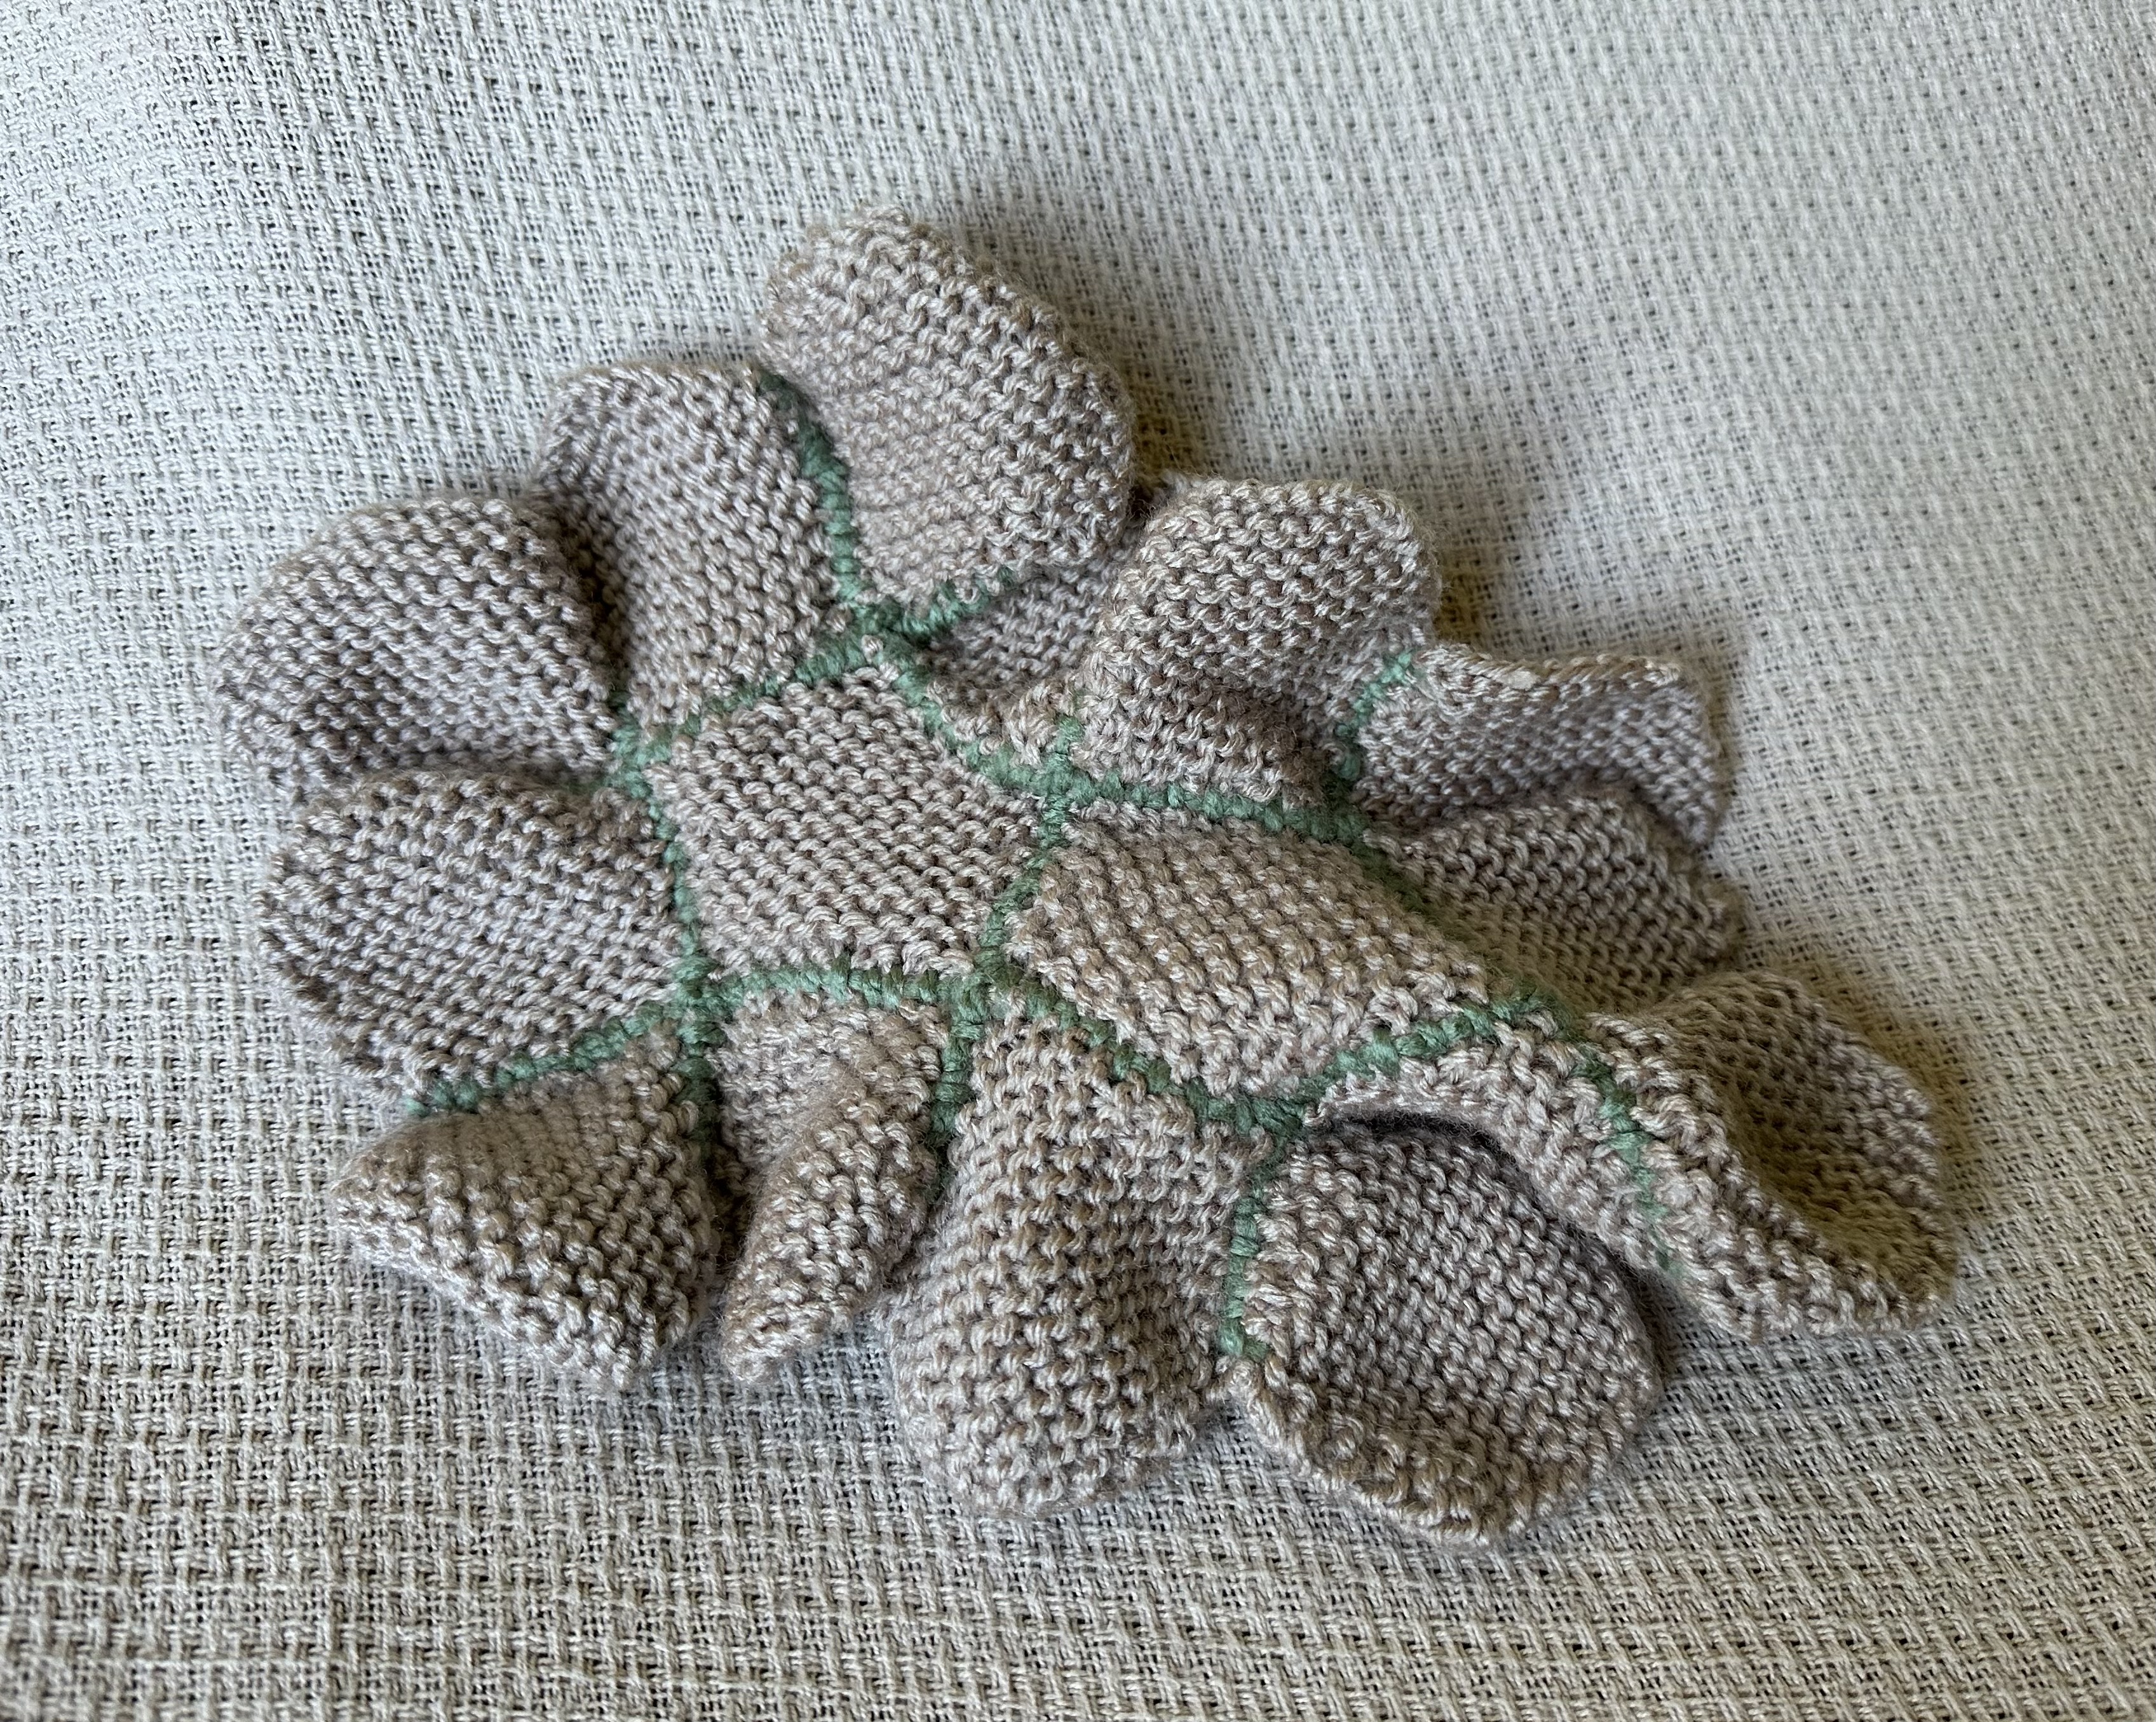
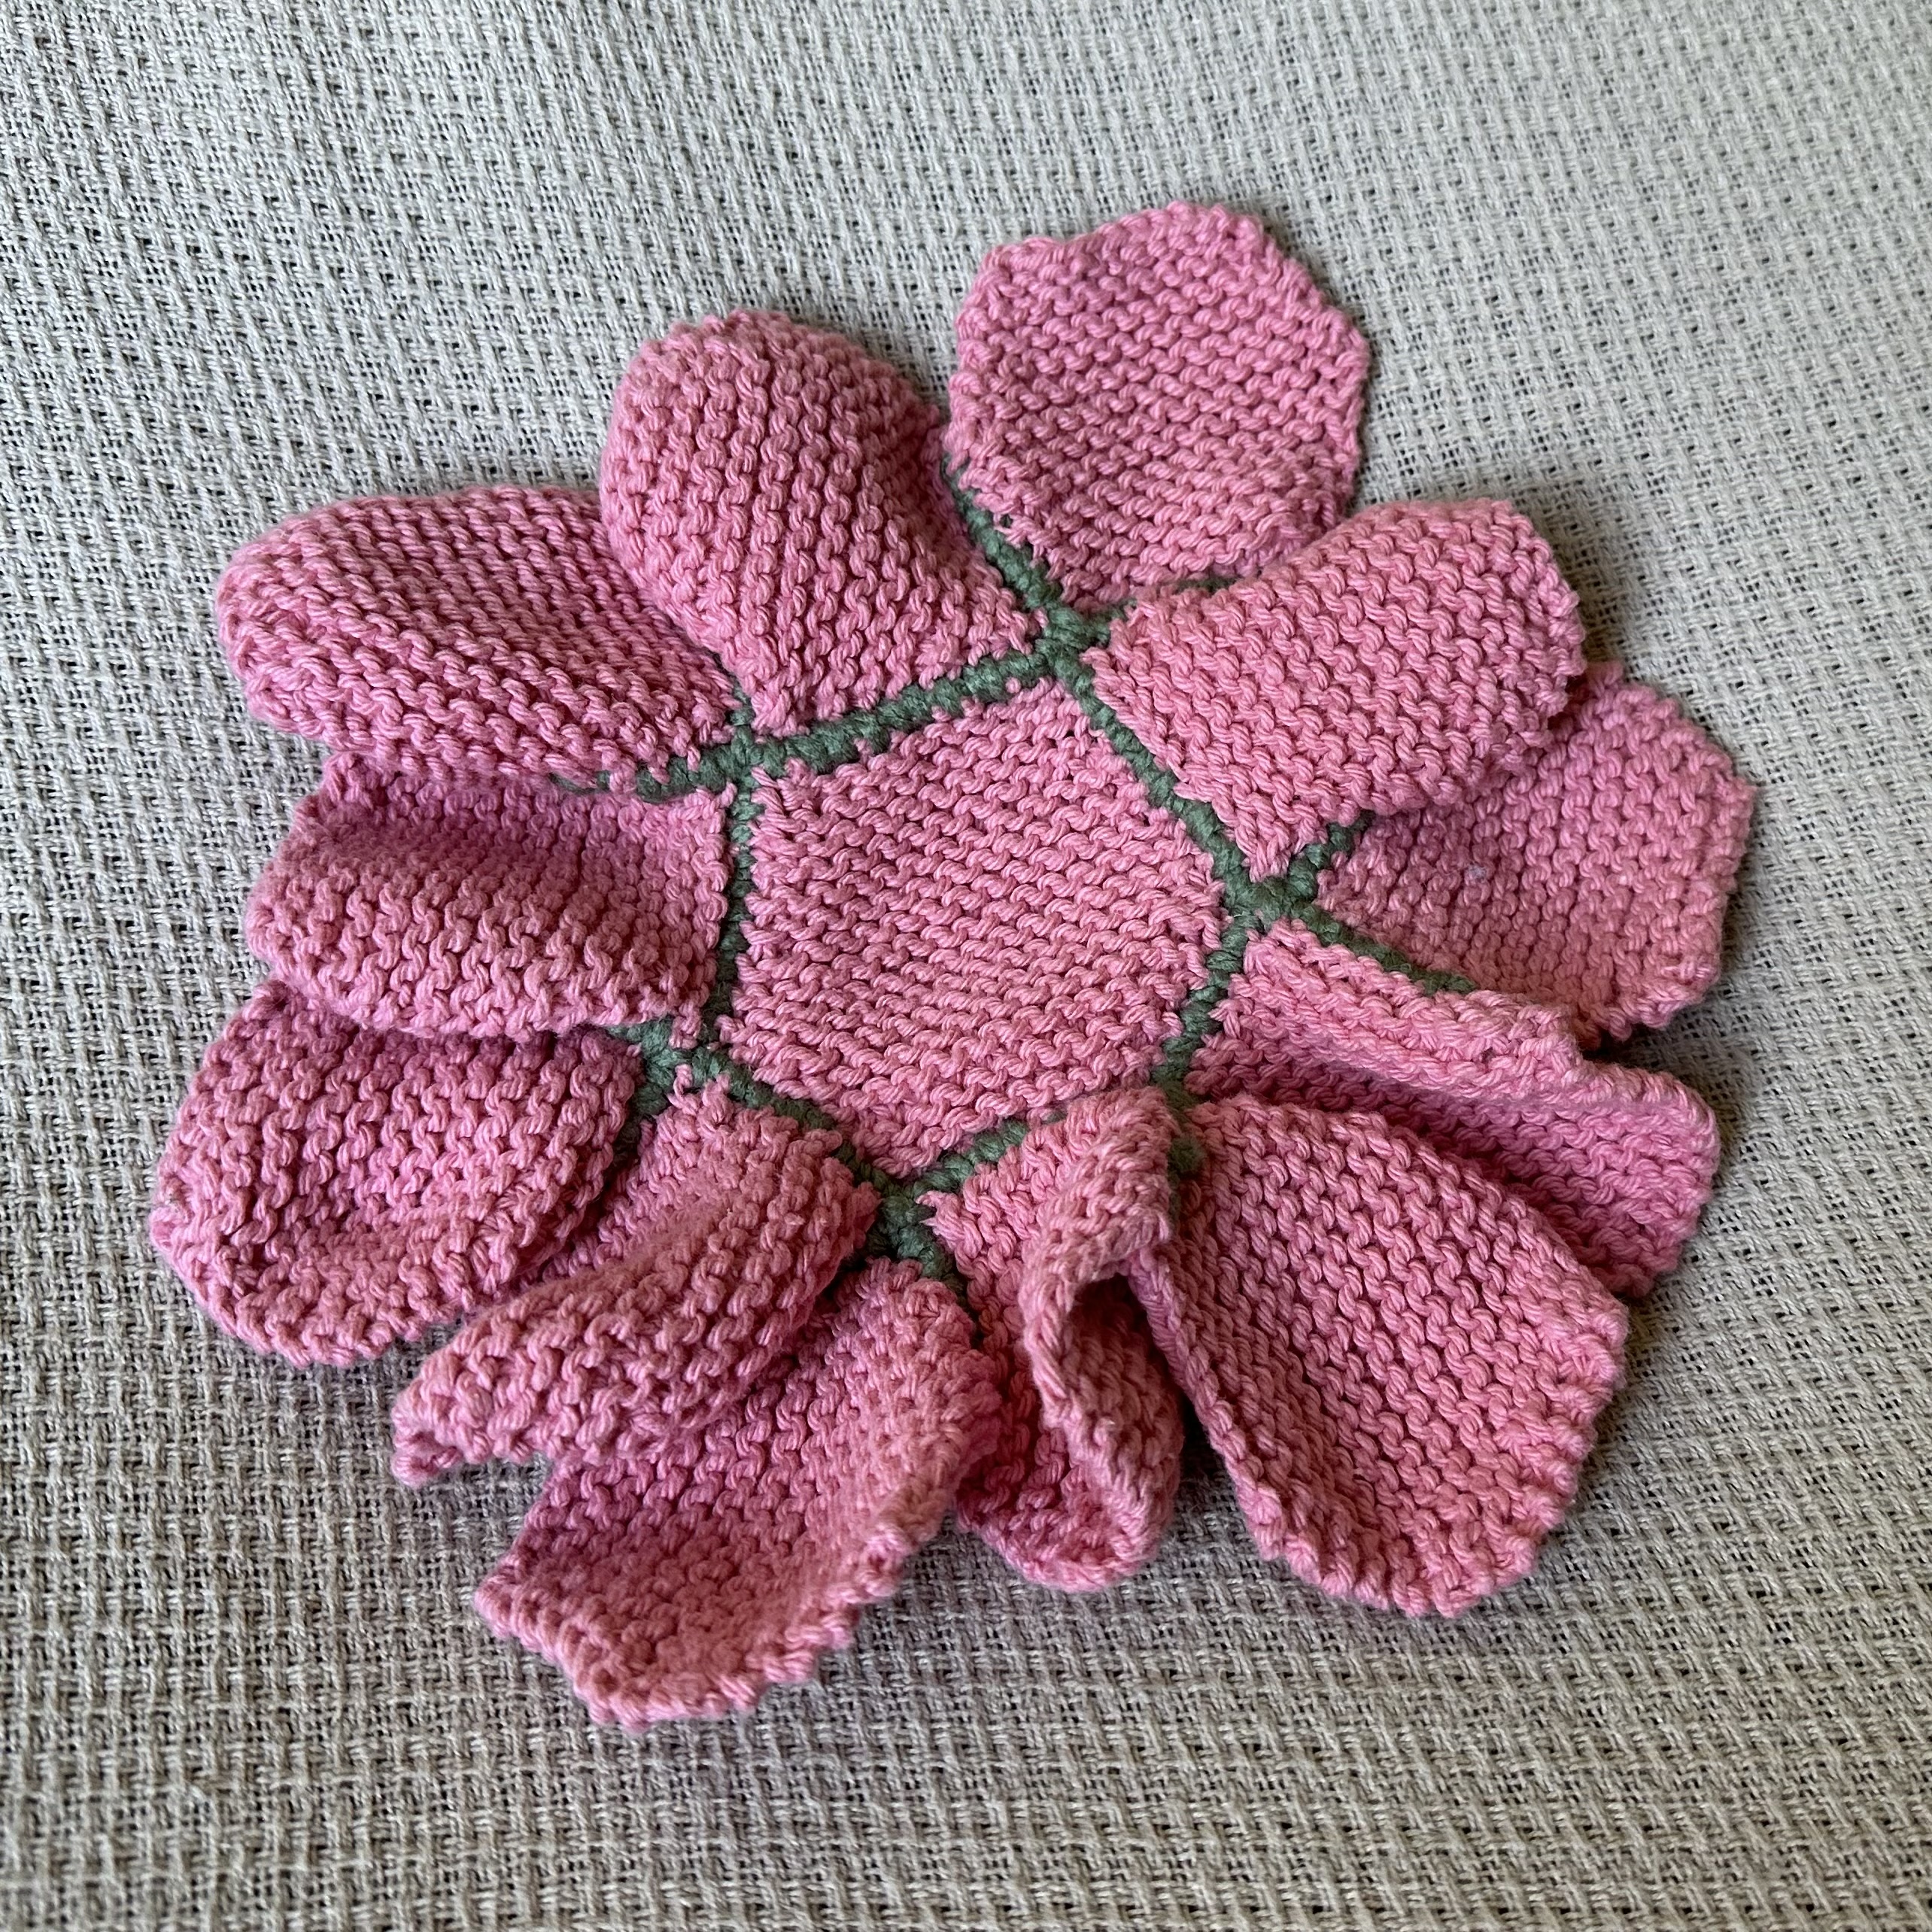
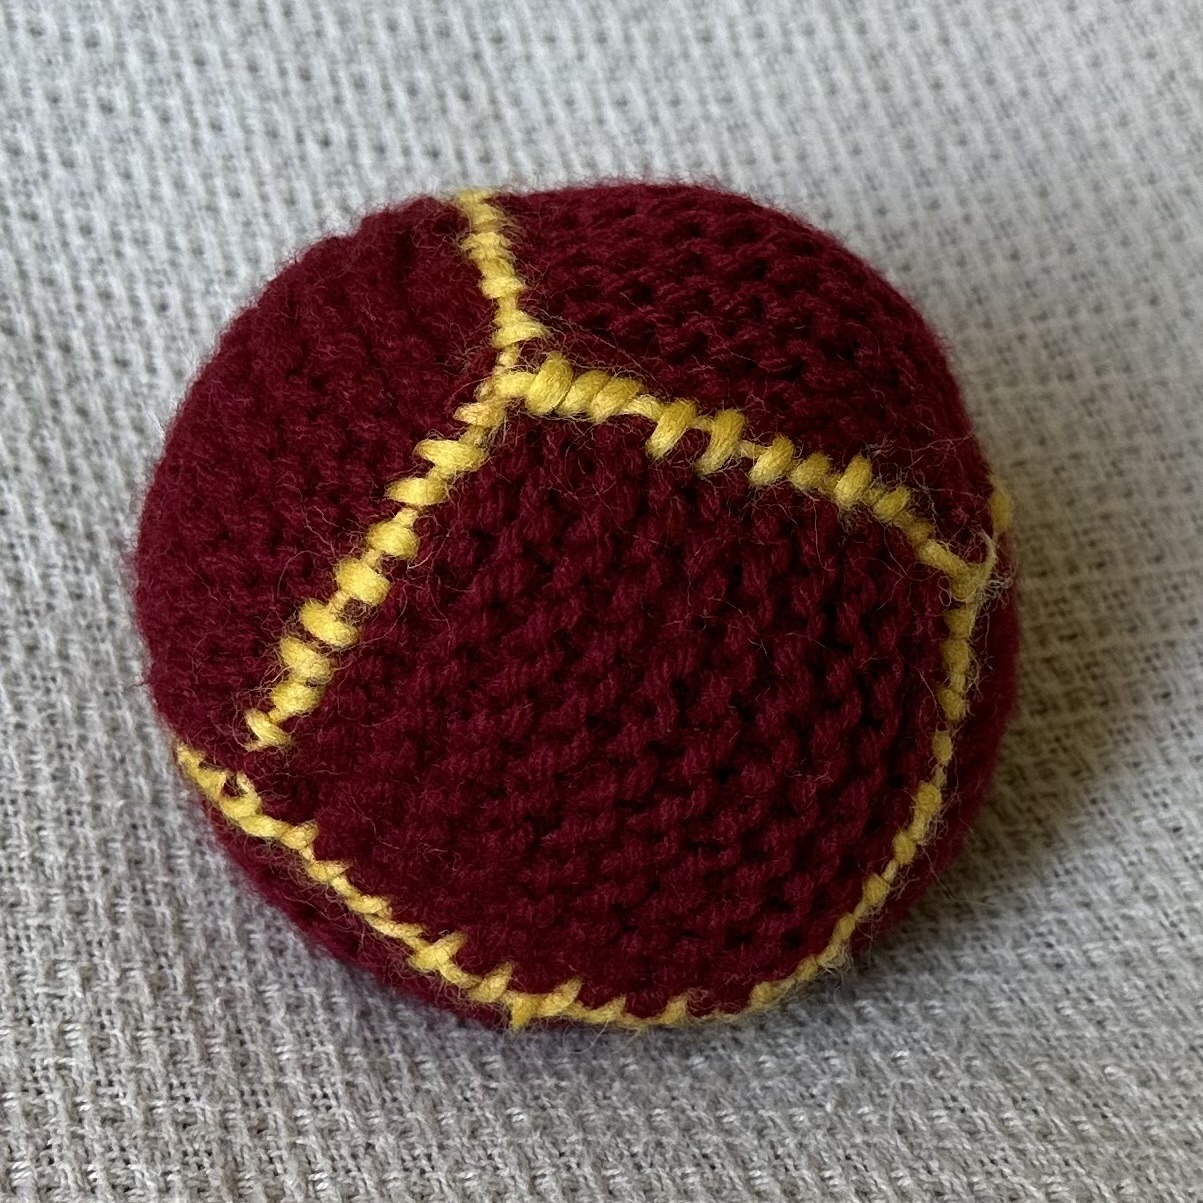
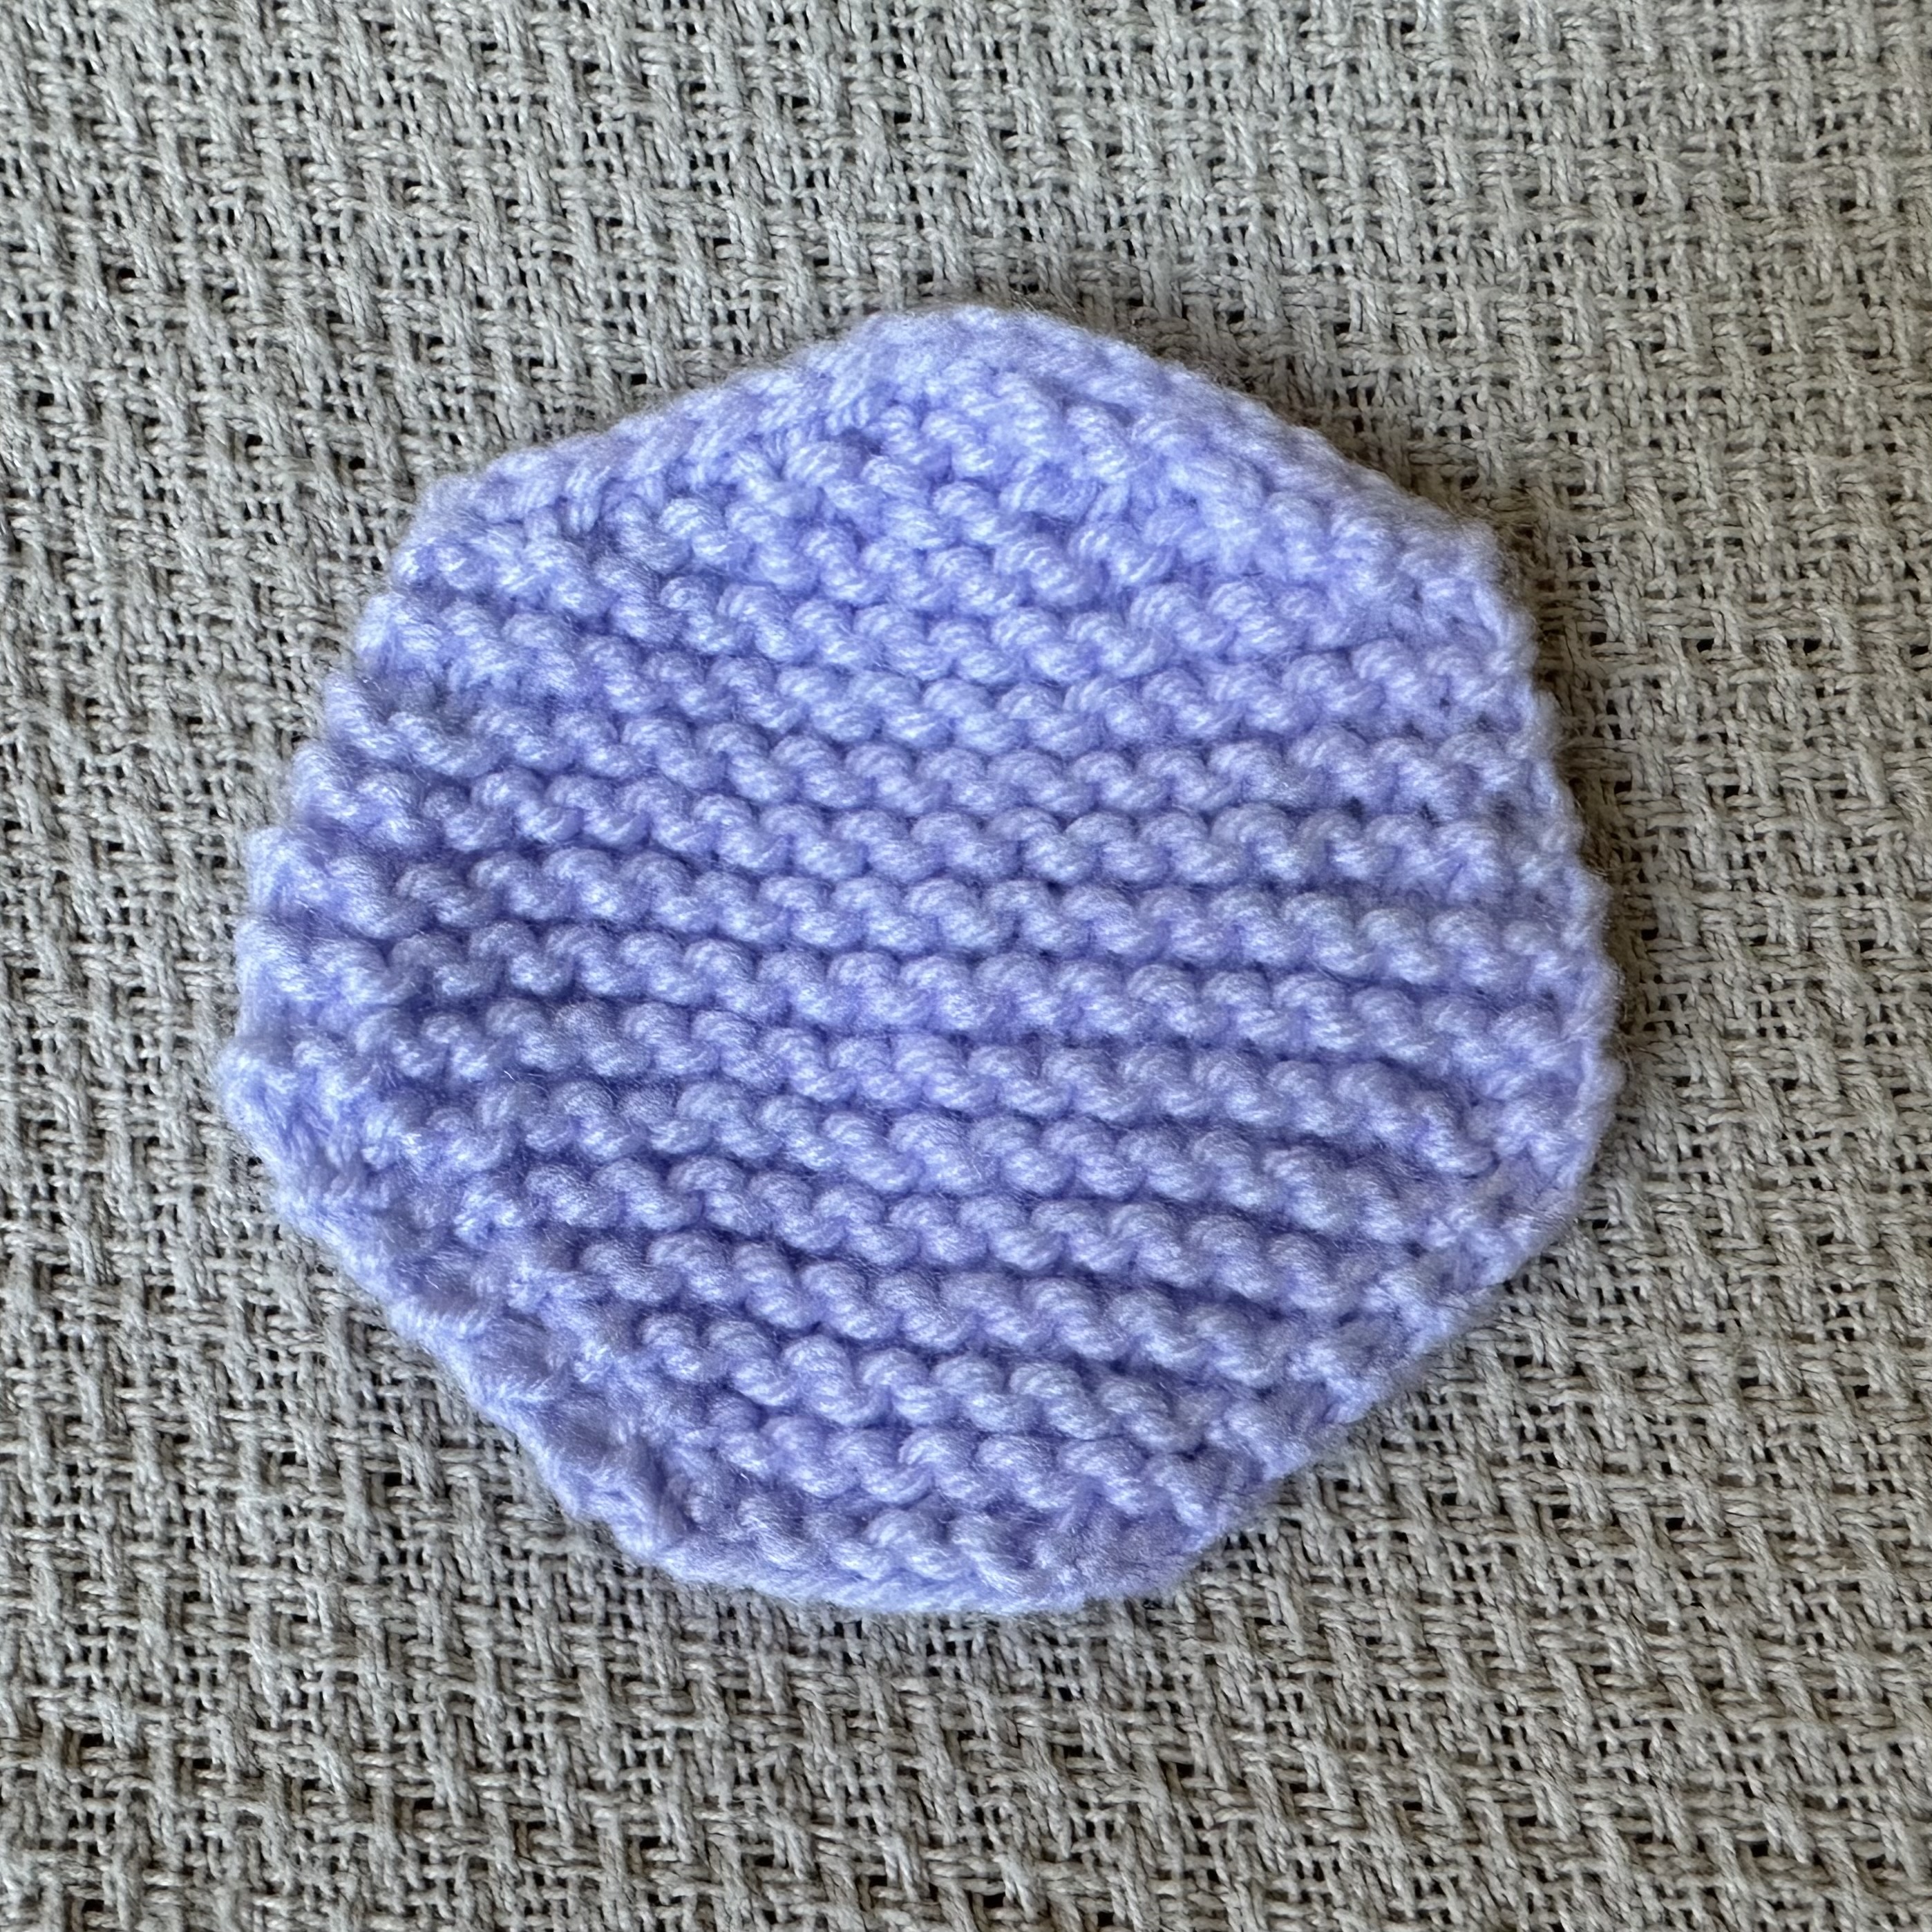
I have set out to recreate this table in real life, using knit polygons sewn together. Immediately below is the table, below that is all of the tilings using the same polygon grouped together, and at the bottom of this page are the knitting patterns for the entire project.
| q (polygons at each vertex) | ⋮ | ⋮ | |||||||
| 8 |  |
⋮ | |||||||
| 7 | * |  |
⋰ | ||||||
| 6 | * |  |
 |
⋰ | |||||
| 5 | * |  |
 |
⋰ | ⋰ | ||||
| 4 | * |  |
 |
 |
 |
⋰ | |||
| 3 | * |  |
 |
 |
 |
 |
... | ||
| 2 | * | * | * | * | * | * |  |
... | |
| 2 | 3 | 4 | 5 | 6 | 7 | 8 | ... | ||
| p (sides of polygon) | |||||||||
Notes on the table:
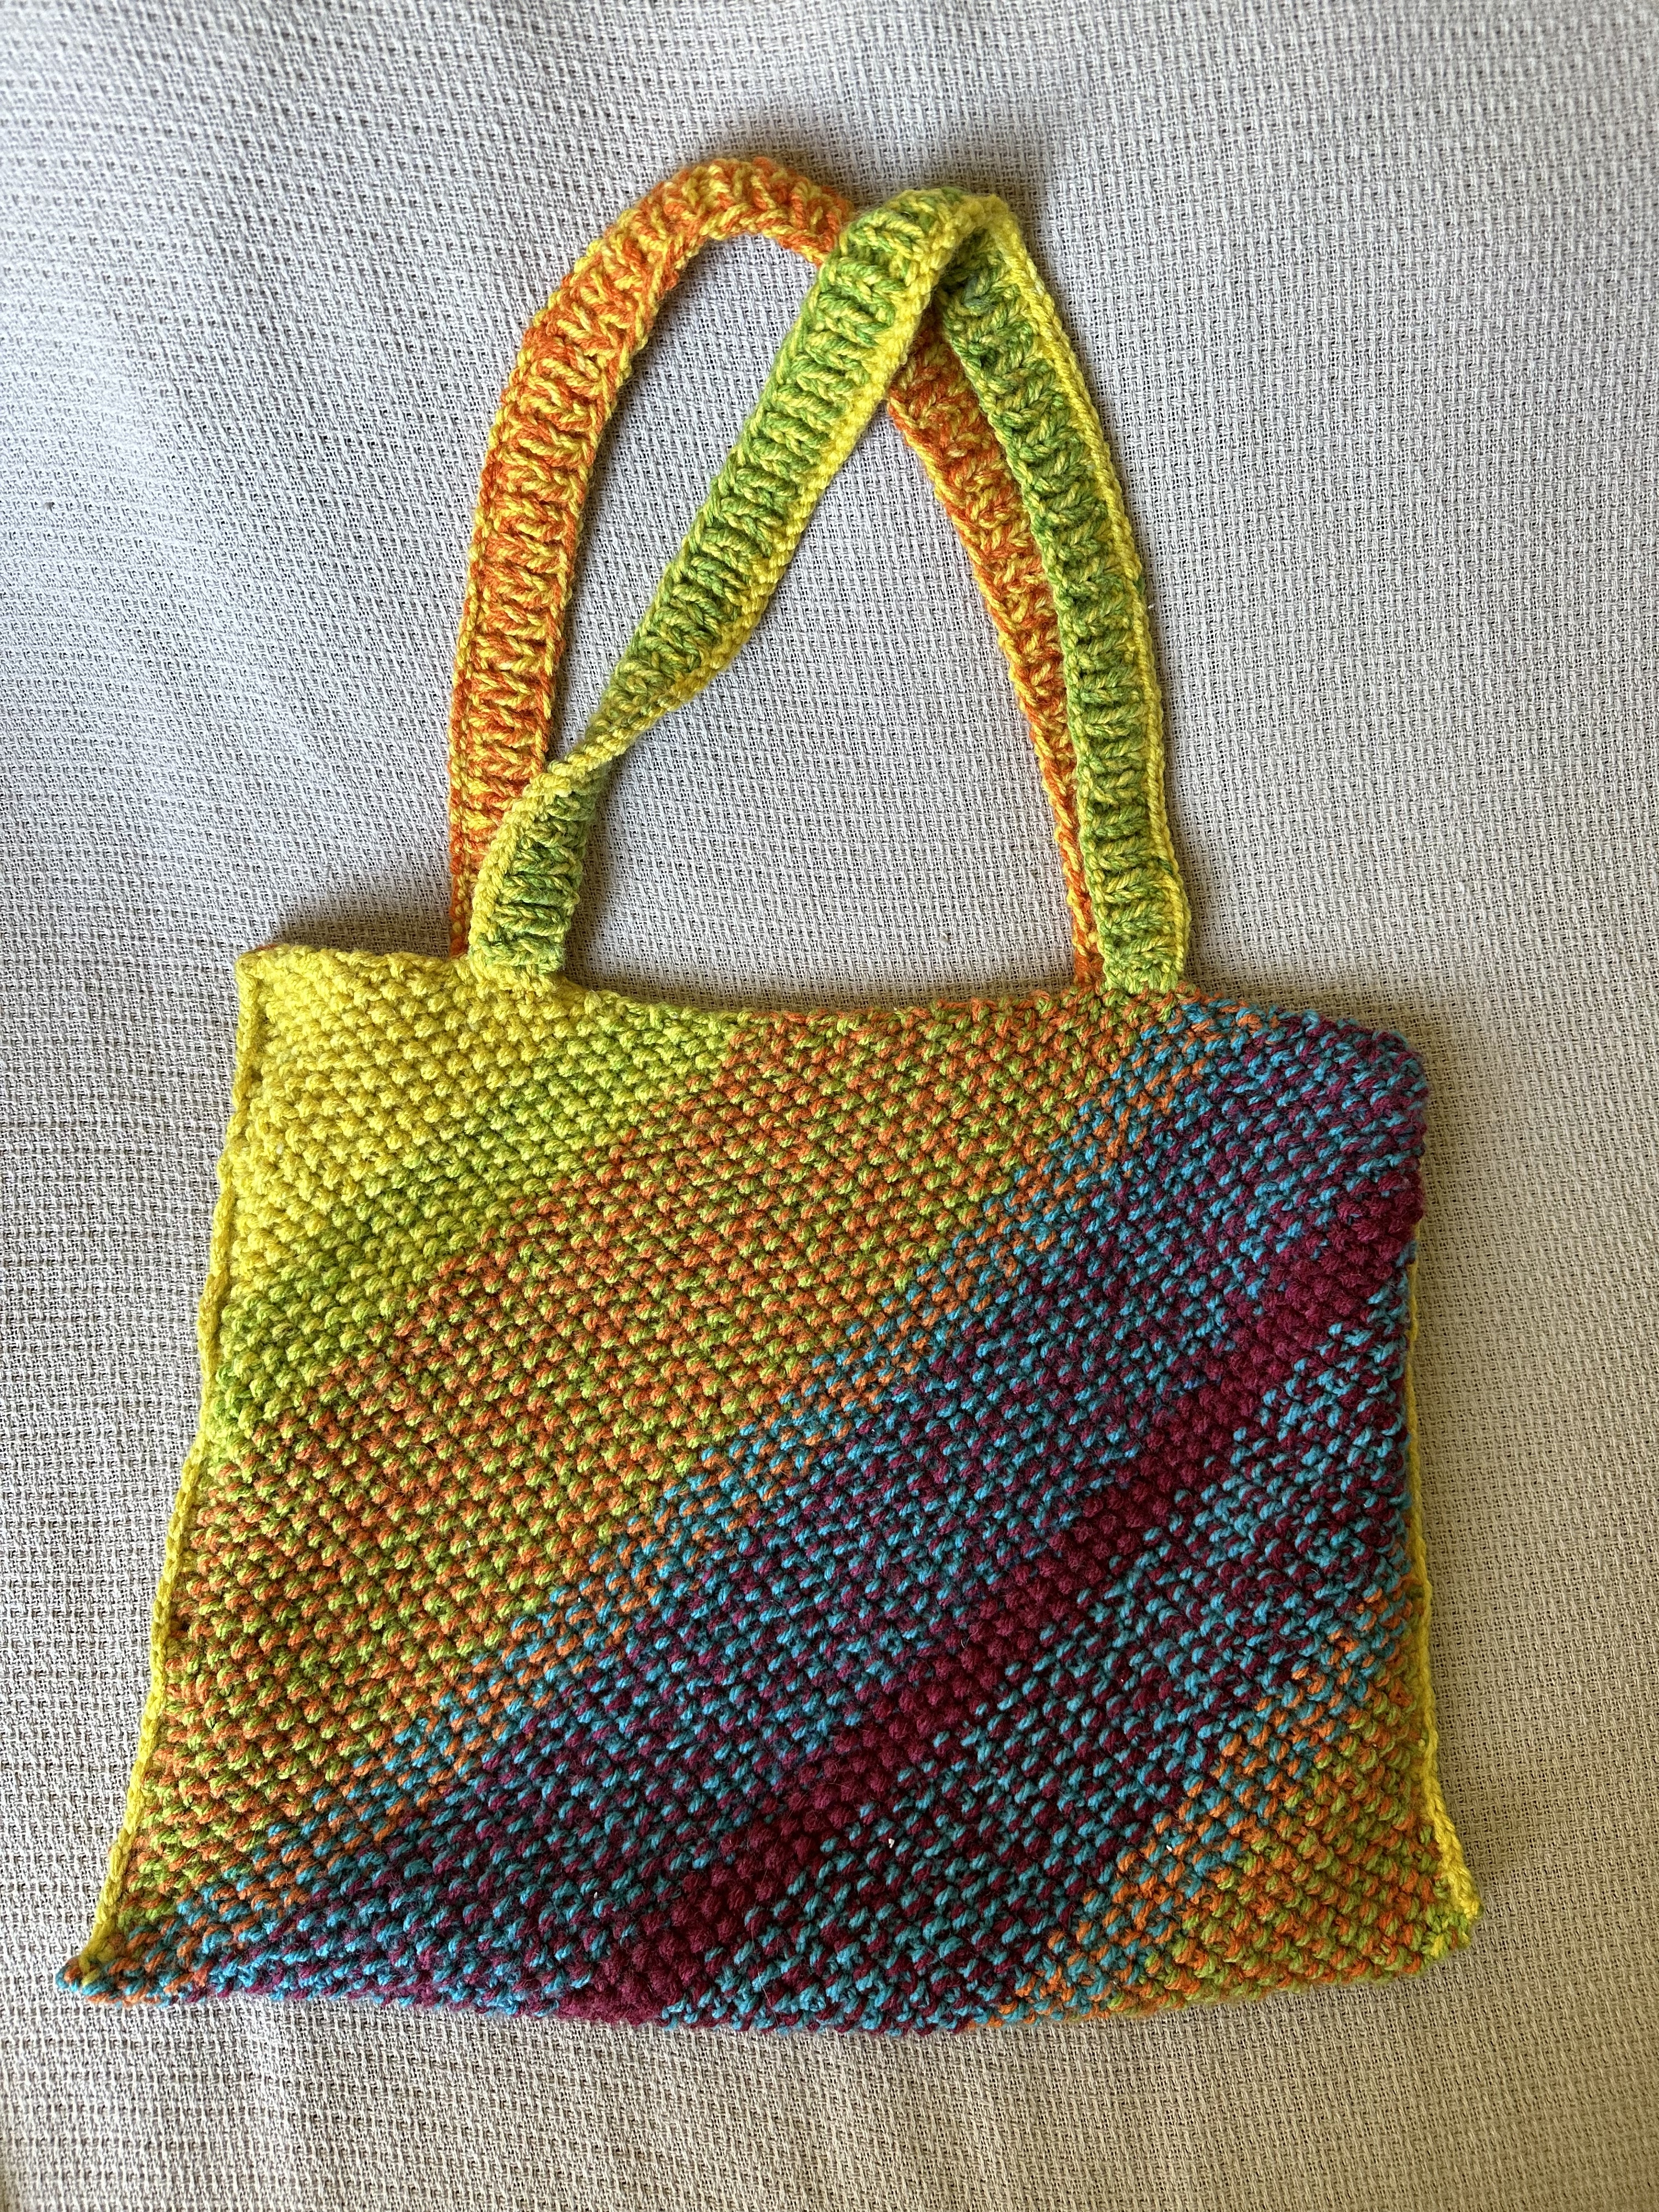
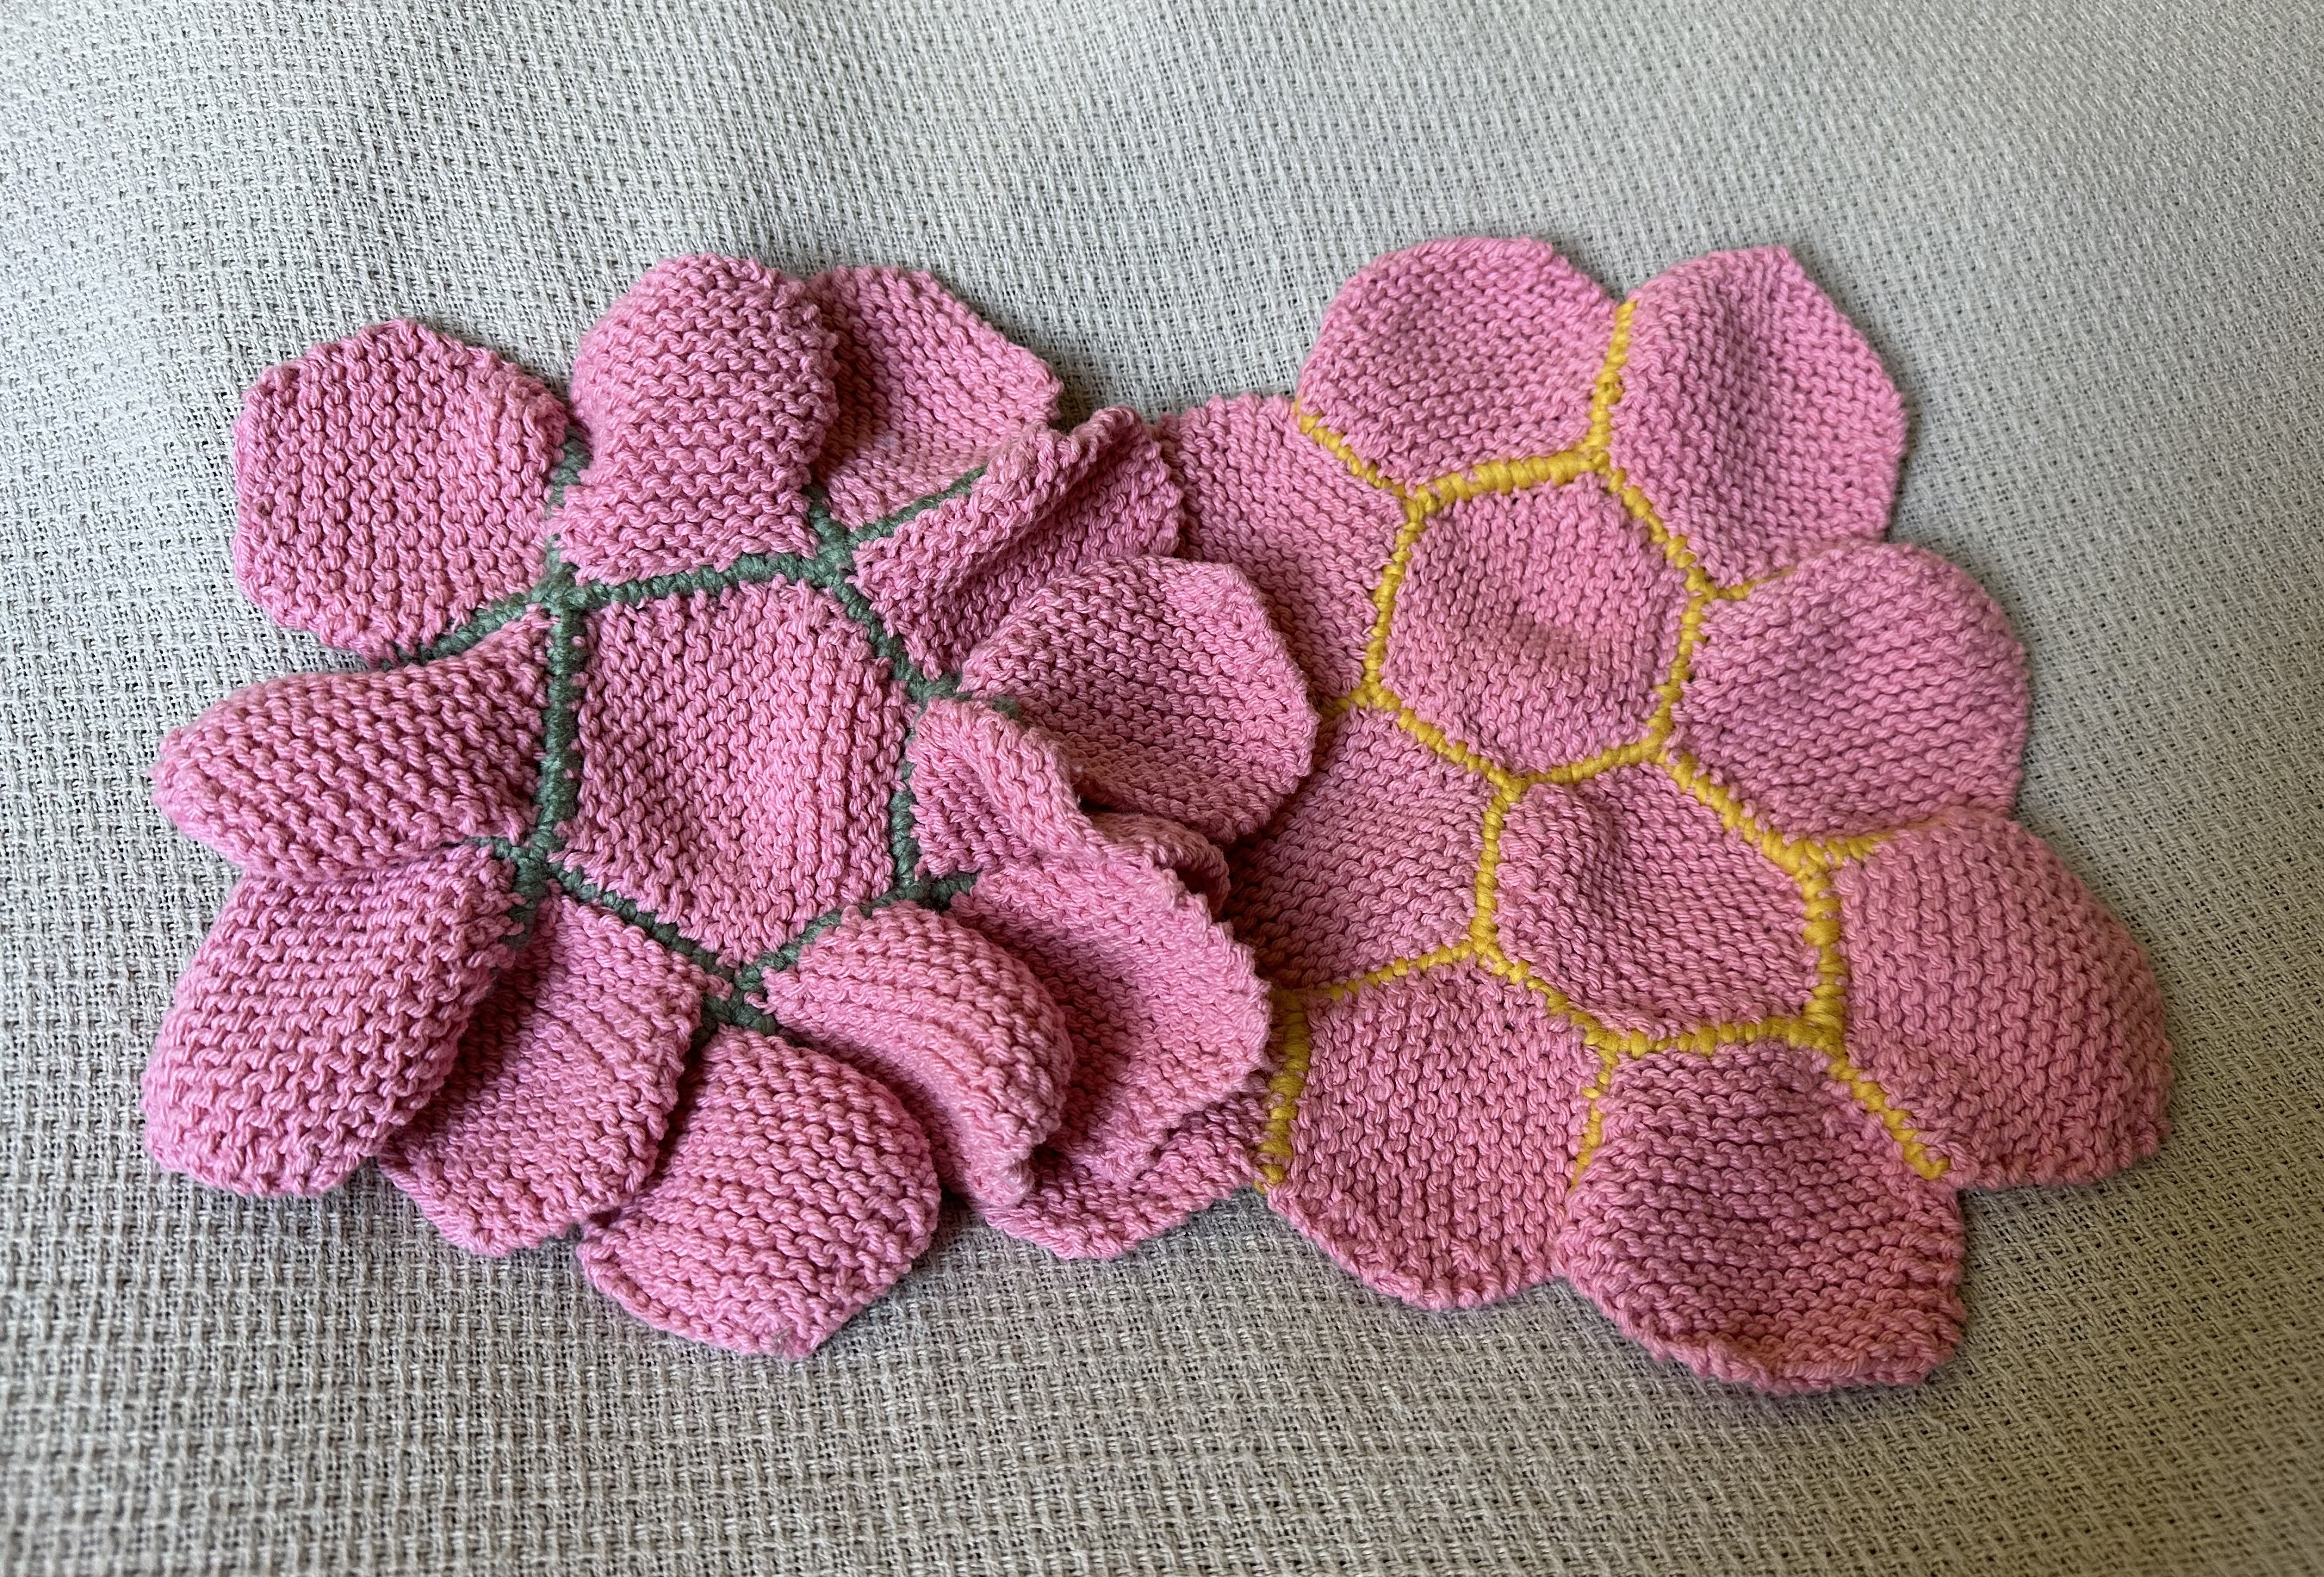
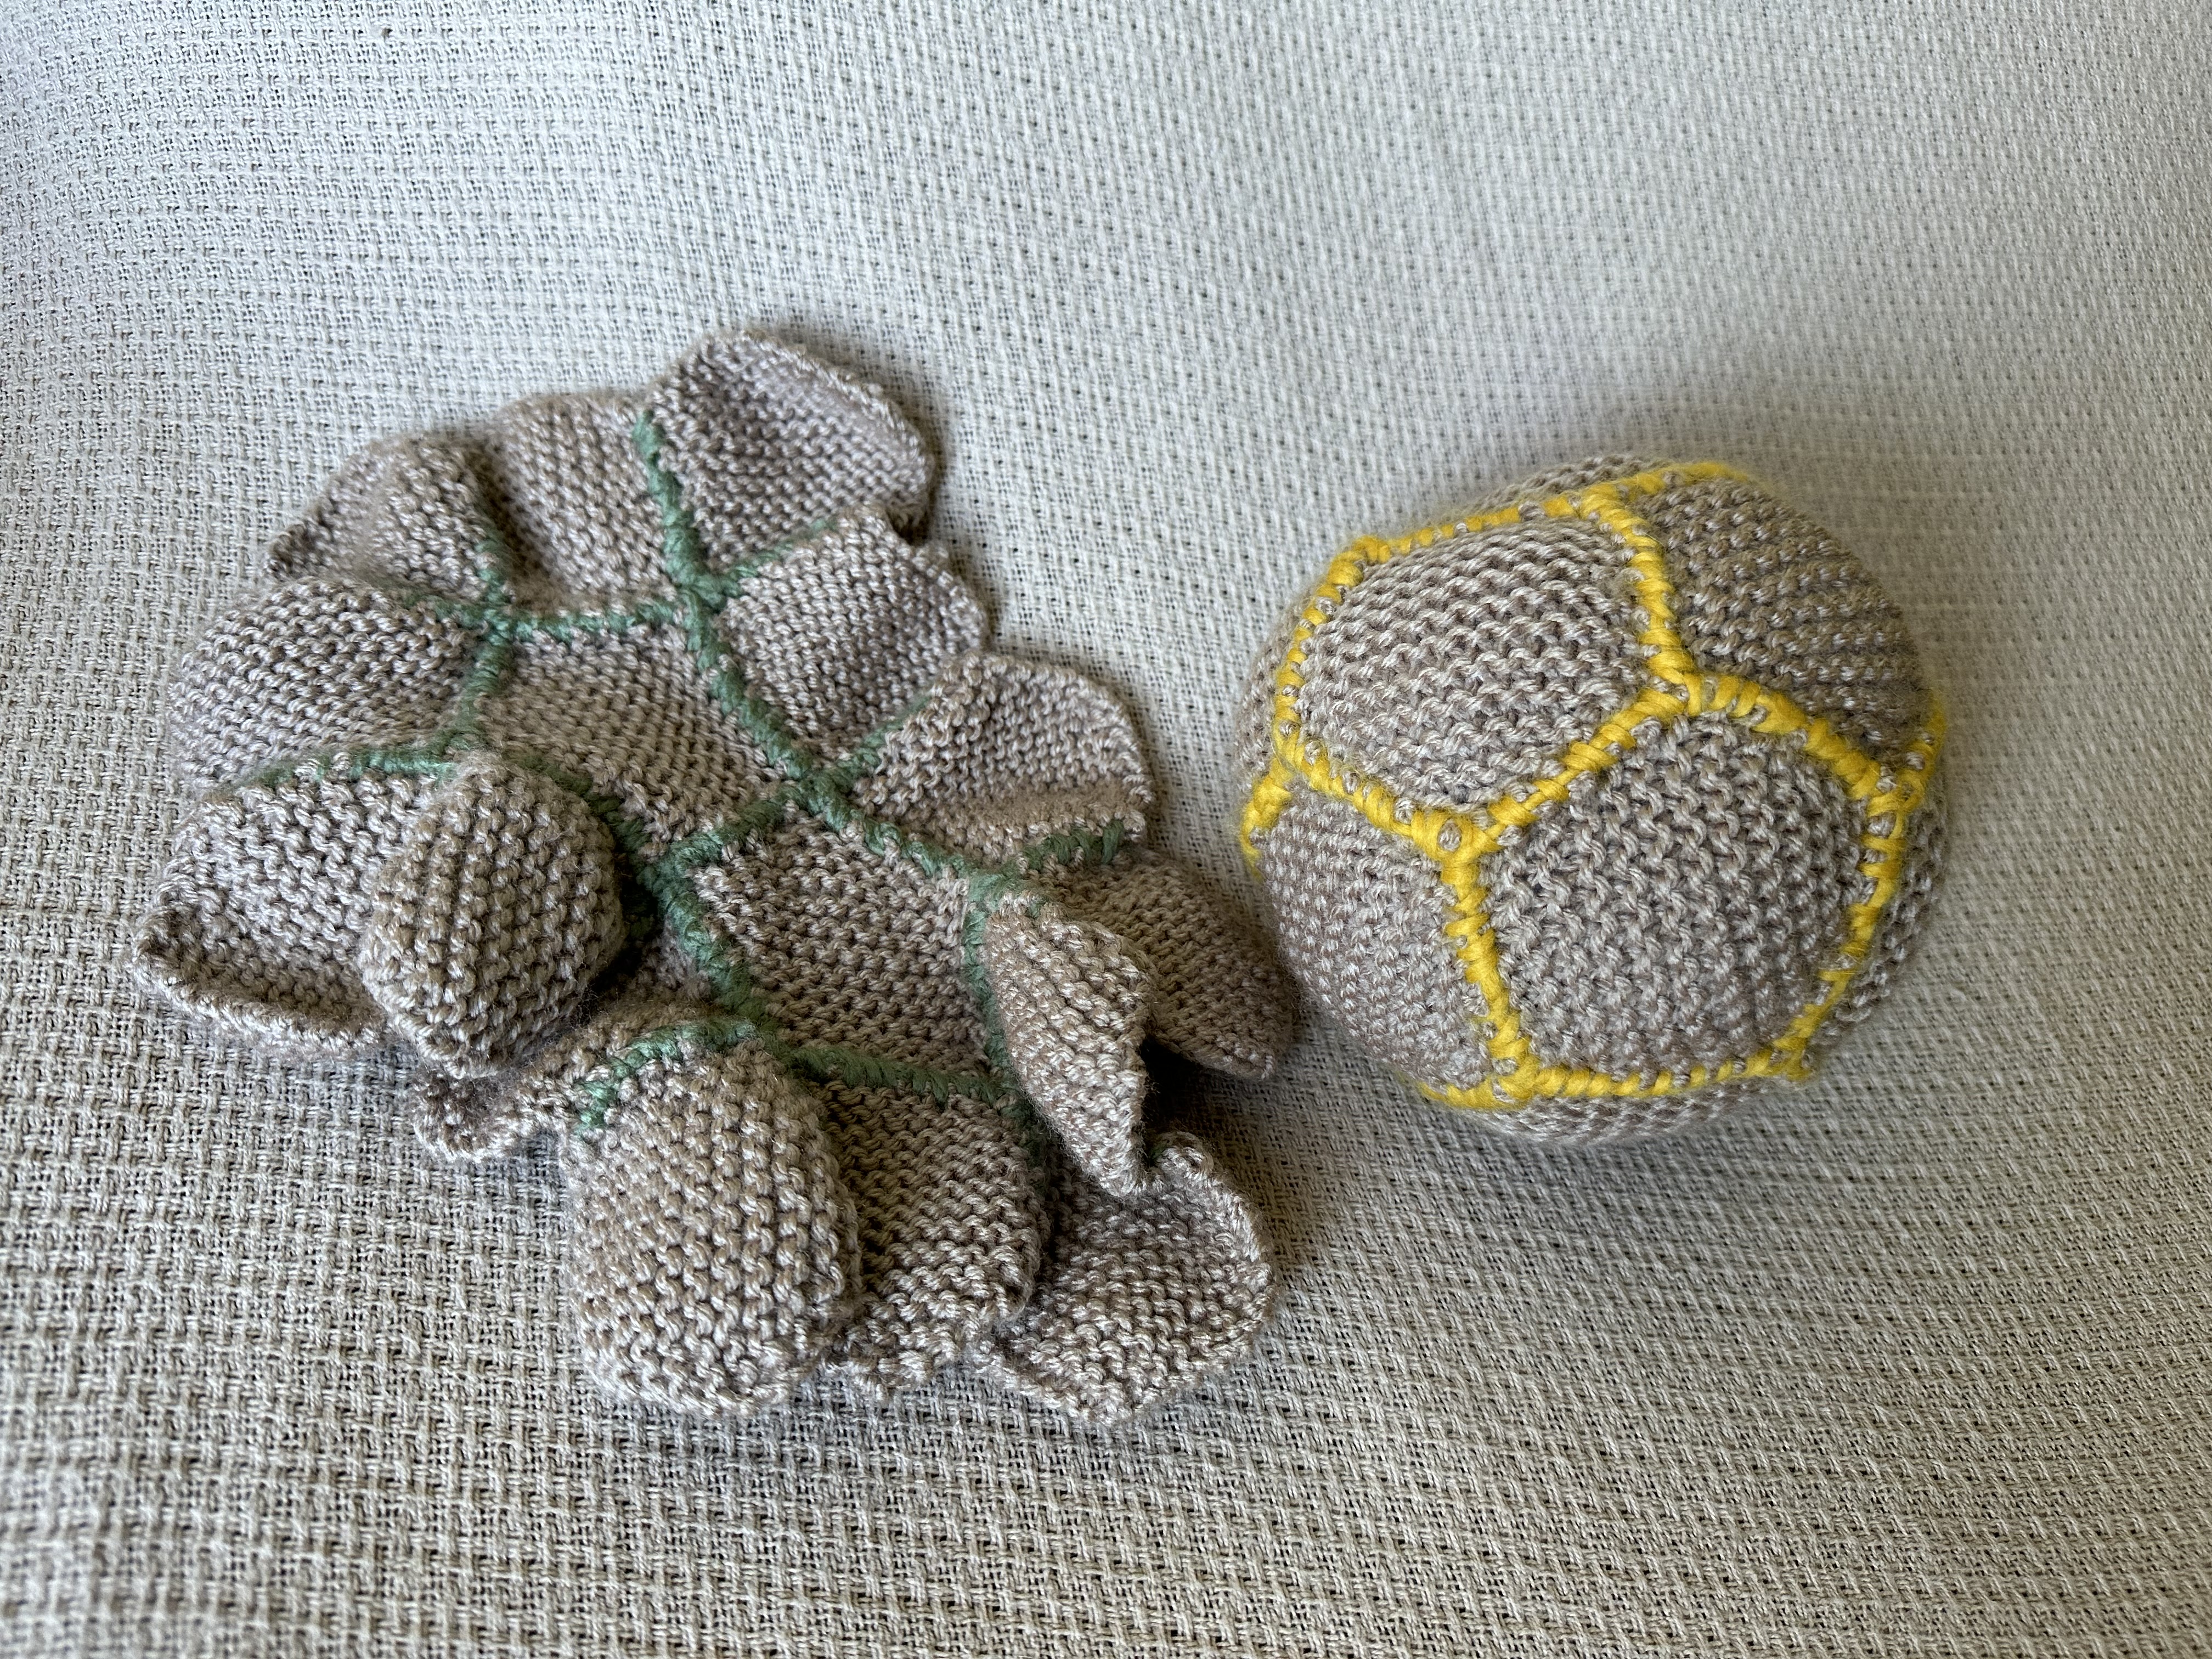
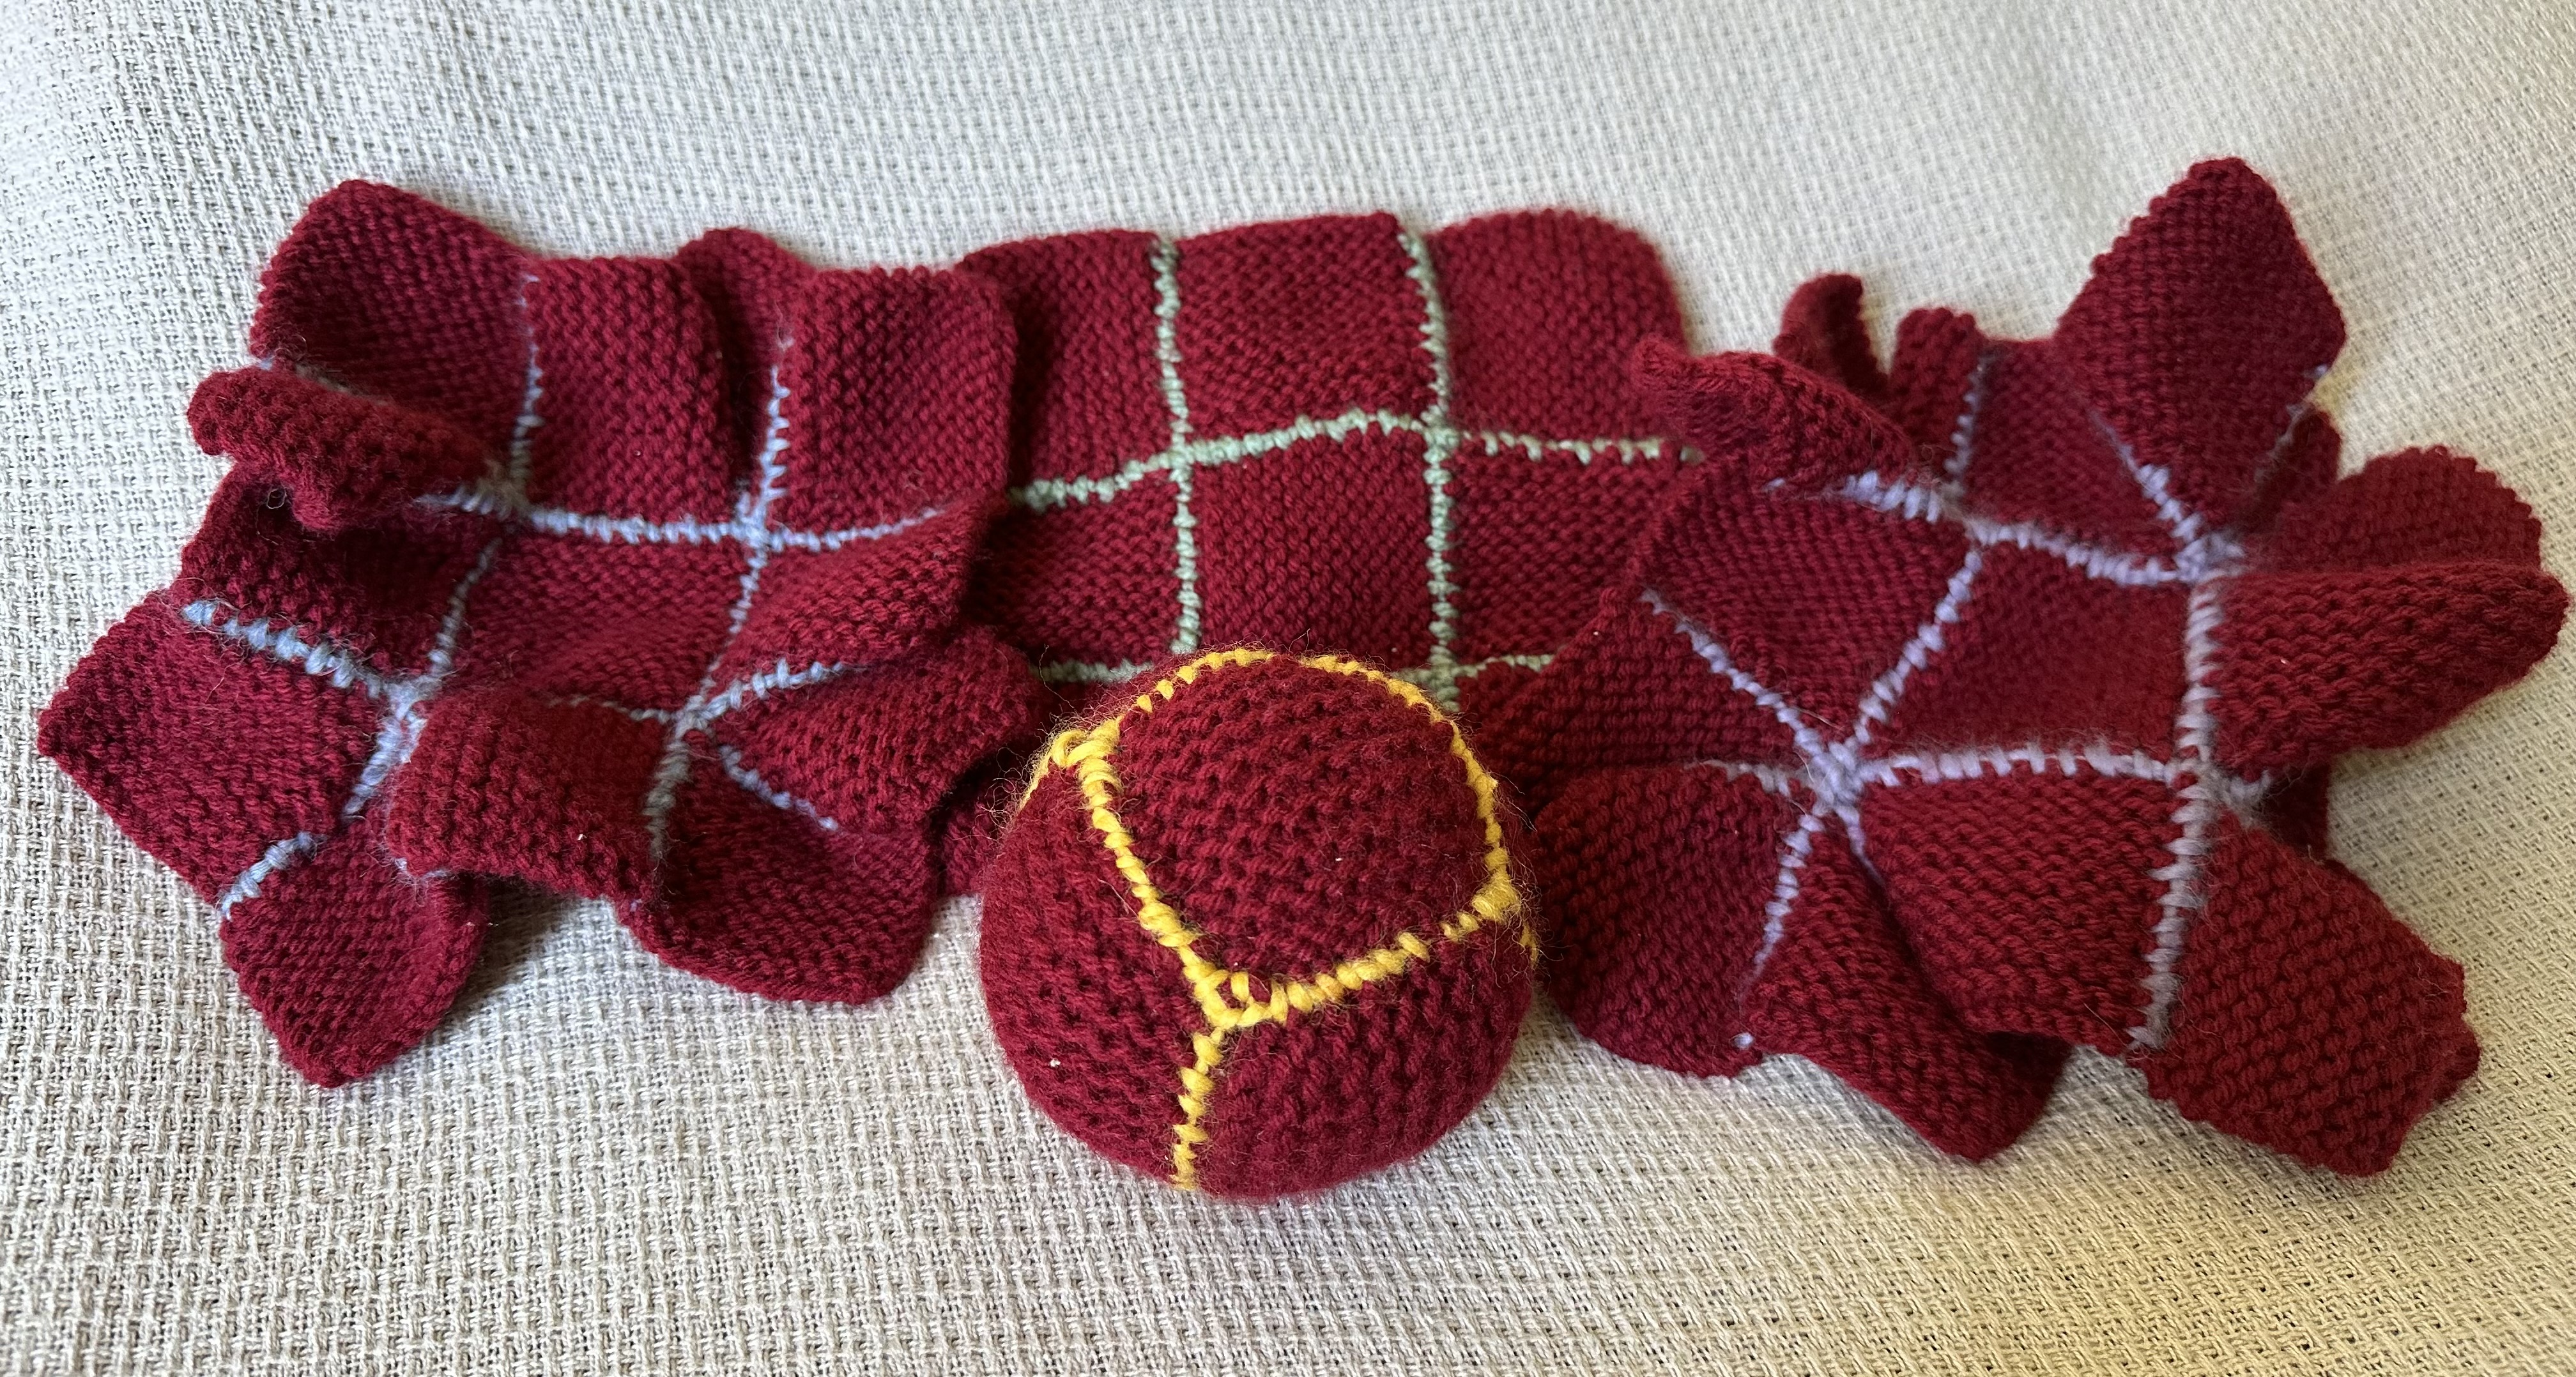
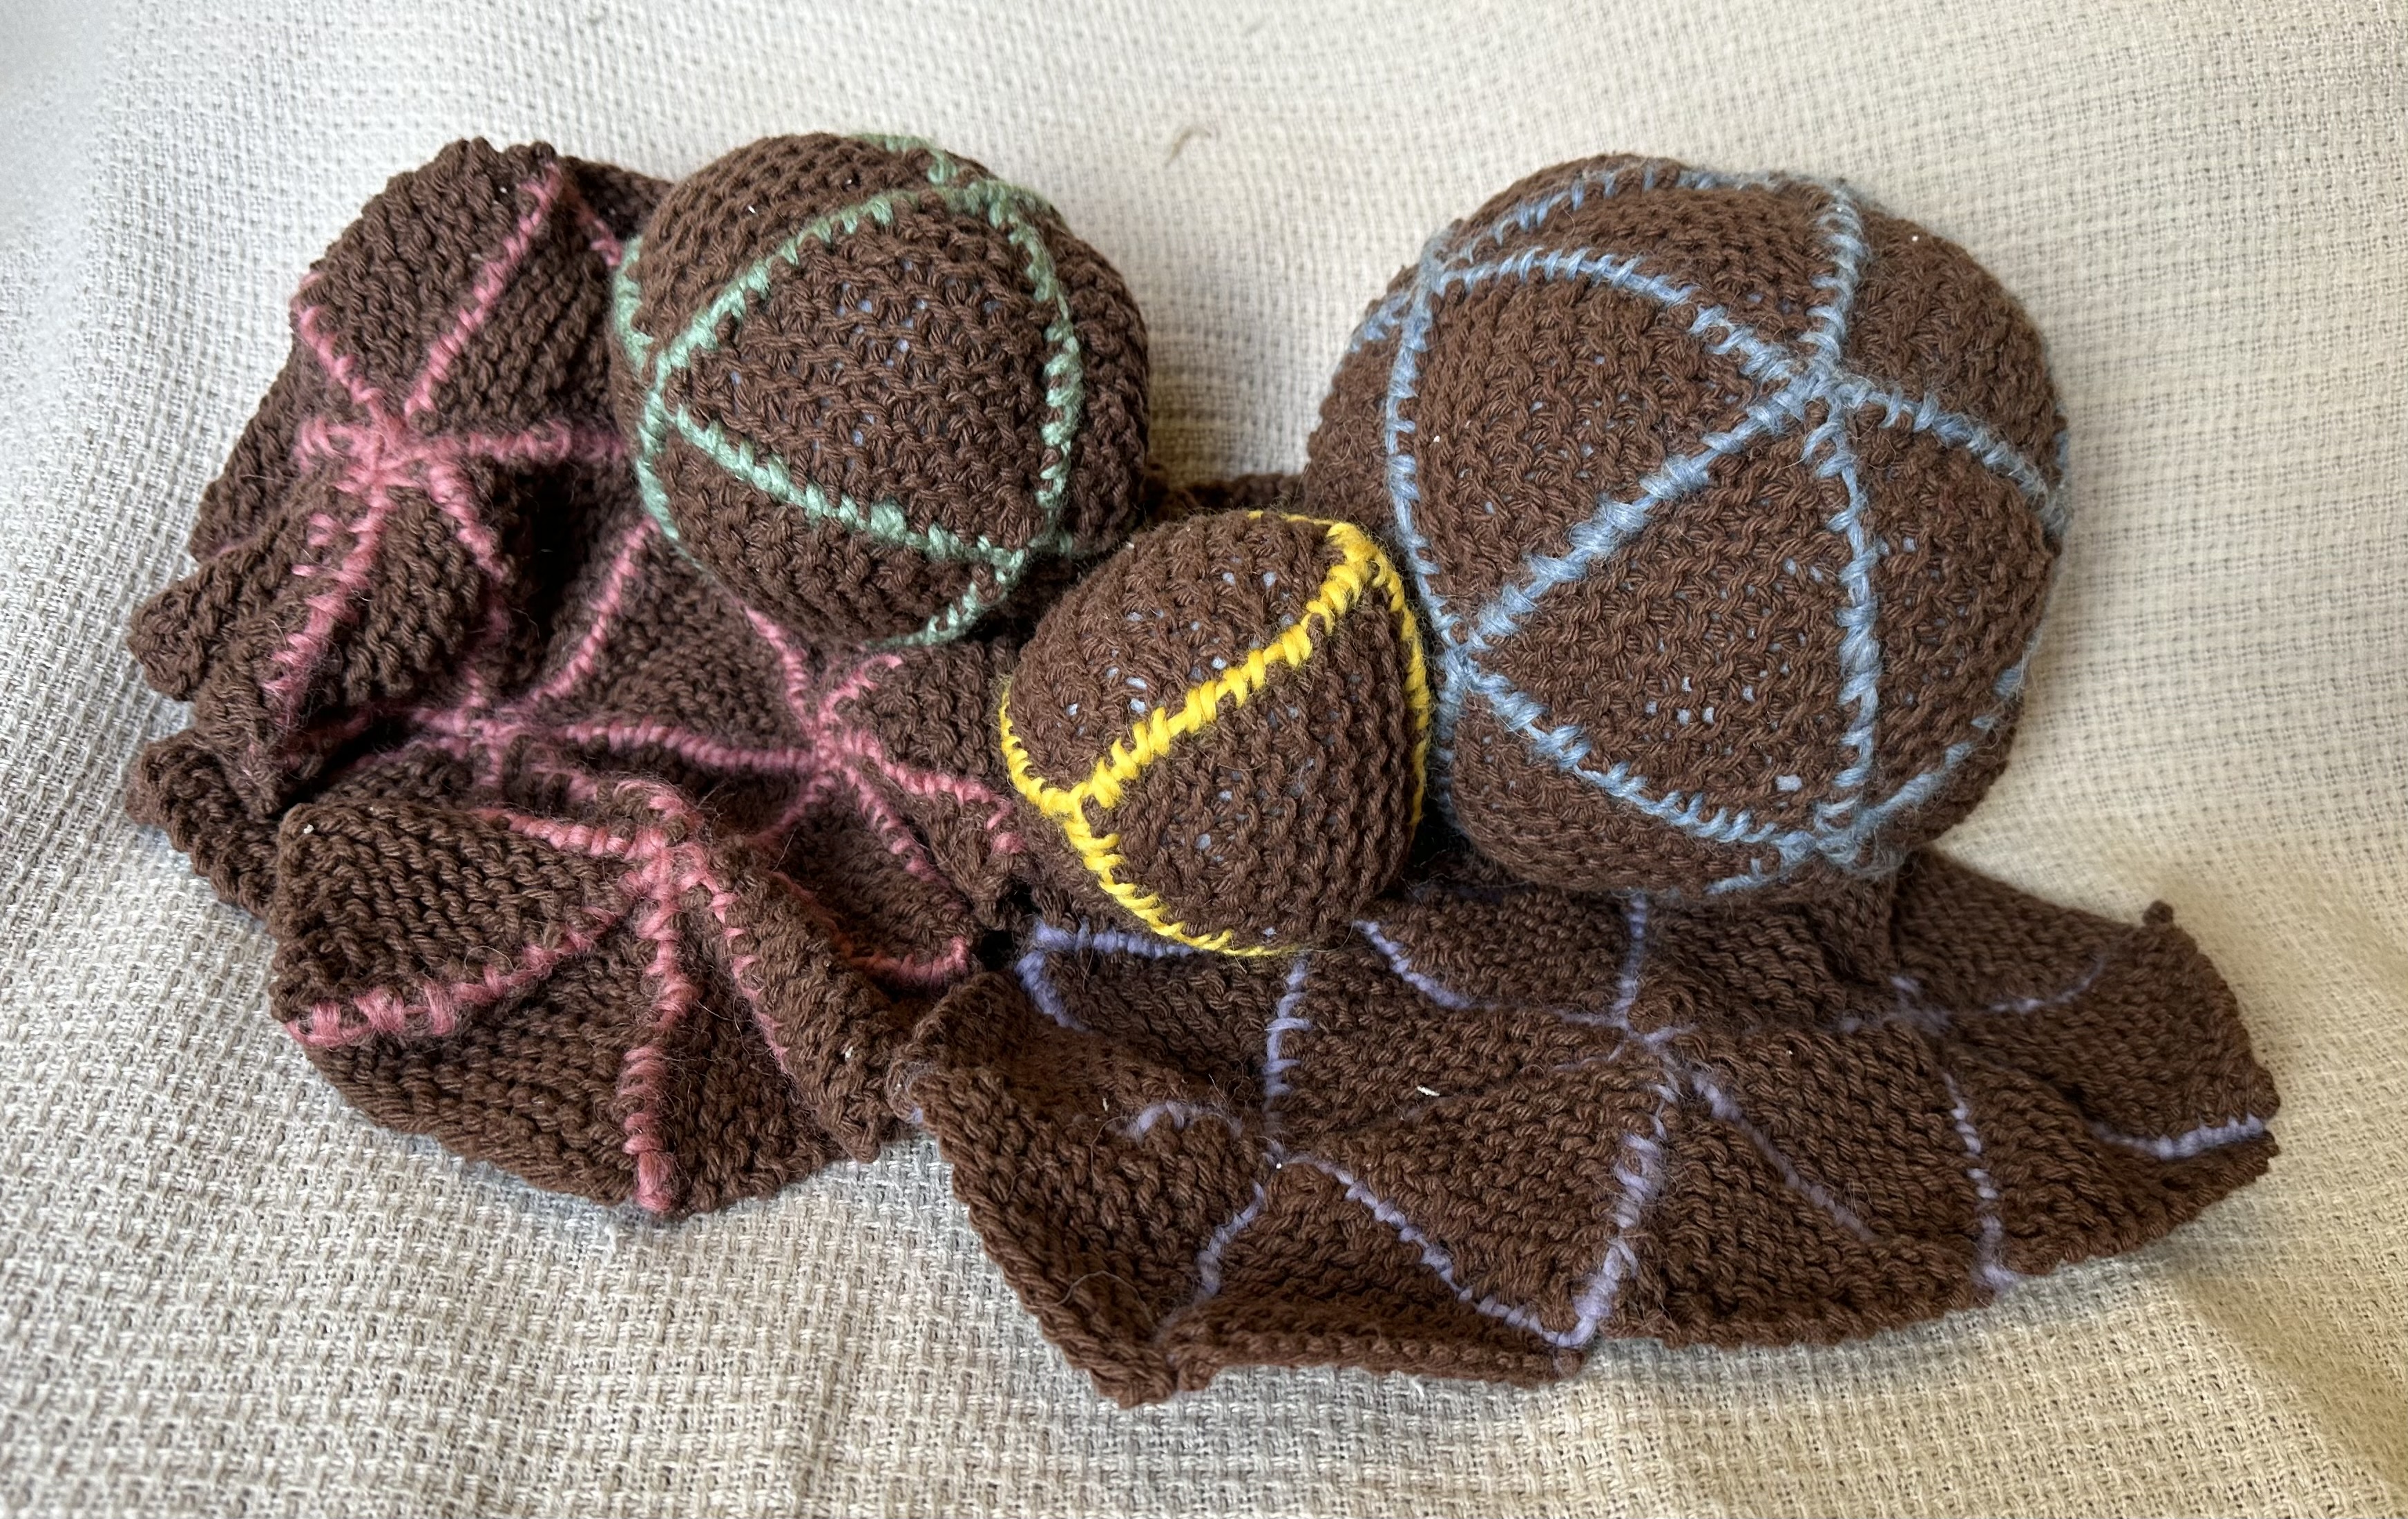
You will need 7 different colors for the 7 values of p corresponding to the different regular polygons (2-gons through octagons). You will also need 7 different colors for the 7 values of q corresponding to the different ways to attach polygons per corner (2 per corner through 7 per corner). You will need more yarn for lower values of p and q, except for p=2 and q=2, which will need the least amount of yarn.
Once you have made all the polygons below, sew them together as shown in the table above using whip stitch. For each tiling, you only need to repeat one pattern over and over again, for example sewing 5 squares together so that they all meet at one corner. Once you've finished that corner, you can choose a new corner in your work to repeat the process with. I recommend temporarily attaching the polygons using small safety pins or stitch markers, to make sure there are no overlaps before you commit to sewing them together.
To make the edges of the polygons stand out more, feed excess yarn from the sewing back through the work on both sides.
Definitions:
Under construction

Cast on 14.
Knit straight, with every 3rd row being a dec row.
Continue until you have 4 sts left.
Knit two rows straight, then k2tog twice. k2tog once more.
Cut and pull yarn through. Weave in ends.

Cast on 12.
Knit enough rows straight until folding the work in half diagonally makes the sides match.
Cast off. Weave in ends.

Cast on 11.
Knit straight, with every 5th row being an inc row.
Continue until diagonals are long as cast on row (or like a little after 3 increases).
* 2 dec rows.
Knit 1 row straight.
Repeat from * until 5 sts left.
k2tog, k1, k2tog.
k1, k2tog.
k2tog.
Cut and pull yarn through. Weave in ends.
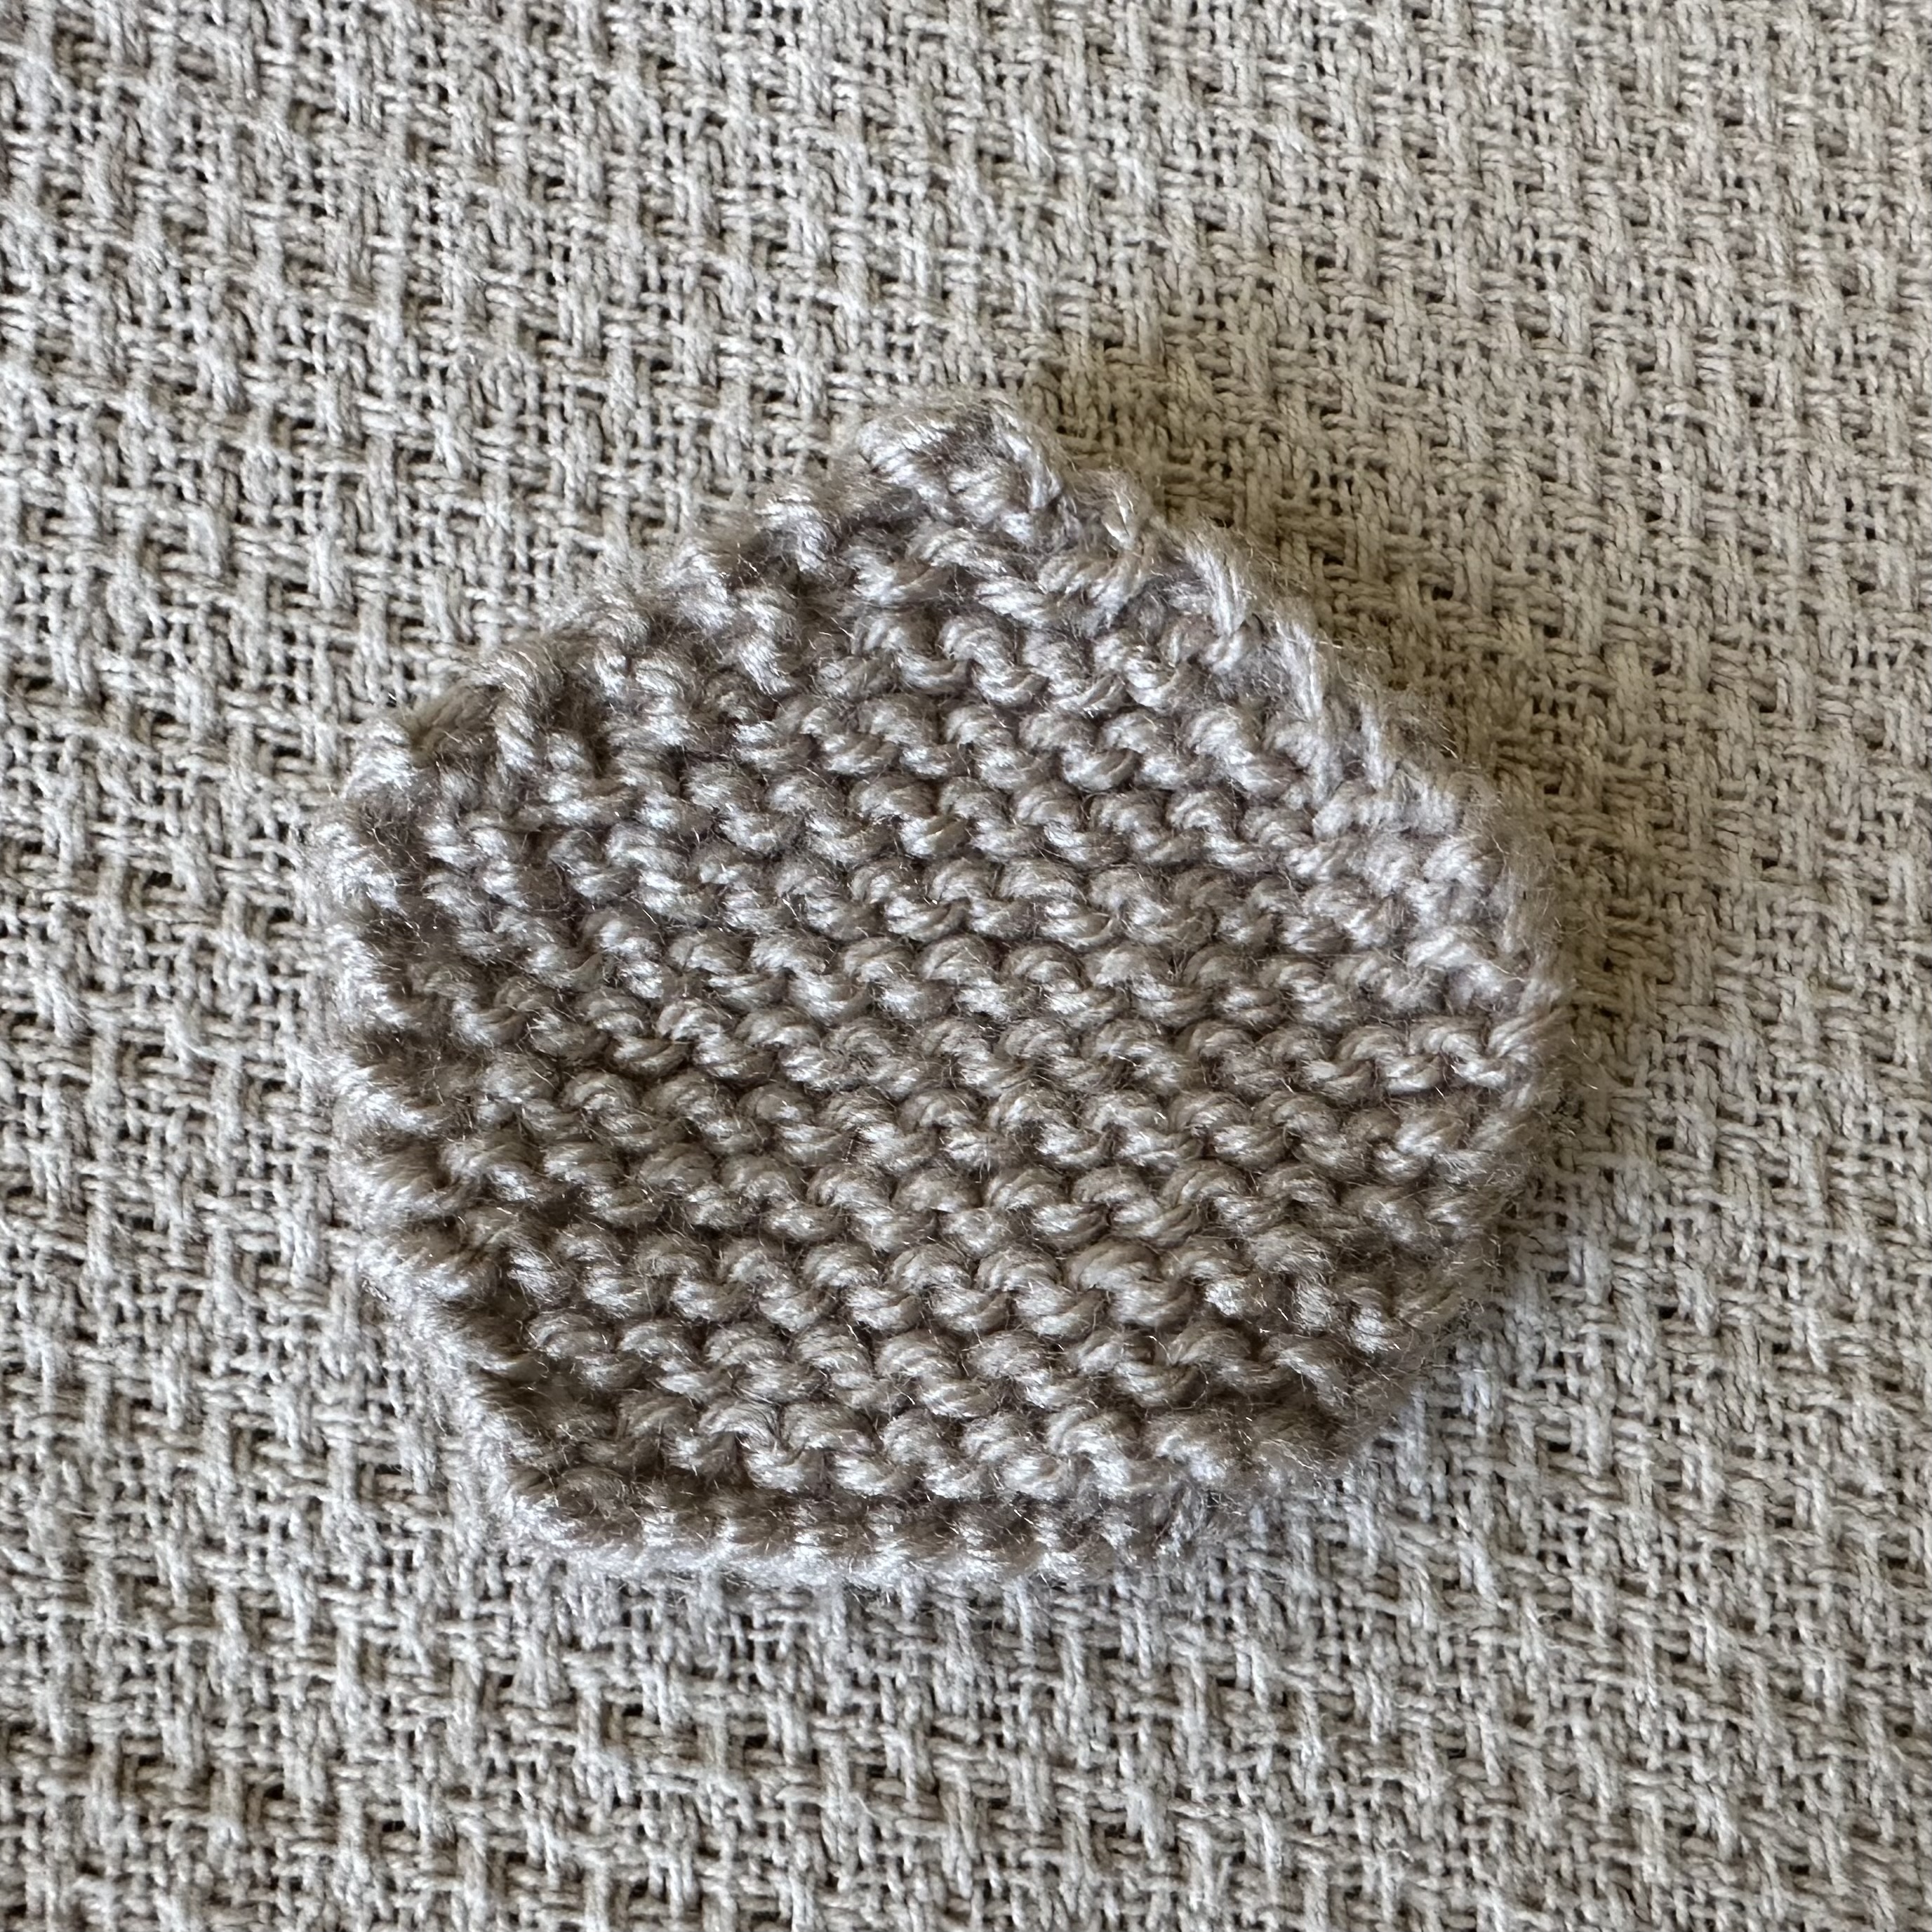
Cast on 10.
** Knit 2 rows straight.
Inc row.
Knit 3 rows straight.
Inc row.
Repeat from ** until diagonals are as long as cast on row.
*** Dec row.
Knit 2 rows straight.
Dec row.
Knit 3 rows straight.
Repeat from *** until 10 sts left.
Cast off. Weave in ends.
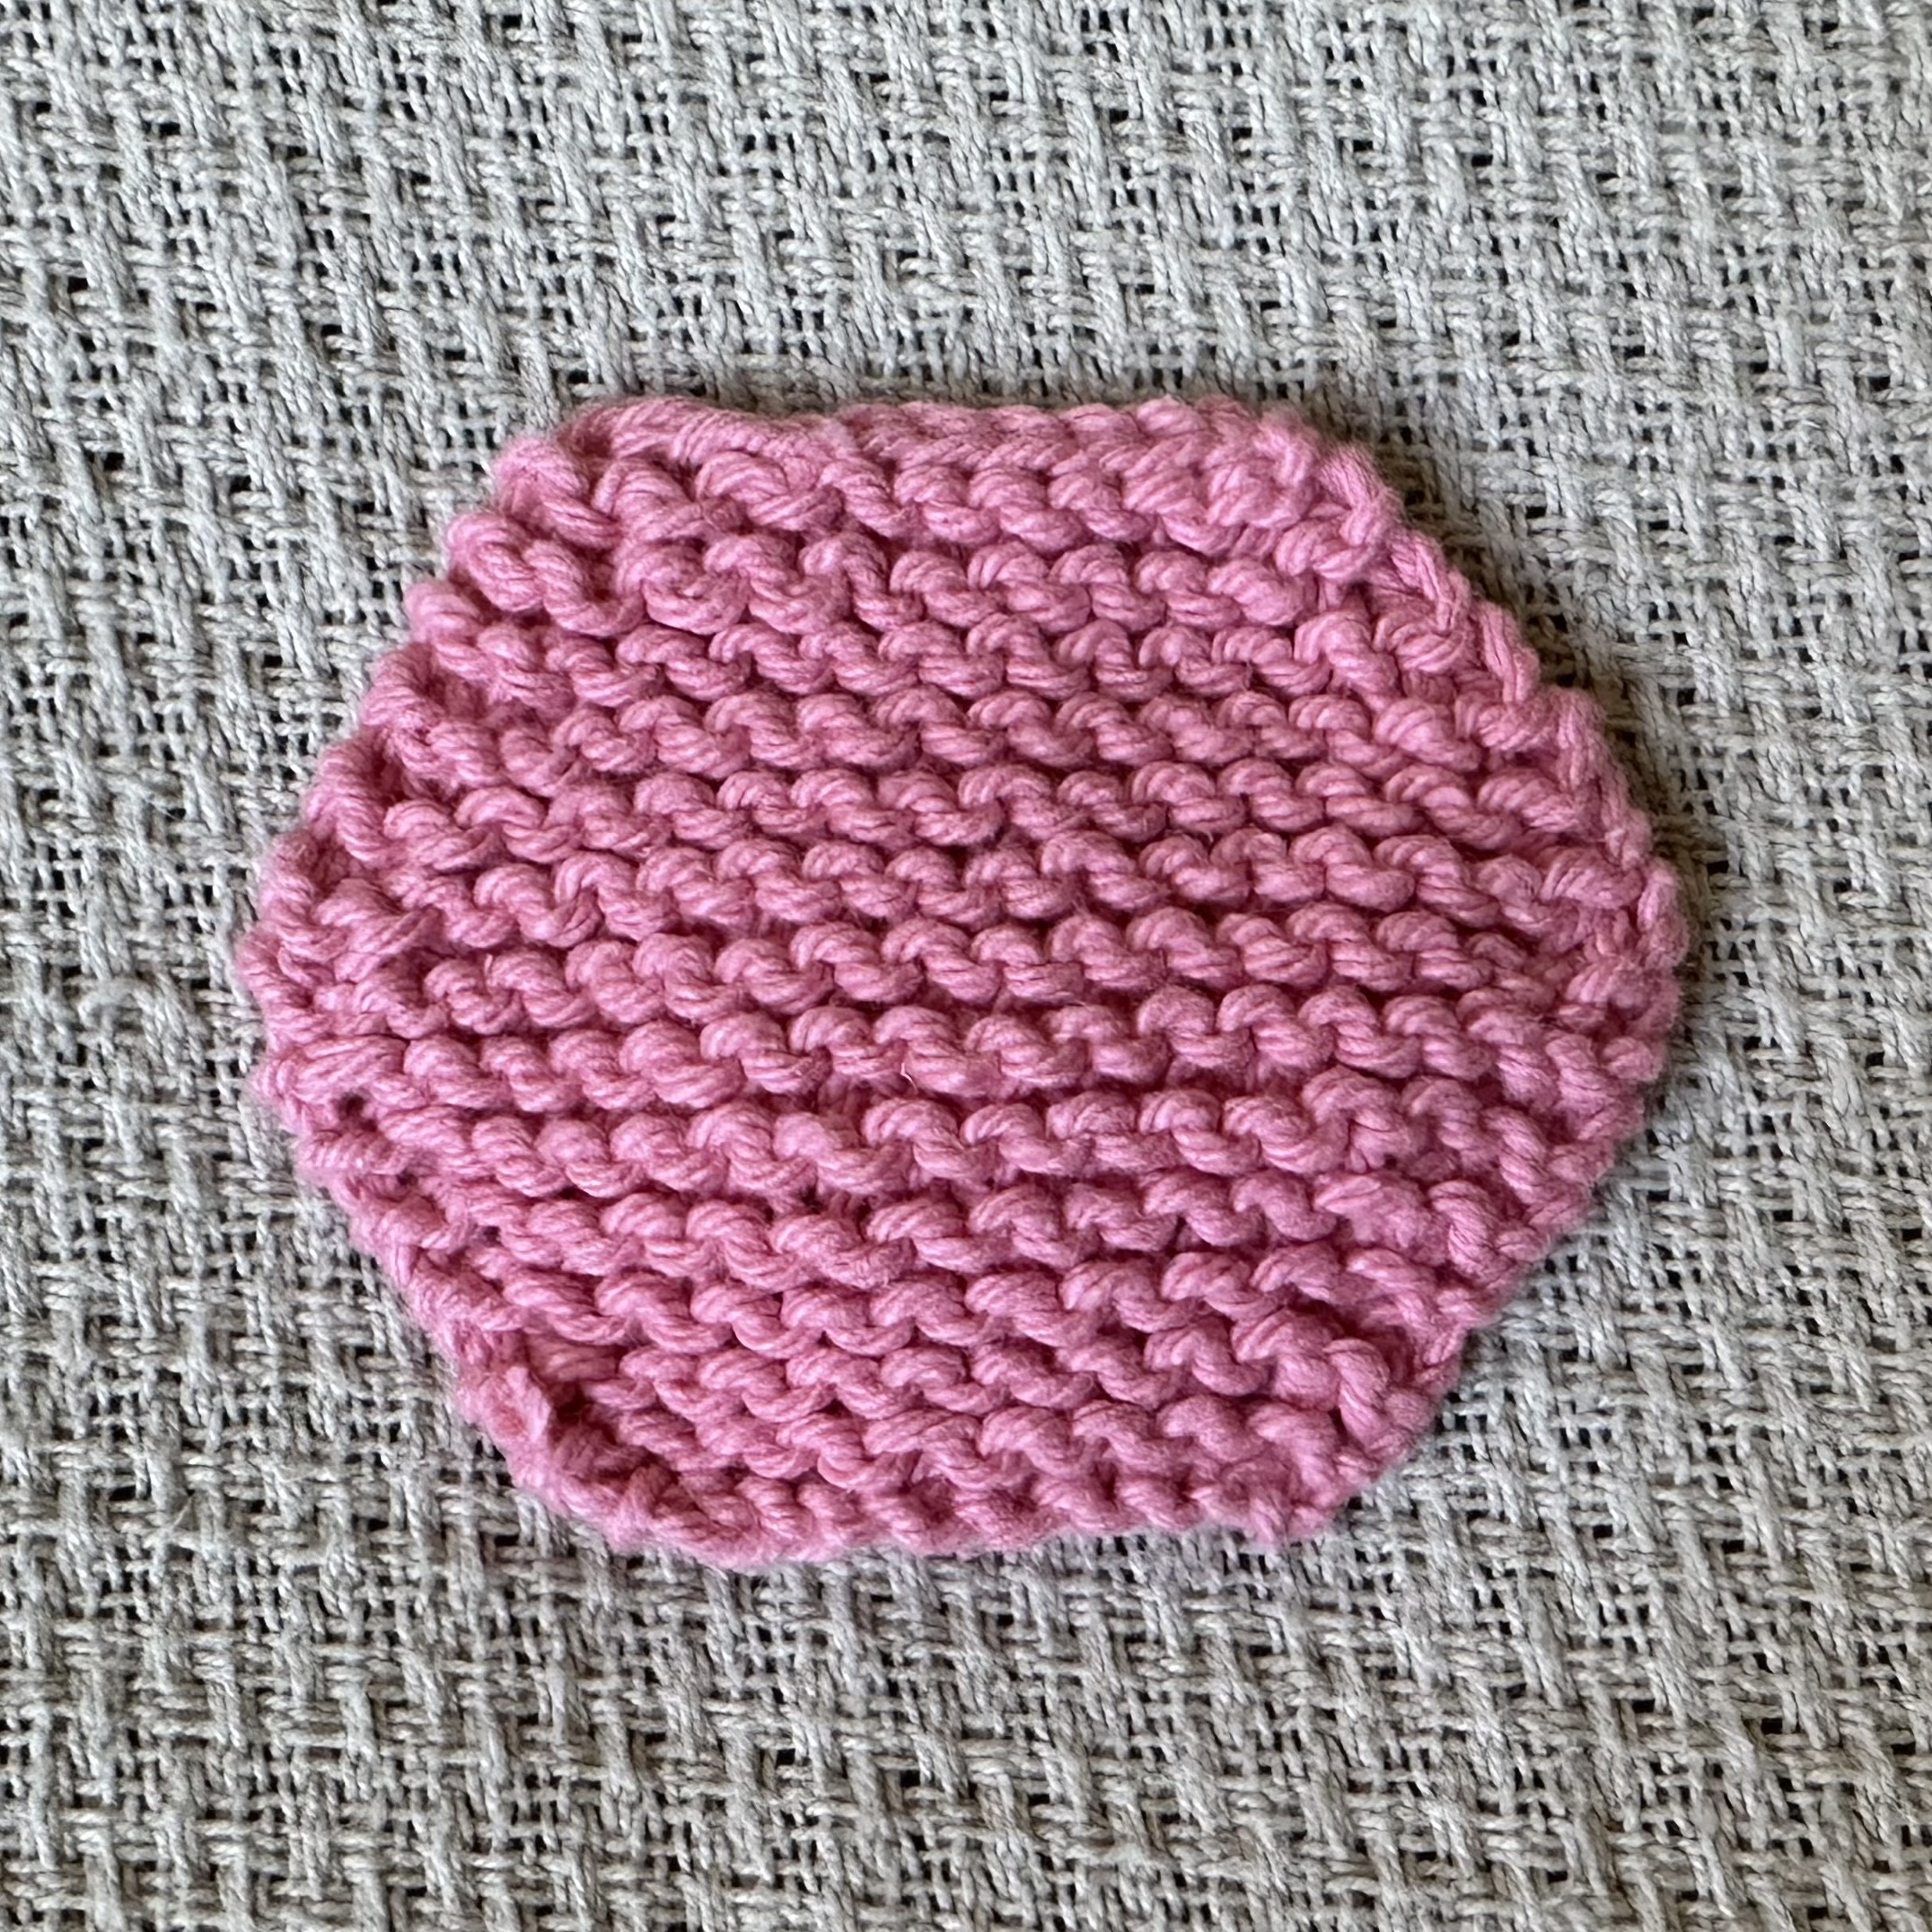
Cast on 8.
****Knit straight.
Inc row.
Repeat from **** until until diagonals are as long as cast on row.
Knit straight.
Dec row.
Knit 3 rows straight.
Dec row.
Knit 3 rows straight.
Let n be the number of sts at this point. We now begin some short rows. I used German short rows here.
Knit n-1 sts, turn. Knit n-3 sts, turn.
Knit n-4 sts, turn. Knit n-5 sts, turn.
Knit n-7 sts, turn. Knit n-8 sts, turn.
...
Knit 3 sts, turn.
Knit 2 sts, turn
Knit 1 st, turn.
Knit straight to end.
Cast off until n/2 sts remain on your left needle. Take the stitch on your right needle off the needle, and pull a loop of yarn through as if chaining in crochet. Place the new loop back on the right needle. Continue casting off until the end.
Weave in ends.
Under construction
